Check out this cute DIY popsicle stick snowman craft idea! I love how easy this is to put together, and how the rustic look fits so readily into my existing decorations. All you need is some craft sticks, paint, glue, and a little holiday berry and leaf decoration to make this craft.
Snowmen are one of my favorite holiday characters. I already made this snowman craft stick photo ornament recently, and love this idea for mason jar lid snowman ornaments. So many ways to celebrate with this cute little character!

Jump to:
- DIY Popsicle Stick Snowman
- What Paint Should I Use to Make This Snowman?
- Can I Turn This Popsicle Stick Snowman Into a Magnet?
- Supplies Needed
- How to Make a Popsicle Stick Snowman
- How to Assemble the Craft Stick Snowman Hat
- How to Assemble the Craft Stick Snowman Face
- Video Tutorial:
- Printable Step-by-Step Photo Tutorial:
- Materials
- Tools
- Instructions
- Notes
- Recommended Products
DIY Popsicle Stick Snowman
Popsicle sticks, craft sticks, tongue depressors, or whatever you call them, are a great base for many craft ideas. They are inexpensive, readily available, and easy to work with. This craft idea is a great example of how you can use them and cut them into different sizes to make a gorgeous little craft that is both rustic and beautiful!
I made this 3D snowman ornament recently and know it is a cute idea to go on the tree, but if you are looking for more decor items, then my rustic snowman porch decor or even this snowman candle are great options. Snowmen are so fun and easy to customize. You can definitely make them out of just about anything like this snowman out of a bottle idea.

What Paint Should I Use to Make This Snowman?
You can use any craft paint for this project. I tend to grab just basic acrylic craft paints and have them on hand. The only kind of paint I wouldn't recommend using on this craft is watercolor. You can even use a paint pen or a magic marker if you want.
Tip: If you are making several of these, you can also sometimes find craft sticks that are already painted or stained to different colors. Check your craft store for those before making a large batch to help save some time.
Make this other snowman ornament craft or my snowman made from plastic cups to add more fun to your holiday decorations this year.

Can I Turn This Popsicle Stick Snowman Into a Magnet?
Yes! I love making magnets for the holidays, and this is a great example. While it is a bit bigger, a nice quality craft magnet can be glued onto the back. Just check to make sure the magnet you purchase will hold the weight of the snowman.
I've made magnets out of many of my craft stick ideas. The only things I haven't tried are these craft thread snowmen and my clay pot snowmen. Obviously, they wouldn't work as magnets as they are too large and heavy.

Of course, while you are crafting, you'll need a special treat. I love this simple snowman Twinkie dessert or these snowman sugar cookies. Both are delicious and easy to make!

Supplies Needed
- Craft sticks
- Red, white, and black paint
- Green felt or fabric
- Red satin ribbon
- Small plastic berries
- Black permanent marker
- Paintbrush
- Scissors
- Hot glue gun and glue

How to Make a Popsicle Stick Snowman
To begin, you will paint your craft sticks and set them aside to dry. You only need to paint one side of these.
I started by painting 5 of the craft sticks white.

If you want to trim the craft sticks now, you can do so. Otherwise, you can wait to trim them down to size after they are dry.

Next, I paint 2 of the craft sticks red. Then, paint 6 craft sticks black.

My final steps before assembling are to cut out a small leaf or two from the green felt or fabric to use on the snowman hat.

How to Assemble the Craft Stick Snowman Hat
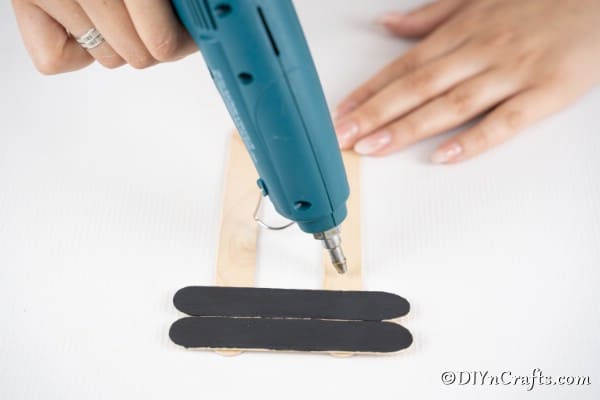
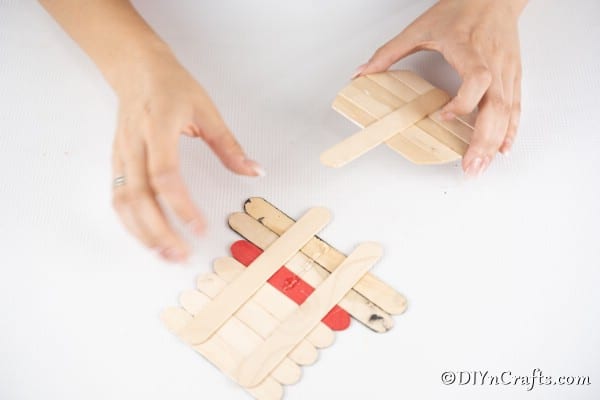
Once your craft sticks are dry, you will begin assembling your snowman. Lay two unpainted craft sticks down about 1 ½" apart on the table. Glue 4 of the black craft sticks to the bottom of the pair, as shown. I have already trimmed mine down to be shorter, but you can do that later if needed.

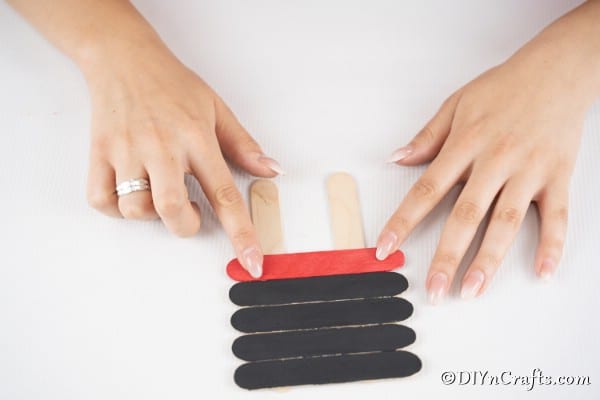
Next, you will glue on one of the red sticks.

And finally, the last two black sticks.

How to Assemble the Craft Stick Snowman Face
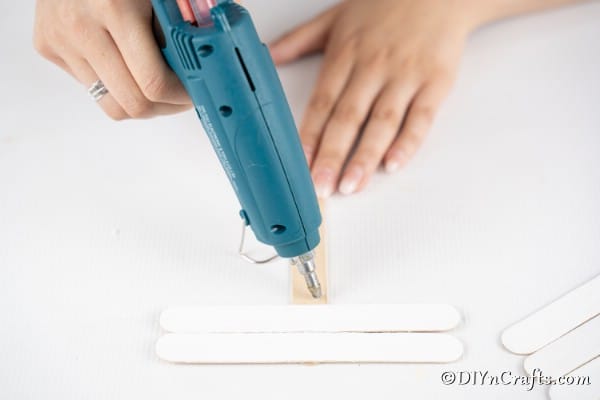
Now, you will move on to making your snowman face. To begin this, you will simply take one unpainted craft stick and lay it on the table. Begin gluing your white craft sticks to this one, starting at one end. I forgot to add my red stick first on this, so had to add it later. Add a red stick first, then your 5 remaining white sticks.

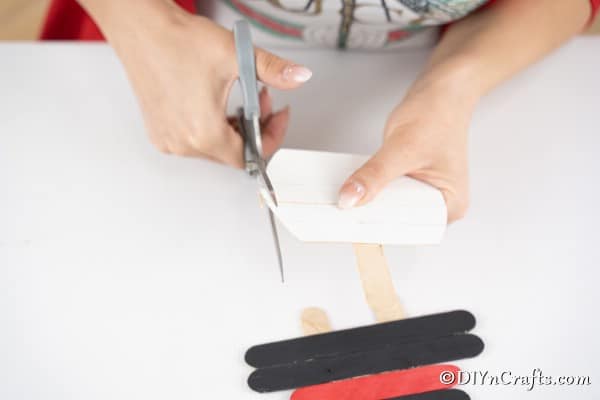
When you have all 5 of the white craft sticks glued in place, you will then begin trimming them with scissors to create a round face shape.

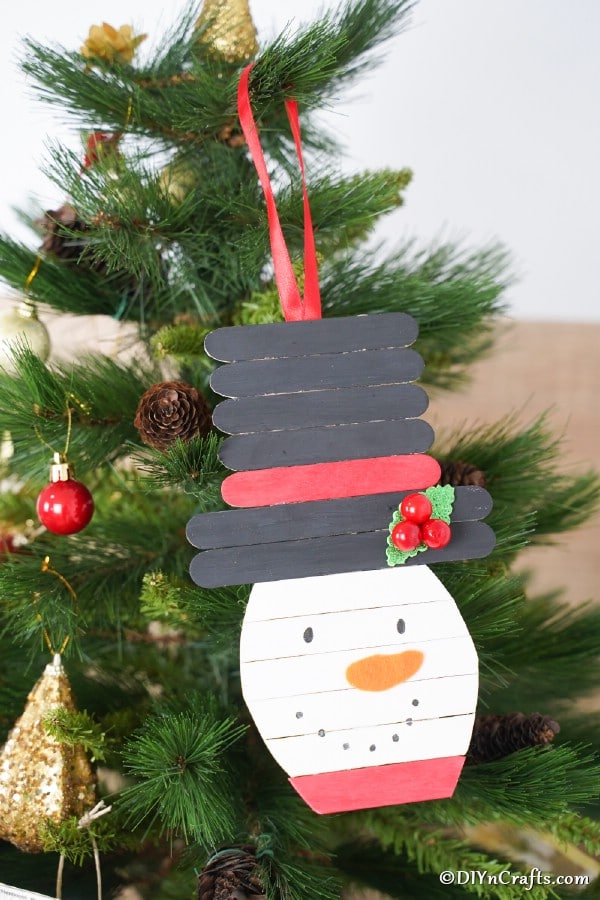
Your snowman face will be similar in shape as shown below. It won't be perfectly round, but the sides will be rounded. Take the time now to smooth any rough edges with a nail file or piece of sandpaper if needed.

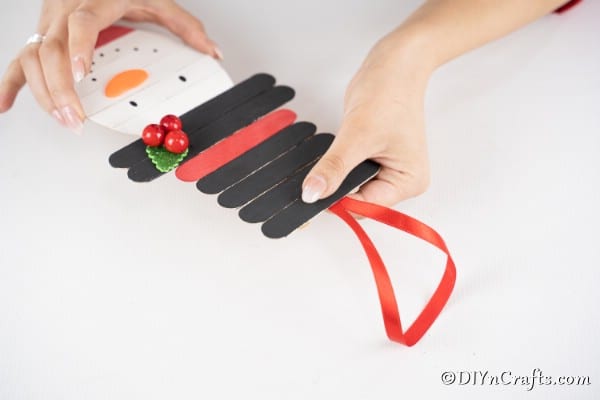
Next, you will turn over the tophat, and attach the face to it by gluing the excess craft stick onto the back of the tophat as shown.

Once the glue has dried, you will turn it back over and draw on your eyes and face for the snowman.

You can paint on a nose or glue a small piece of orange paper or fabric in place.

Glue on the fabric or felt leaf and small berries on the edge of the top hat as a decoration.

Add the loop of satin ribbon to the back of the tophat for hanging the decoration.

Now, you are ready to display your craft stick snowman!

Video Tutorial:
Printable Step-by-Step Photo Tutorial:
Cute DIY Popsicle Stick Snowman Craft
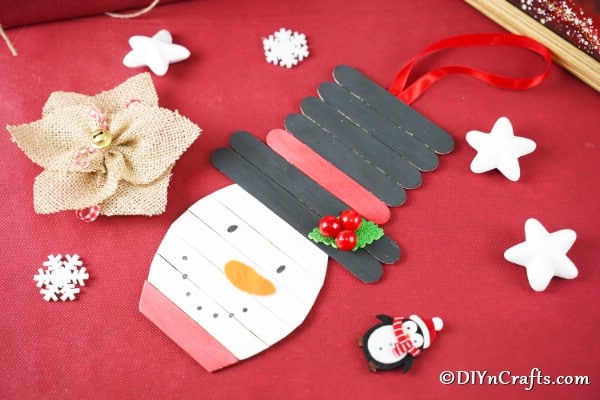
Make a cute DIY popsicle stick snowman craft in just a few minutes with our easy to follow step by step tutorial!
Materials
- 16 Craft sticks (the minimum amount needed)
- Red, white, and black paint
- Orange fabric, paper, or paint for nose
- Green felt or fabric
- Red satin ribbon
- Small plastic berries
- Black permanent marker
Tools
- Paintbrush
- Scissors
- Hot glue gun and glue
Instructions
- Begin by painting your craft sticks. I started by painting 5 craft sticks white;
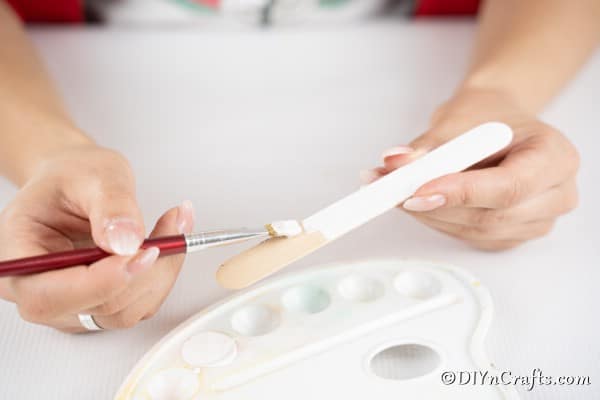
- You can trim your craft sticks now, or wait until later to do this;
- Next, you will paint 6 black craft sticks and 2 red craft sticks;
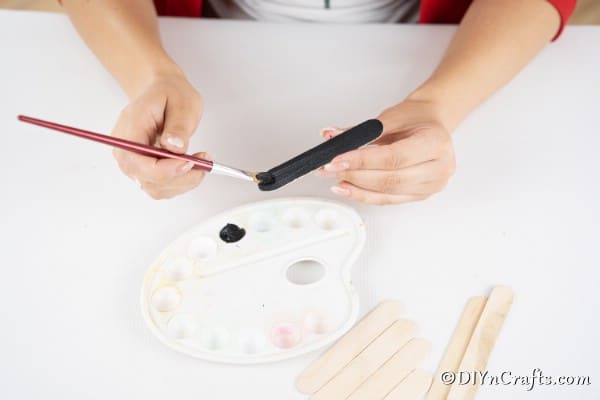
- Set your craft sticks aside to dry, and cut out a small leaf from fabric or felt to use with plastic berries on the snowman hat;
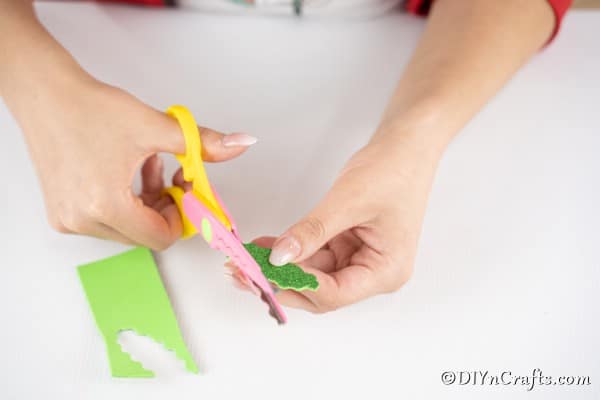
- Once the craft sticks are dry, you will begin assembling the tophat. Place two of the unpainted craft sticks on the table about 1 ½" apart. Start by gluing the 4 shorter black craft sticks;
- Next, you will add one of the red craft sticks, and then the remaining two black sticks to complete the top hat;
- If you did not trim your craft sticks before painting, now is the time to do that to create the hat;
Assembling Your Snowman
- Next, you will place one unpainted craft stick on the table, and begin gluing on your white craft sticks;
- You will notice here that I forgot to add my red craft stick first. I had to add that later, but I recommend you start with the remaining red stick, then follow wit the 5 white craft sticks;
- One these are in place, you will trim the craft sticks to create a rounded face shape;
- Glue the extra end of the craft stick to the back of the tophat making sure the red stick is at the bottom;
- Flip this over and draw on a face and attach the carrot nose. Add a loop or ribbon to the back of the tophat for hanging and then attach the felt leaf and berries;
- This completes your craft stick snowman and he is now ready to display or hang on the tree.
Notes
Have fun customizing your craft stick snowman with different colors of ribbon or paint for the hat and scarf. Make these as big orr as little as you want and give them as gifts!
Recommended Products
My favorite Etsy Snowman decorations. (Affiliate links)





Dee
Or glue popsicle sticks on card stock. Then do, “can you paint 6 popsicle sticks black, 5 sticks white, 2 red and so on. Then cut the sticks and put together and face and decorations. Ta-da a cute snowman!