Are you into rustic design trends and all things homespun and delightful? I sure am. I admit it—I fell head over heels for mason jars, burlap, sliding barn doors, and all other things rustic the moment it became a big deal. And I just know I’m going to have rustic décor in my life long after the trend goes away.

So, how could I have the holidays this year without some rustic Christmas décor to deck the halls? Each year, I try to have a theme for the holidays, and this year, I wanted to do stuff with snowmen. So, I researched rustic snowman patterns and came up with some ideas. In this post, I will teach you how to make a cute rustic snowman out of cheap and simple supplies!
Video Tutorial:
There are a lot of rustic snowman crafts you can make this holiday season, but I wanted to focus on rustic snowman décor which anyone can make. That is one of the many advantages of rustic Christmas ideas from a practical point of view. Not only are rustic Christmas crafts beautiful, but they usually don’t require anything crazy with regards to skill level or supplies.
That makes sense when you think about it. The emphasis with a lot of rustic décor is on simplicity. These are old-fashioned crafts which can spruce up your home and add some extra fun to a weekend afternoon.
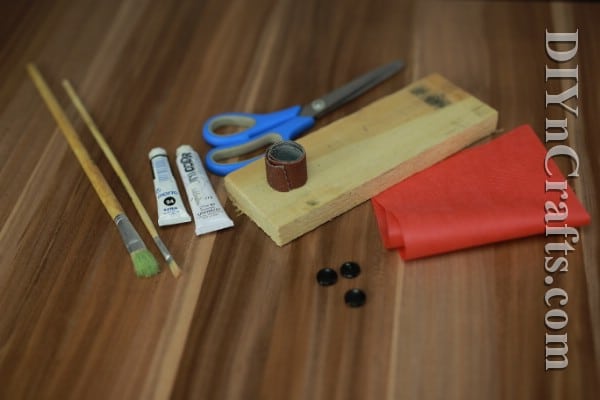
So, let’s begin. Below, you can find the full material list for your rustic snowman decoration. After that, you can read through the steps. I recommend watching the video so you can see how to make your own rustic snowman step-by-step!
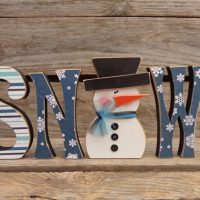
In this detailed tutorial, I will teach you how to make a cute rustic snowman out of cheap and simple supplies! Follow the photo tutorial or watch the video tutorial to learn how to make this cute Christmas decoration. Aside from the saw and the scissors, no tools with sharp edges are required for this project. You can take care of the sawing or have someone at the hardware store handle it. After that, this project is perfect for adults and kids of all ages who can safely use scissors. If you are doing the project with very young children, you can always do the parts with the scissors yourself and let your children do the rest. As an Amazon Associate and member of other affiliate programs, I earn from qualifying purchases.How to Make This Rustic Christmas Snowman Decoration
Materials
Tools
Instructions
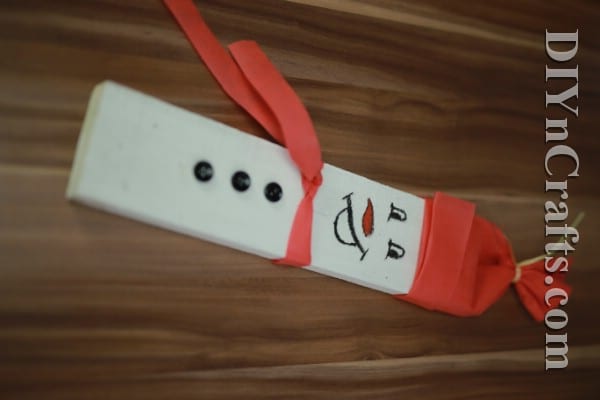
 First, you will need to get a wood piece to use. I recommend simply getting a pallet and sawing off a piece of that. Alternately, you can just go get a board to use from your local hardware store. The size and shape you choose is up to you. You will use one wood piece for each snowman you make, so cut as many pieces as you are going to need.
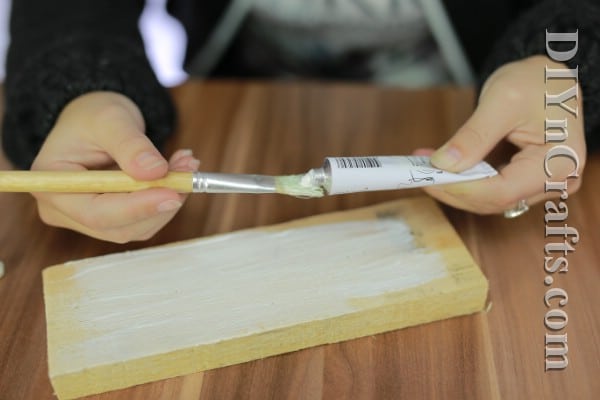

Notes
Recommended Products


Enjoy Your Rustic Snowmen!
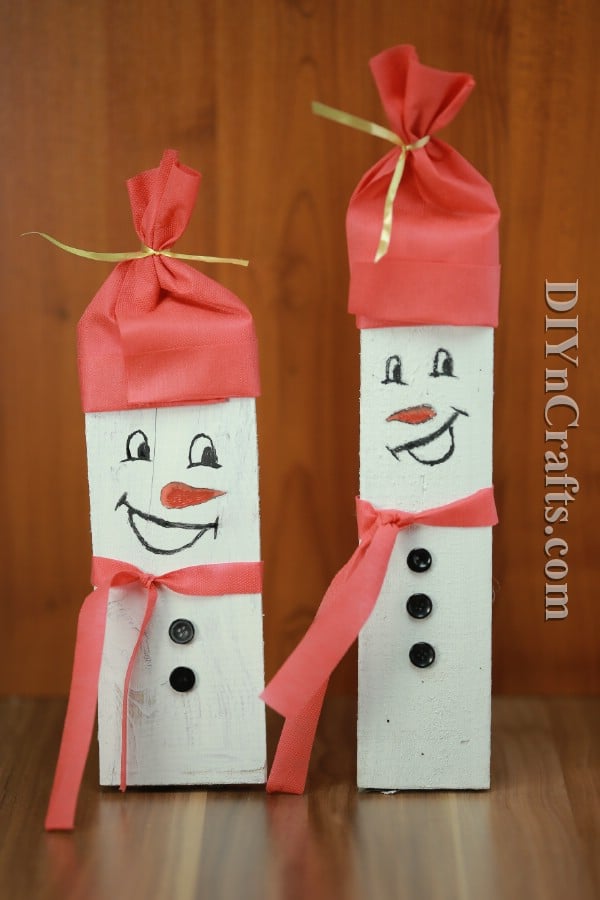
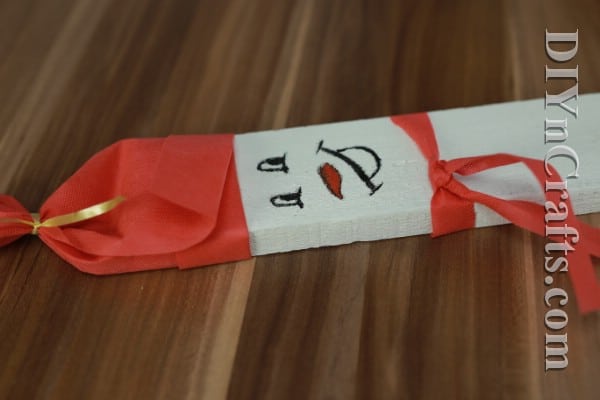
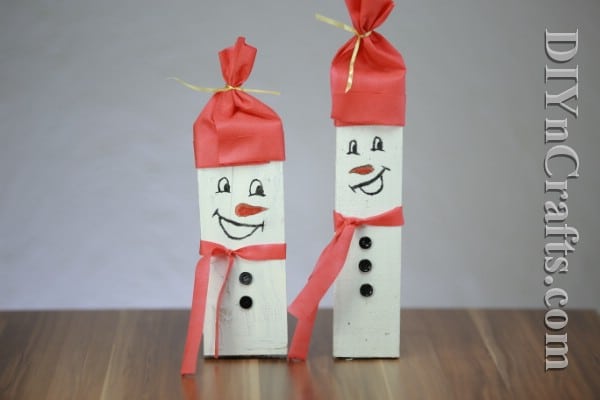
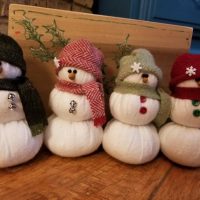
The last step is easy—and that is to enjoy the rustic snowman crafts you have completed! Depending on how thick the wood that you used, these snowmen may be able to stand upright unsupported. If not, you can just lean them against a wall.
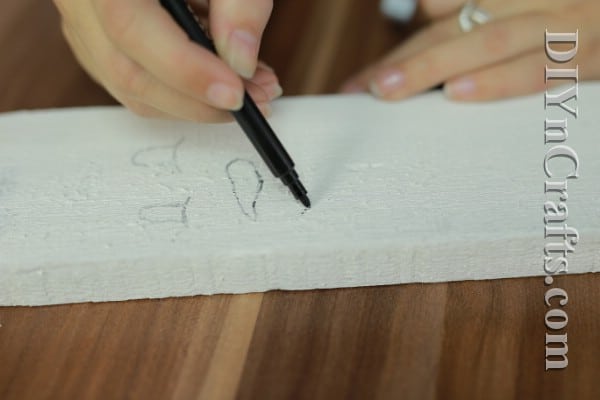
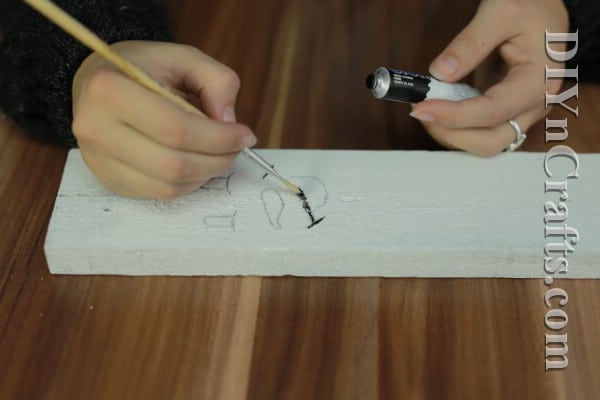
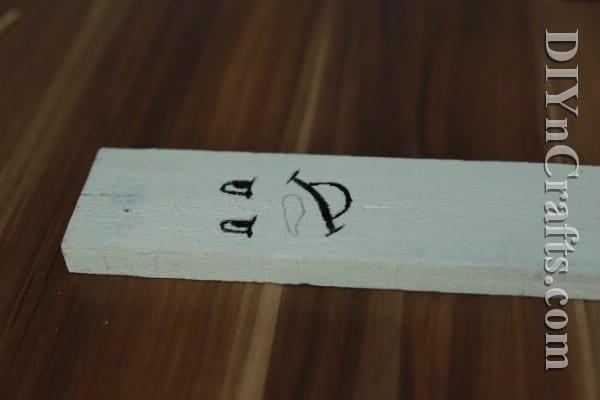
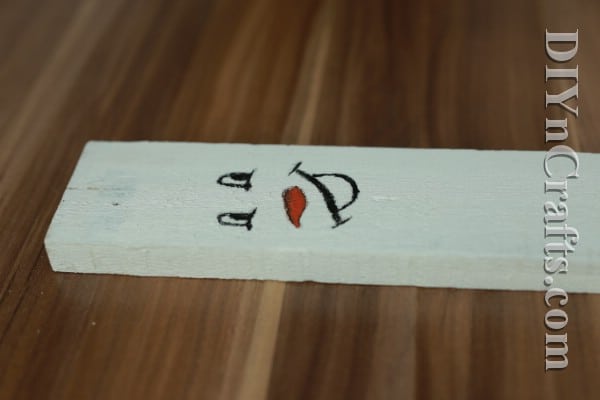
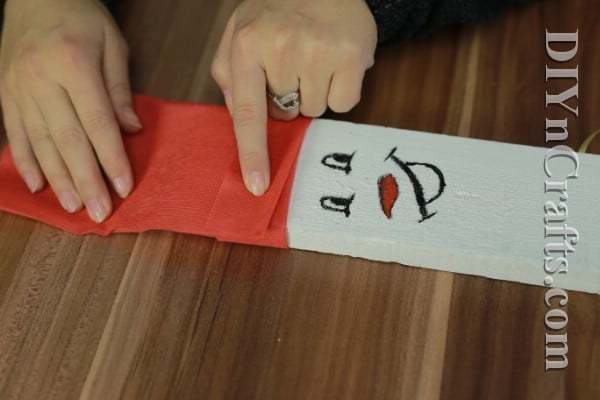
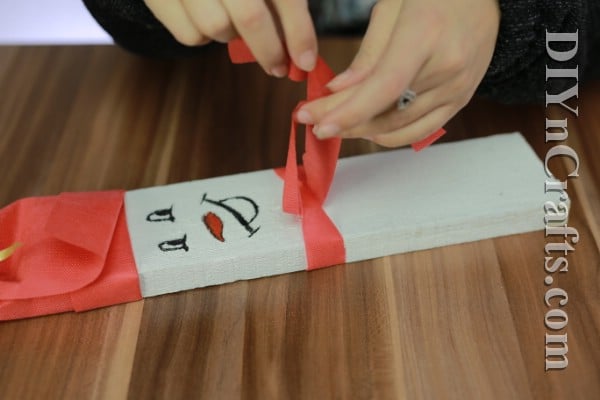
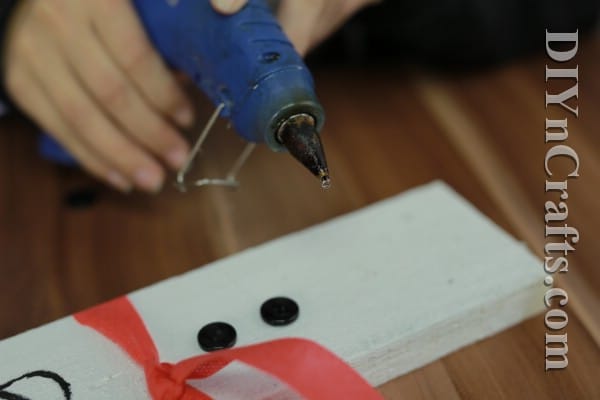
The steps that I shared with you above are just the basic ones to make the snowmen I have shown you in the video and the pictures. But these snowmen are easy to customize. You can use different materials and colors for the scarf and hat. You can try different buttons. You can draw different expressions and facial features.
That is another thing which makes this a great project for kids. You can encourage children to express their individuality by creating unique snowmen. You’ll not only be making snowmen together, but also creating memories.
Do not forget that holiday handcrafts make for some of the best gifts you can give this Christmas. Anyone can go to the store and purchase a present for someone, but how often does someone give you a handmade gift? Handcrafted gifts are truly special since they are one-of-a-kind, and each shows effort.
You can gift these cute snowmen to your family and friends this Christmas, and your kids can do the same. They are a gift which keeps on giving, since every year your recipients will be able to take them out and display them.
I hope that you enjoy this project! Make sure you check out some of the other easy rustic Christmas crafts that I have posted on the site. You will find plenty of ideas to fill your holiday season with crafting fun and cheer!


Julie Kitchener
Love all the projects! thank you
Belinda
Love Christmas and all the projects. Will have fun making them.