
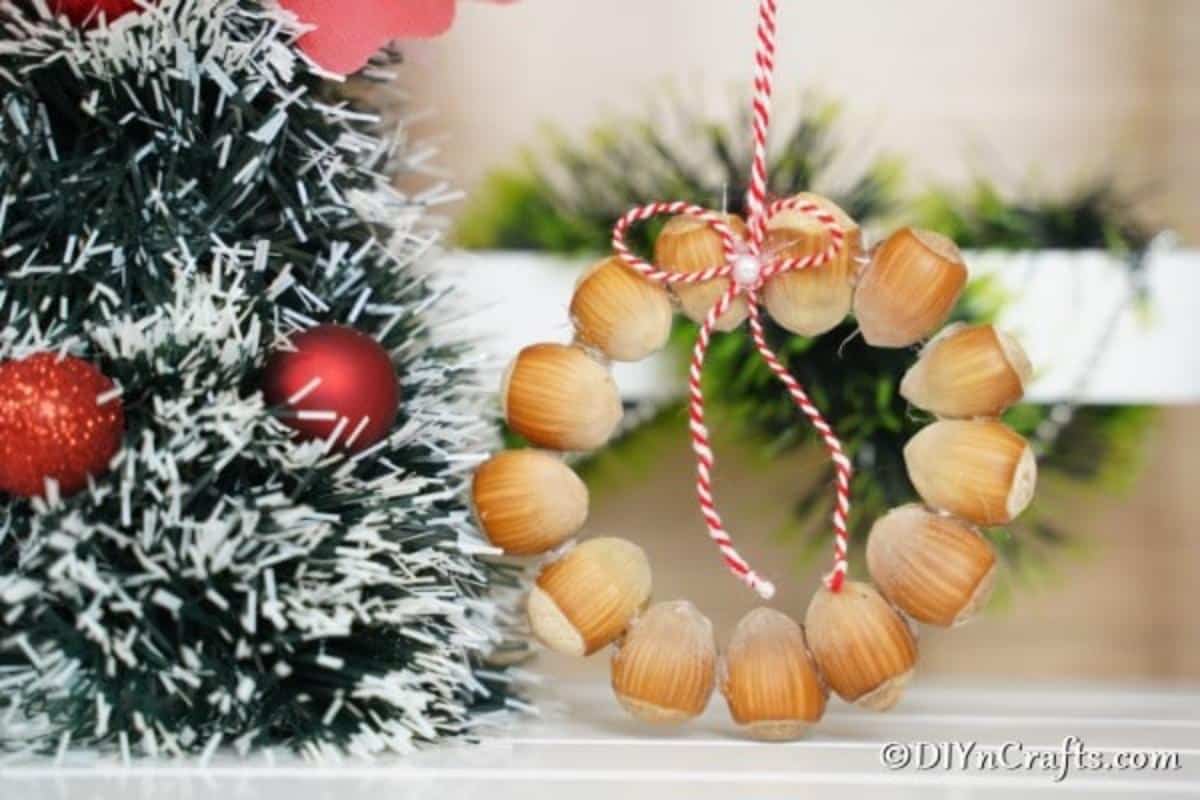
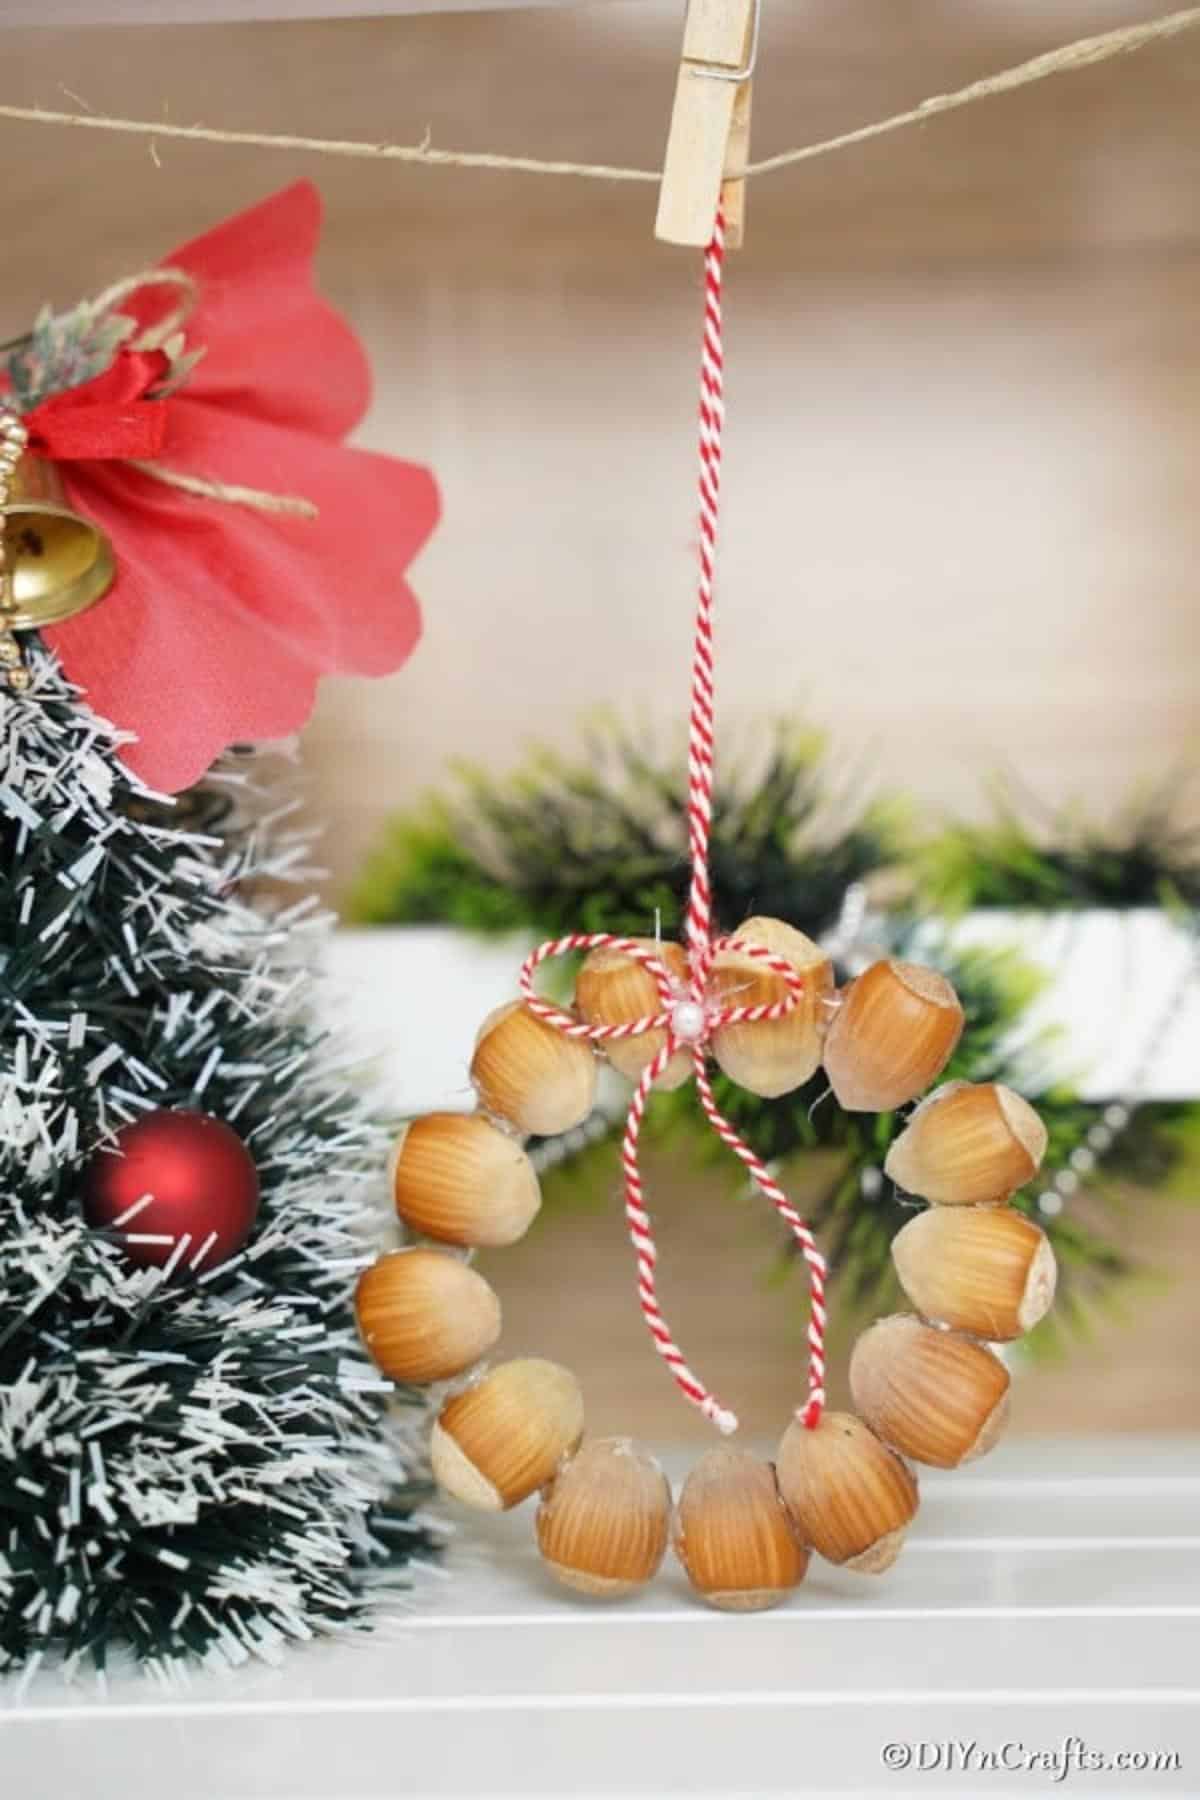
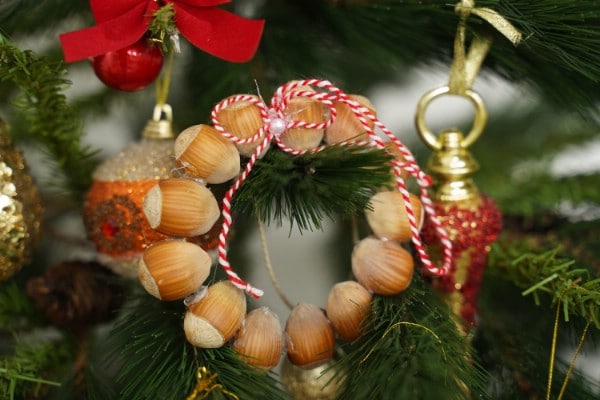
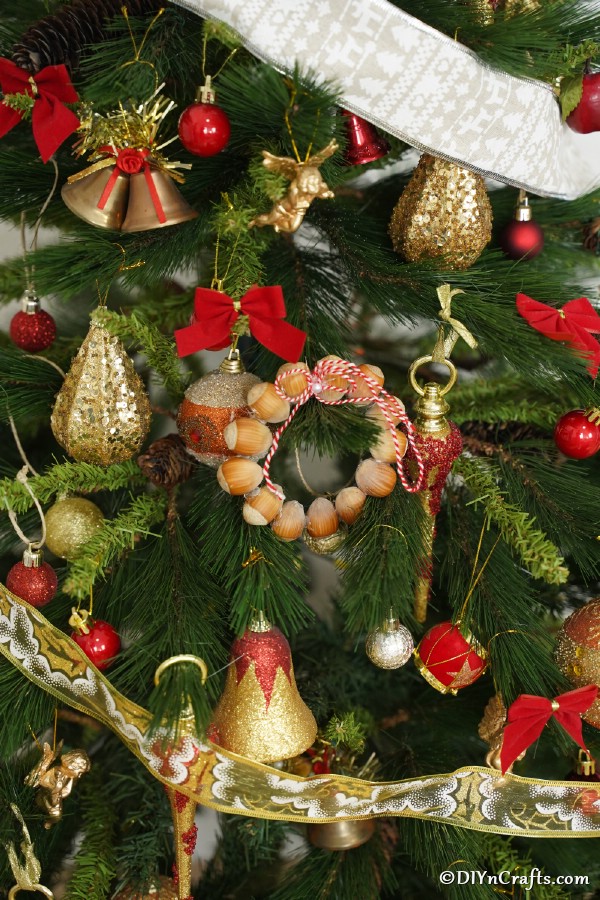
A rustic hazelnut Christmas ornament wreath is a great way to add more of that country and homemade look to your tree this year. A simple craft using hazelnuts at the base can be made in minutes and looks beautiful on your tree with bright ribbons and other festive ornaments. This one is a perfect way to add a natural look to the tree easily and inexpensively.

Jump to:
Rustic Hazelnut Christmas Ornaments
Upcycling and repurposing items are my favorite ways to craft. While this rustic ornament isn't turning trash into treasure, it is a great, fun way to repurpose food into a simple ornament.
For me, the rustic appeal is that it looks old-fashioned and simple on the tree. I find that adds an element of sentimentality to the tree.
I think these hazelnut ornaments will go great with my simple yarn ball ornaments or even these cute little penguin cork ornaments on the tree this year. Rustic, simple, country-style, and beautiful.
That, to me, is what Christmas looks like. If you have more time and ability, you might want to check out this list of rustic Christmas decor you can build.
So many great ideas there that fit alongside our reclaimed wood Christmas decorations to bring the rustic and simple style together beautifully.

Can I Use Different Nuts?
Yes! I love the way that hazelnuts keep the round shape of this little wreath ornament, but you can use any nut you prefer. Pecans, walnuts, chestnuts, brazil nuts, even peanuts!
Some will hold up better year to year, but this is a simple idea that works well no matter the nut used.
Another brilliant idea would be to make our glitter acorn decorations and glue them together for this little rustic Christmas ornament idea! Just use green, red, and silver instead of the fall colors.

What is the Best Glue to Hold This Ornament Together?
Personally, my go-to for most craft ideas is to use hot glue. I think it is the most secure for this craft and the most affordable. You could also use E600 craft glue if you have that on hand. It would be easier and safer to use if you are having little ones help you make this craft.
If kids are helping with ornament making, you may consider doing something simpler, like this little snowman ornament craft. You could also have them help by making this simple 3-ingredient fake snow spread over the mantle.
They could even help assemble these pasta snowflake ornaments, and you can glue them after they have made their design.
Supplies Needed
- Hazelnuts (whole)
- Yarn or ribbon
- Decorative pearl
- Hot glue gun and glue
- A small round bowl or lid

How to Make a Rustic Hazelnut Christmas Ornament
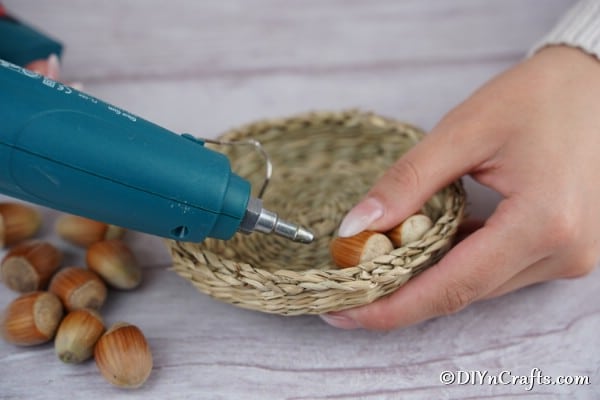
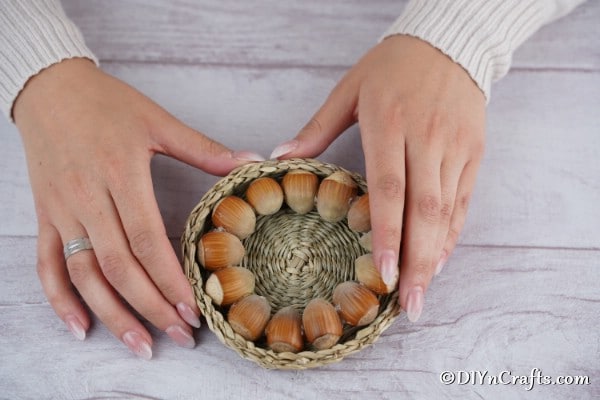
This craft is very simple to make. You will begin by finding a simple round lid or shallow bowl in the size you want the ornament to be. You want there to be an opening in the middle so it looks like a wreath. A 4"-5" across item works best.

Place the hazelnuts into the bowl or lid and push them up against the edge so they form a circle but are open in the middle.
Next, you will start attaching the nuts to each other with hot glue.
Leave the "wreath" in place and let it dry before you remove it from the bowl or lid.

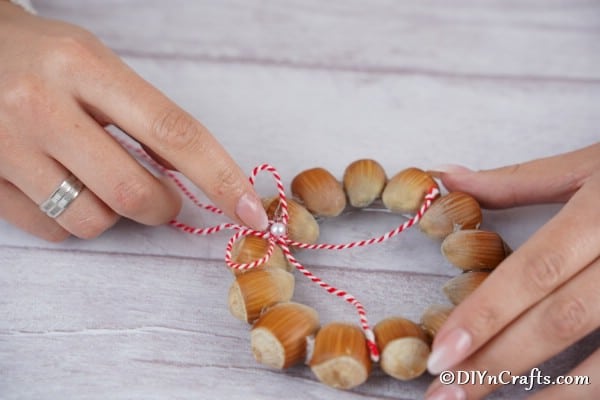
Next, you will create a ribbon to hang the rustic ornament with from the tree. I twisted together two colors of thin twine, but you can use a silk ribbon, rustic twine, or whatever you prefer.

Simply tie the twine or ribbon together at the loose ends, twisting it around the middle of the ornament to secure it. You can also glue the ends in place if you prefer for more security.

I added a small bow to the front from the same twine and glued a decorative pearl in the center of that bow.
Video Tutorial:
Printable Step-by-Step Photo Tutorial:
DIY Rustic Hazelnut Christmas Ornaments
Turn simple hazelnuts into an adorable rustic Christmas ornament with this easy to follow tutorial!
Materials
- Hazelnuts (whole)
- Yarn or ribbon
- Decorative pearl
Tools
- Hot glue gun and glue
- A small round bowl or lid
Instructions
- Begin this craft by finding a simple round lid or bowl that is the size you want your ornament to be once completed;

- Next, you will place the hazelnuts into the bowl around the outside edge to make sure they form a circle but are open in the middle;
- Begin gluing the nuts to each other with hot glue;
- Once all hazelnuts have been attached, let the glue completely dry before removing from the lid;
- While the glue is drying, cut a length of yarn or ribbon to create the hanger. I twisted white and red thread together for mine;
- Remove your hazelnut "wreath" from the bowl or lid, and tie your yarn around the top between two of the hazelnuts;
- Secure this with a drop of glue, and add a bow to the front with a fake pearl for added decoration;
- Hang on the tree to display.


Recommended Products
My favorite Etsy Christmas ornaments. (Affiliate links)
-
 Personalized Christmas Ornament Gingerbread House Family of 8 Customized Handmade Gift With Handwritten Names
 -
 Christmas ornaments
 -
 12 White crochet snowflakes xmas decor Christmas ornaments
 -
 Wicked Chickens Wickedly Cute Holiday Trio Christmas Ornaments
 -
 Felt Christmas Ornaments Set of 10 Christmas decoration Christmas ornaments Christmas tree decors
 -
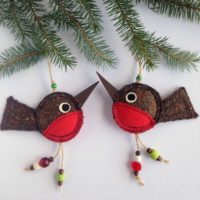 Robin Ornament Christmas Robins Christmas Tree Ornaments


sam
hi, there I love all the winter crafts here.
Darleen
Love so many crafts to make. Thank you they all look easy even for a 84 year old?
I am young at heart I hope that helps.