Since I was a little girl, I have been fascinated with butterflies. I have since passed that fascination down to my own children, so when I saw this adorable butterfly jar, I knew that we would have to make it.

Jump to:
What Is A Butterfly Jar?
A butterfly terrarium jar is simply a jar of wired butterflies – talk about a literal meaning. This one is super easy to make, and no butterflies were harmed while making this DIY butterfly jar. Now, you can use any jar that you have on hand for this. It’s a great way to repurpose mason jars, although I do think that the rounded bottom jars give it a great Beauty and the Beast look don’t you think?
Choosing Your Butterflies
Again, these aren’t real butterflies. You make these by just printing off some butterflies from your computer.
You can use whatever colors and designs strike your fancy. I like the all-blue look, but you can use any combination of colors that you want.
Click on the following link to download and print the template for the blue butterfly set I used. (Template opens in a new tab)

What Do You Do With A Butterfly Jar?
I have this one on my desk, but you can use these as wonderful gifts for someone special. Or, if you are decorating for a wedding this summer, imagine having these gorgeous DIY butterfly jars on every table at the reception. They’re really cheap and easy to make, and they would make beautiful wedding decorations.

How To Make Your Own Butterfly Jar
If butterflies are your thing, you are going to love this video tutorial. I’ll show you how to turn an empty jar and some printed butterflies into a gorgeous decoration that is great for adding some elegance to your home or your upcoming DIY wedding.

How To Make a Butterfly Terrarium Jar
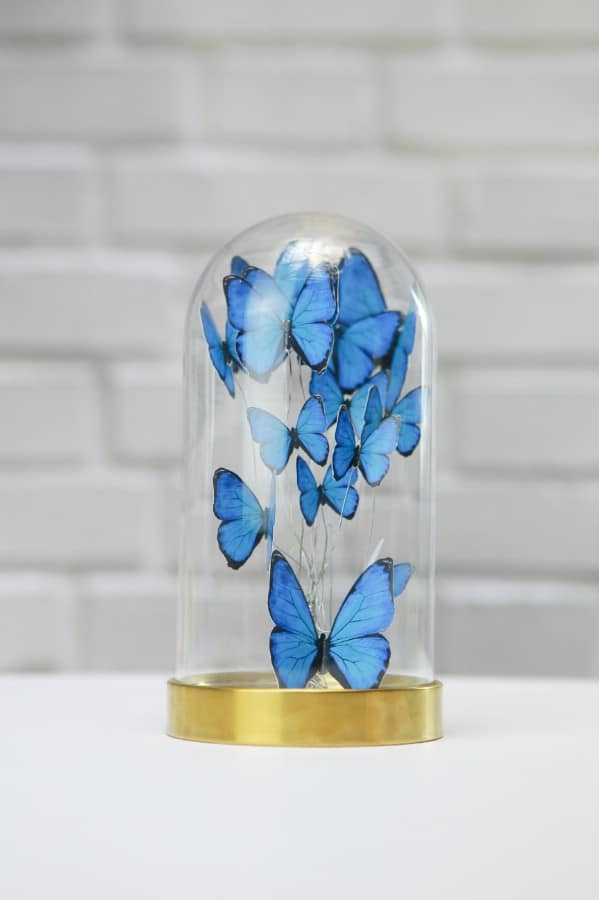
Turn an empty jar and a few craft supplies into a gorgeous DIY butterfly jar. This easy step-by-step tutorial shows you how to make your own jar of butterflies.
Materials
- An Empty Jar
- Printed Butterflies (Template link)
- Wire
- Pliers
Tools
- Scissors
- Hot Glue Gun
Instructions
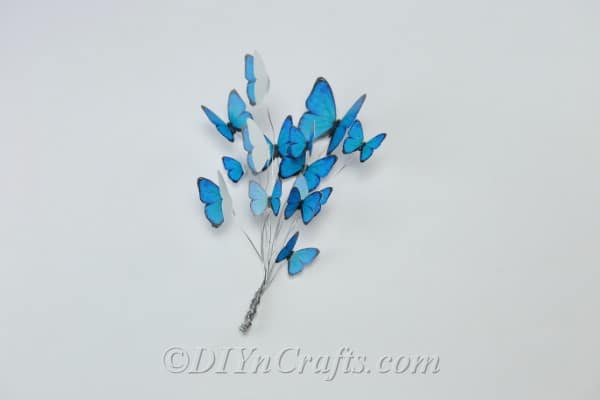
First, you will need to choose and print off your butterflies. I’ve used blue but you can use any color or combination of colors that you want.
- Cardstock is great for making them stronger, so print them off on cardstock, and do different sizes to add more dimension to your DIY butterfly jar. Make sure that you don’t print them too big – you want them to fit inside your jar without having to crinkle them.
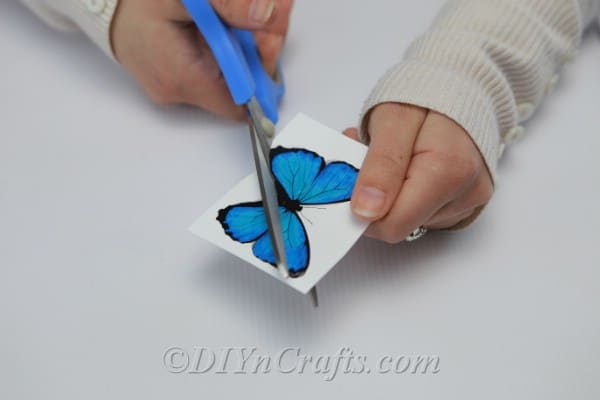
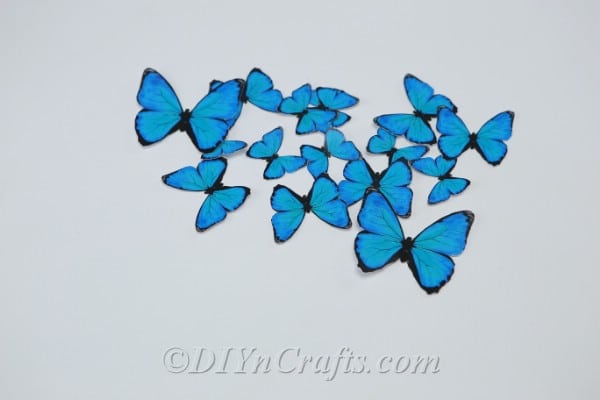
- Once you have the butterflies cut out, and your jar chosen, you can begin decorating and adding the butterflies to the jar.
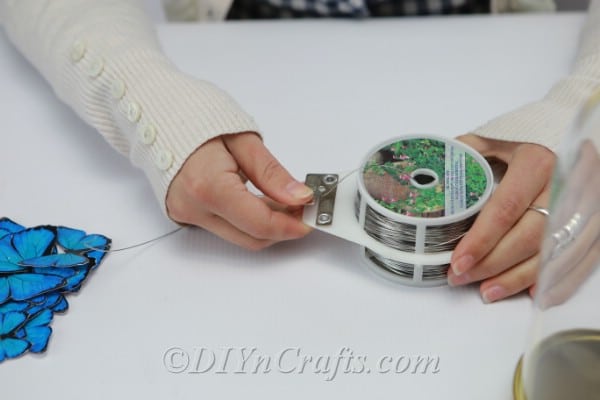
- Cut some wire into different lengths. The wire is going to hold your butterflies in place, so it shouldn’t all be the same length.
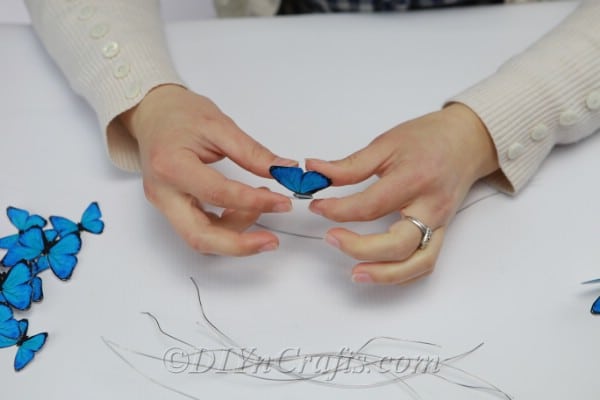
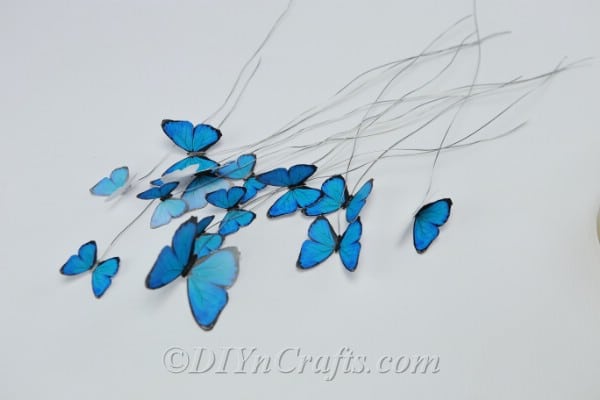
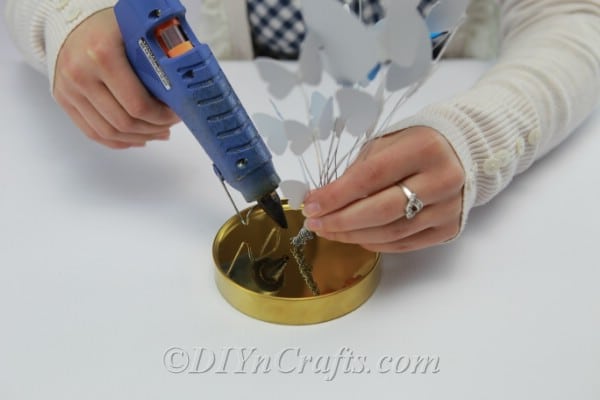
- Once you have enough wire cut, begin gluing your butterflies. You want to glue one butterfly to the top of each piece of wire that you previously cut.
- Fold some of your butterflies kind of in half so that they look like they are in mid flight.
- Leave the others unfolded.
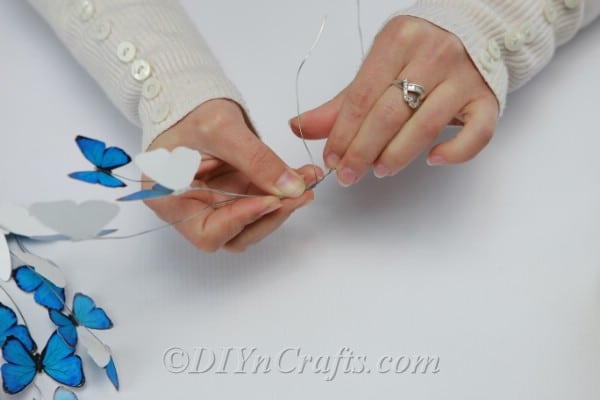
- When you have as many butterflies as you want to add to your jar, and you are happy with how they look, you just wrap the wire together and attach it to the lid of your jar. You can glue it down or poke a hole in the jar and insert the wire through to hold it in place.
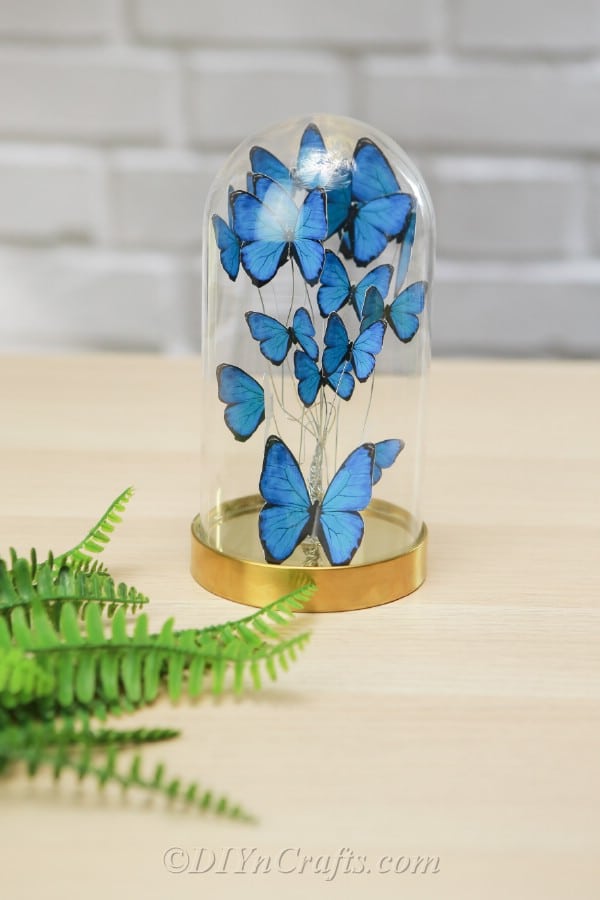
- Place the lid back onto the jar and you’re all done. Your finished DIY butterfly jar should look something like this:
Recommended Products
My favorite butterfly Etsy items. (Affiliate links)
What Else Can You Make With Empty Jars?
I’m not sure I could count the ways that you can repurpose empty jars…and that means jars of all shapes and sizes! If you haven’t already, take a look at these decorative garden treasure jars that you can make with those repurposed jars. You can also make frozen candle jars for the holidays and I’ve shown you a great tutorial for turning a glass jar into an adorable fairy house.
Pin this Project:

What’s Your Favorite Thing To Do With Empty Jars?


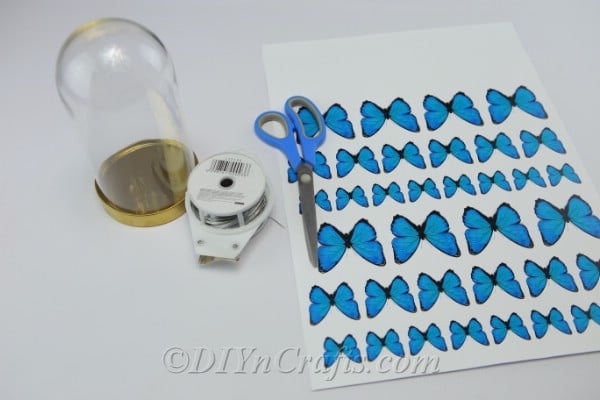 First, you will need to choose and print off your butterflies. I’ve used blue but you can use any color or combination of colors that you want.


Regena Beatty
I love your videos
Bonnie Joy
I love your idea of butterflies. I love butterflies, too and always looking for new ideas to use them even in the Winter time getting ready for Spring and butterflies. Thank you for the idea.
Bonnie Joy