Looking for a fun, easy, and affordable way to add some life to your home décor? Check out this DIY upcycled twine-wrapped bottle planter craft! This project is perfect for anyone looking for a creative way to reuse old bottles. Plus, it's really simple to make – all you need is some twine and a hot glue gun! So get creative and have some fun with this one.
Twine Wrapped Bottle Planter
This project is super easy to make and fun for even the kids to help create. While it uses hot glue, it's something you can work with your kids to make if using a cold glue gun or just a good quality craft glue instead.
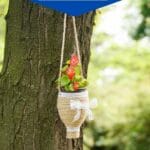
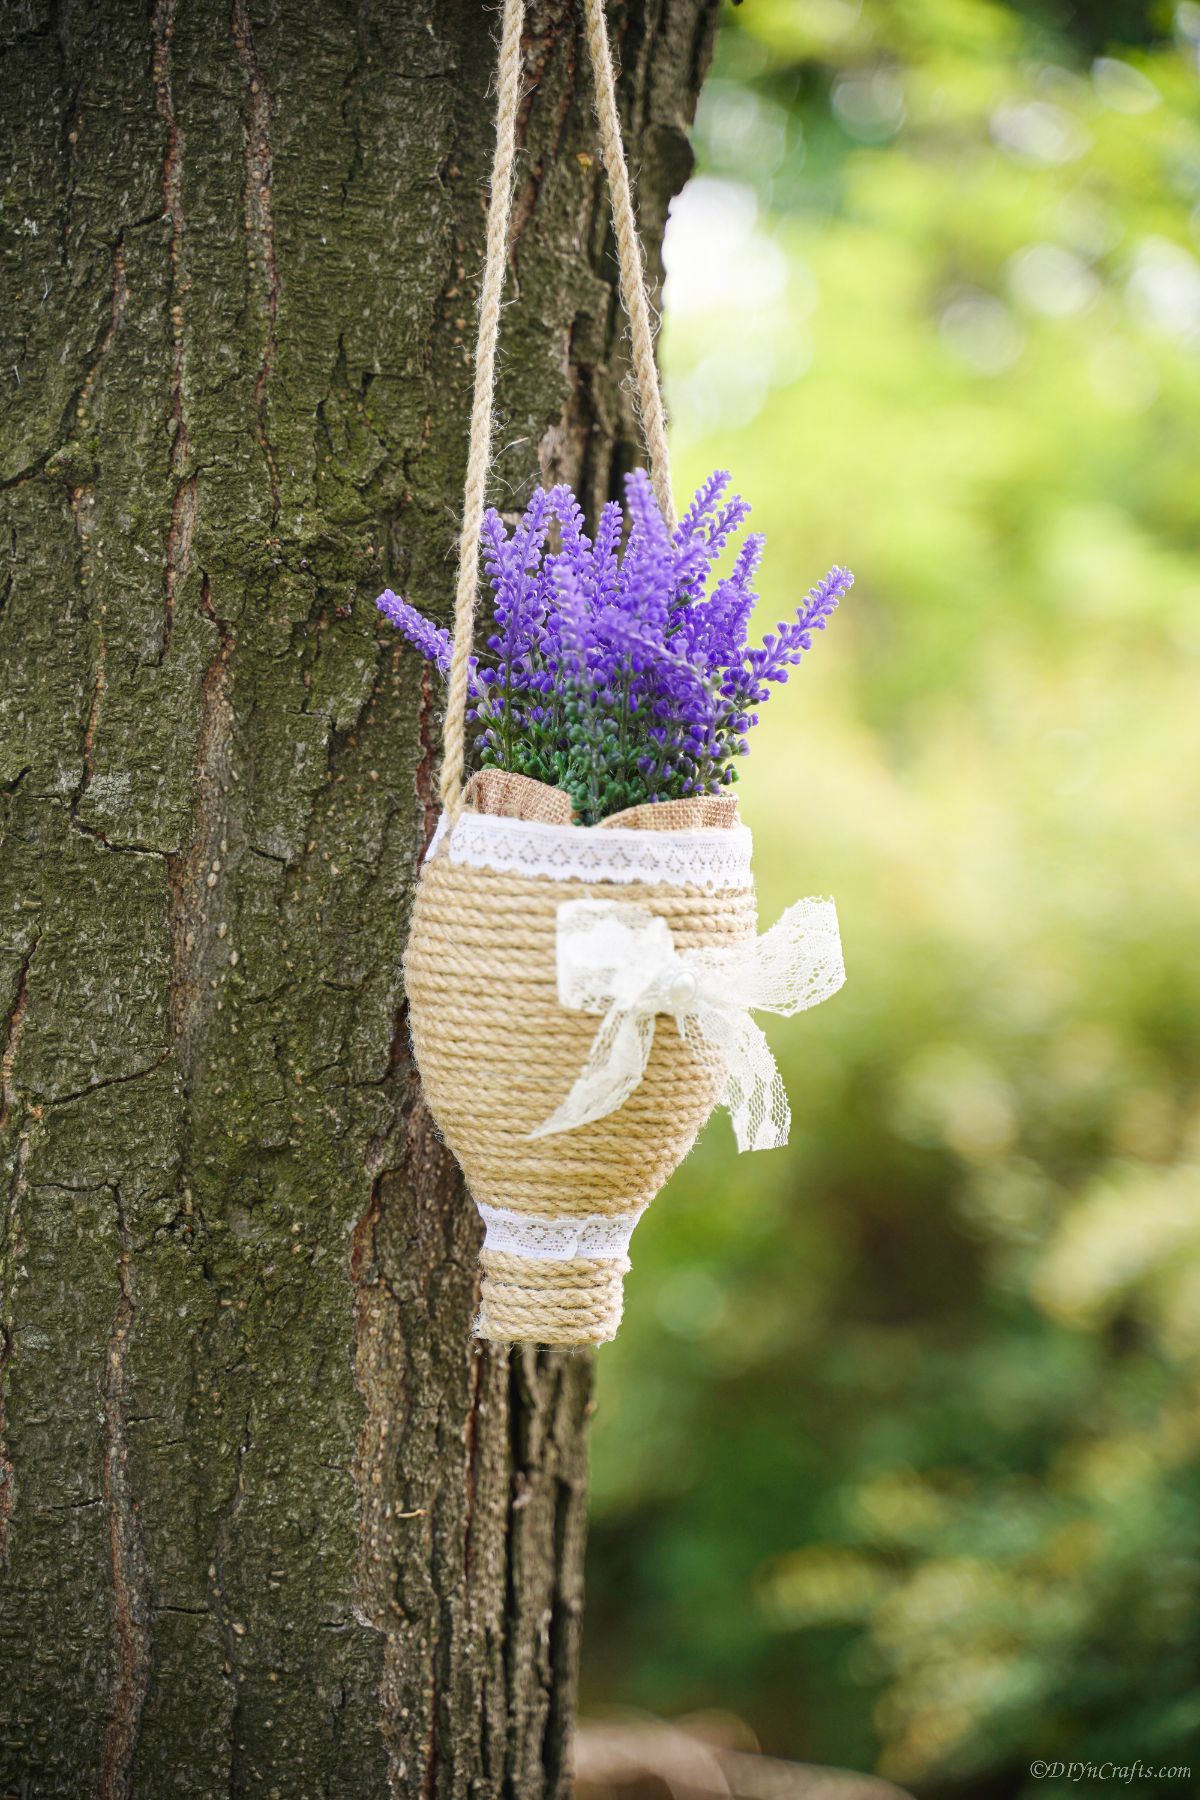
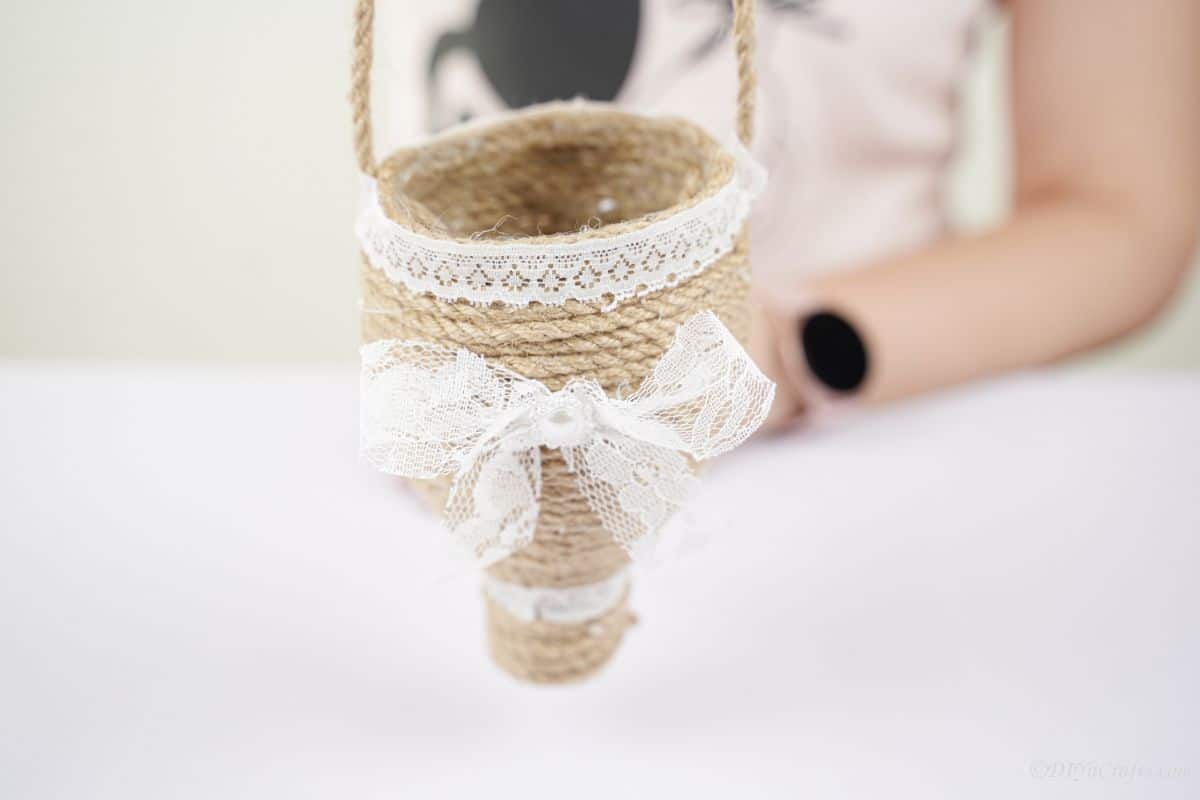
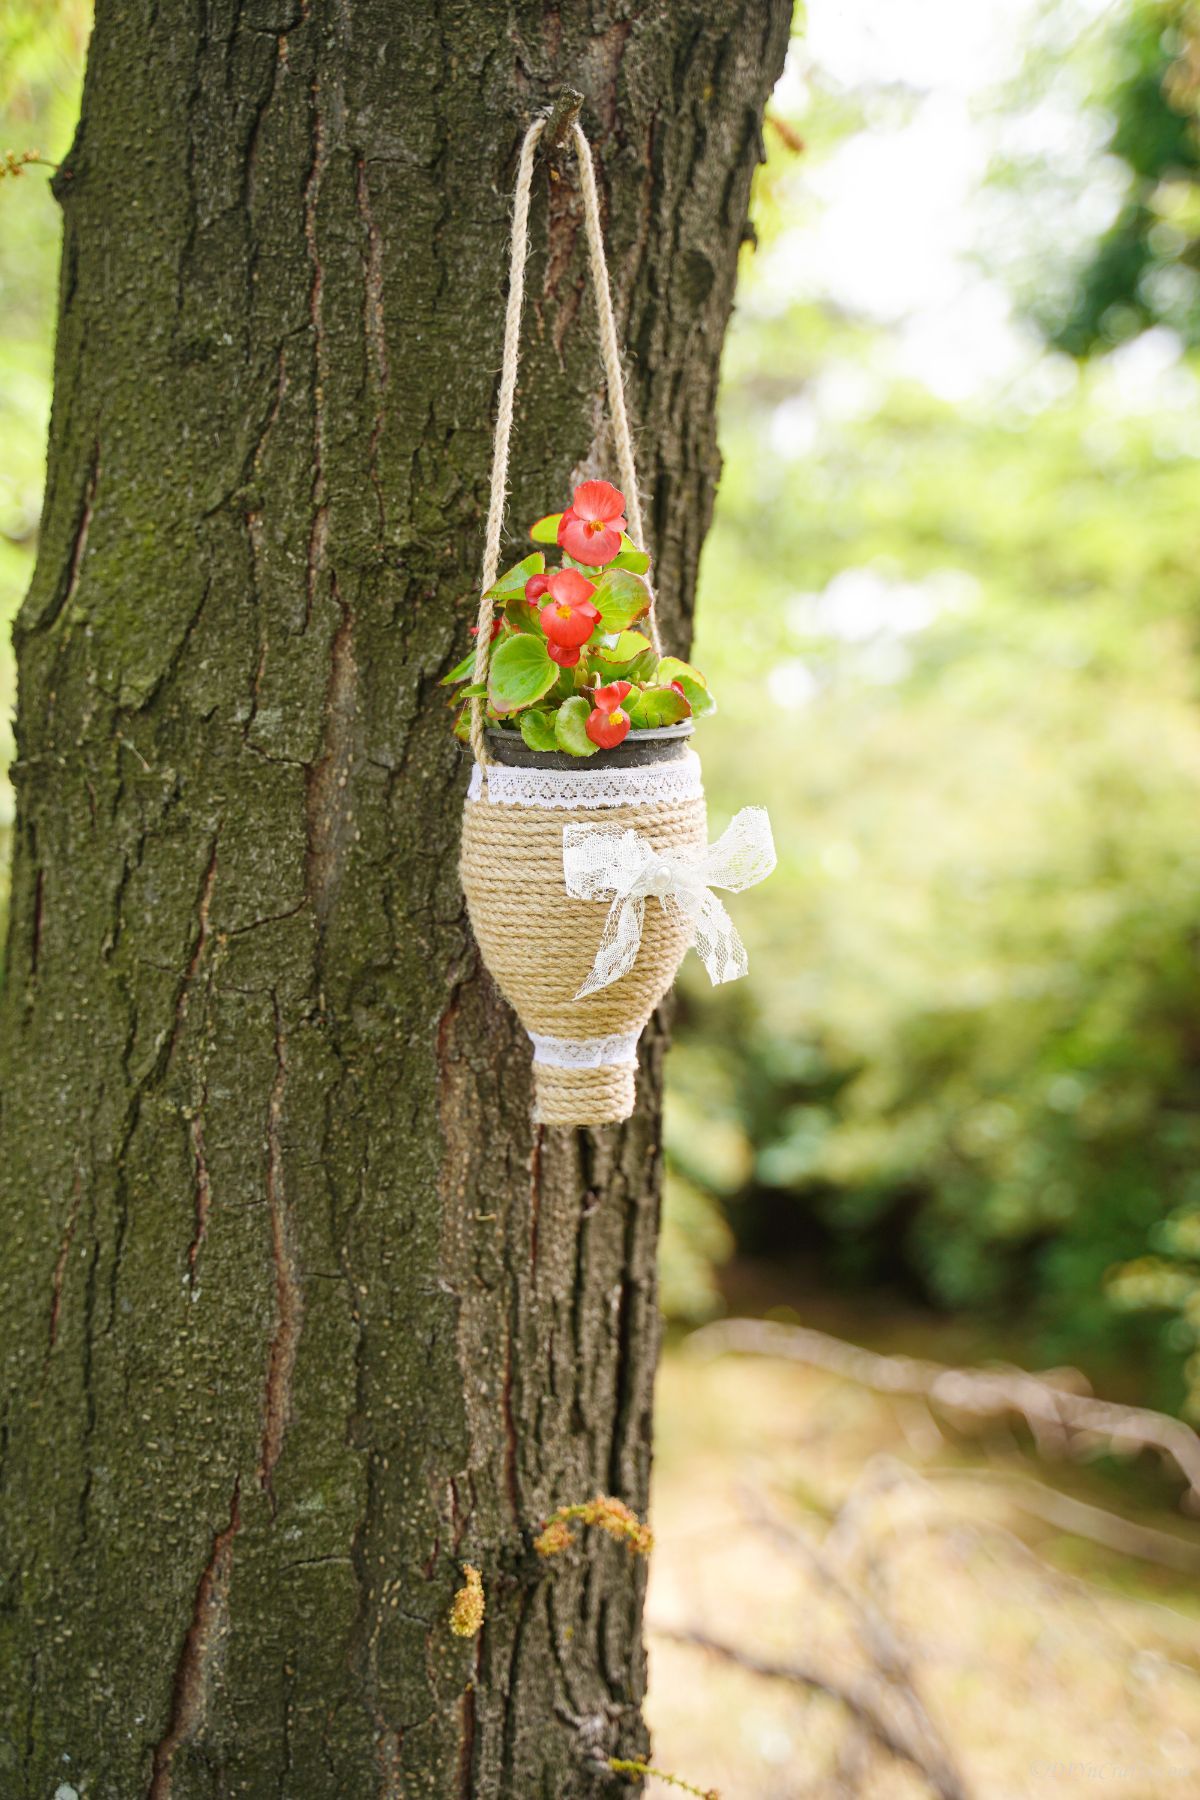
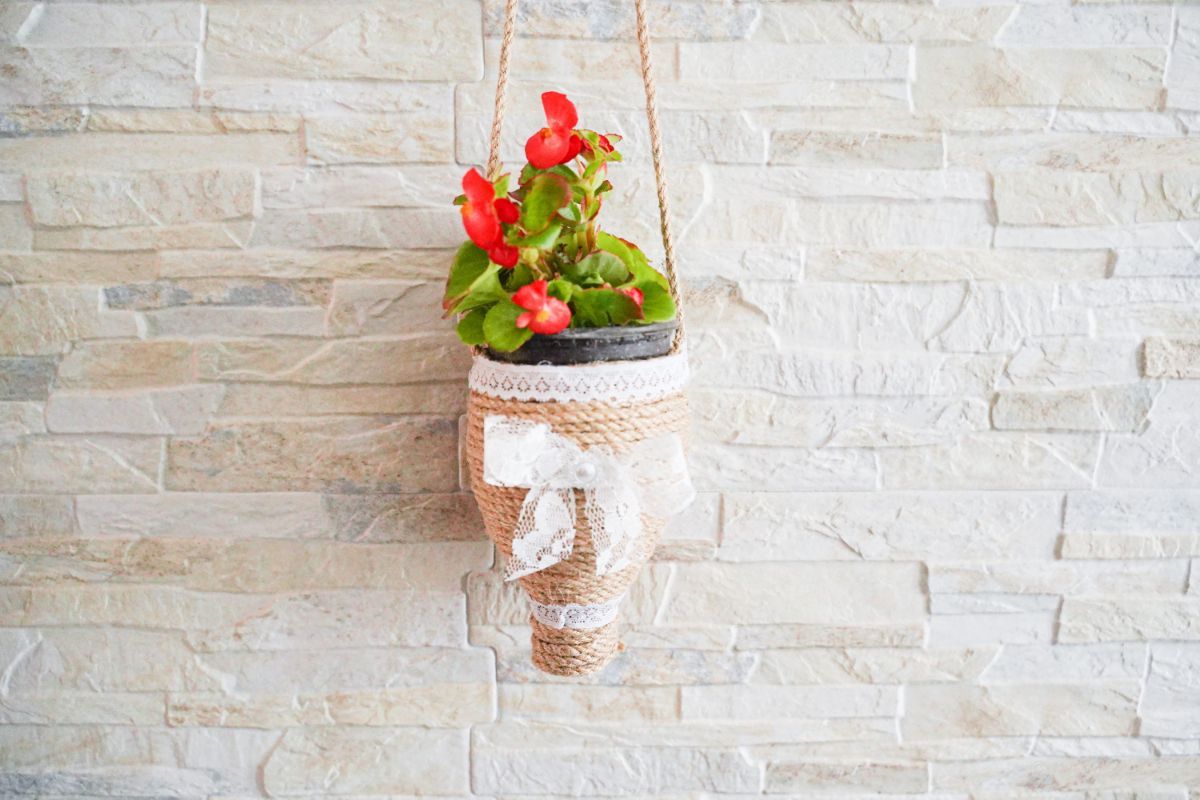
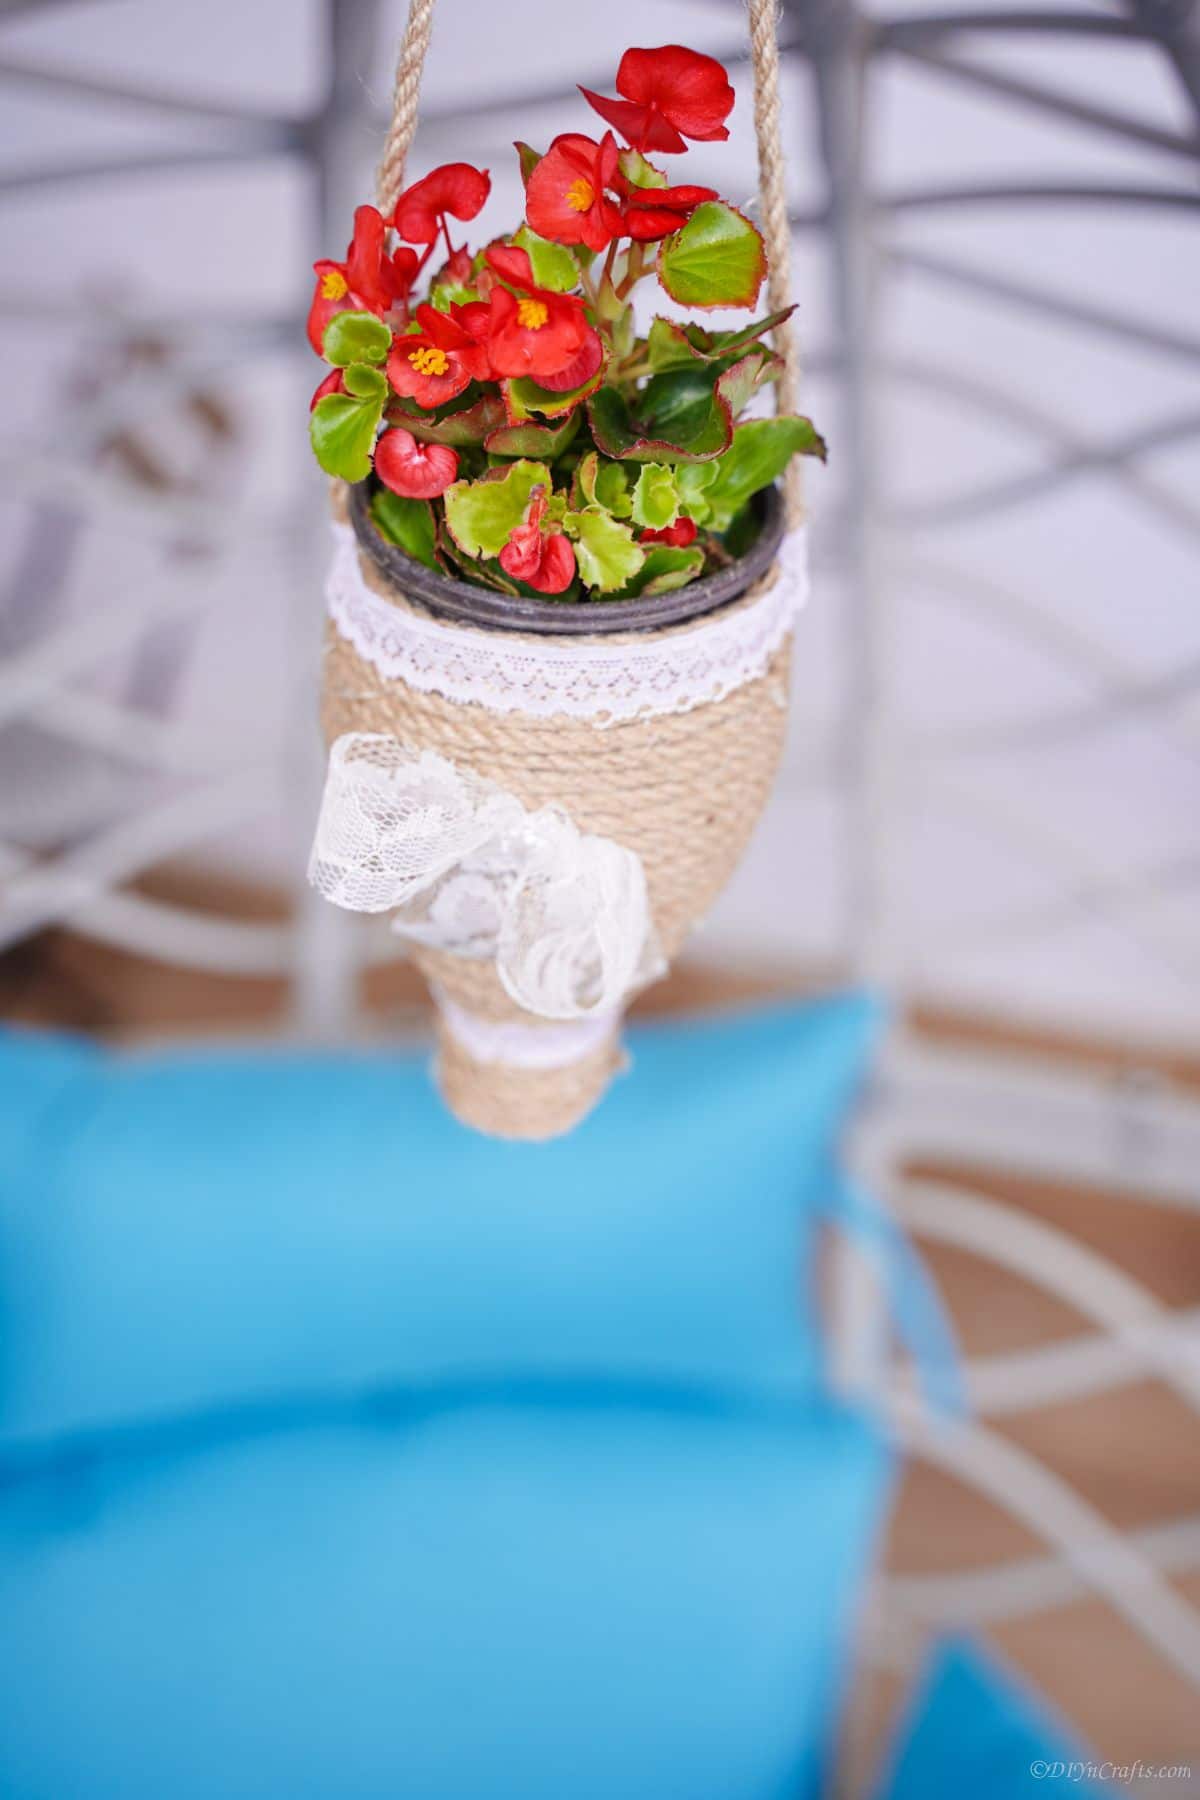
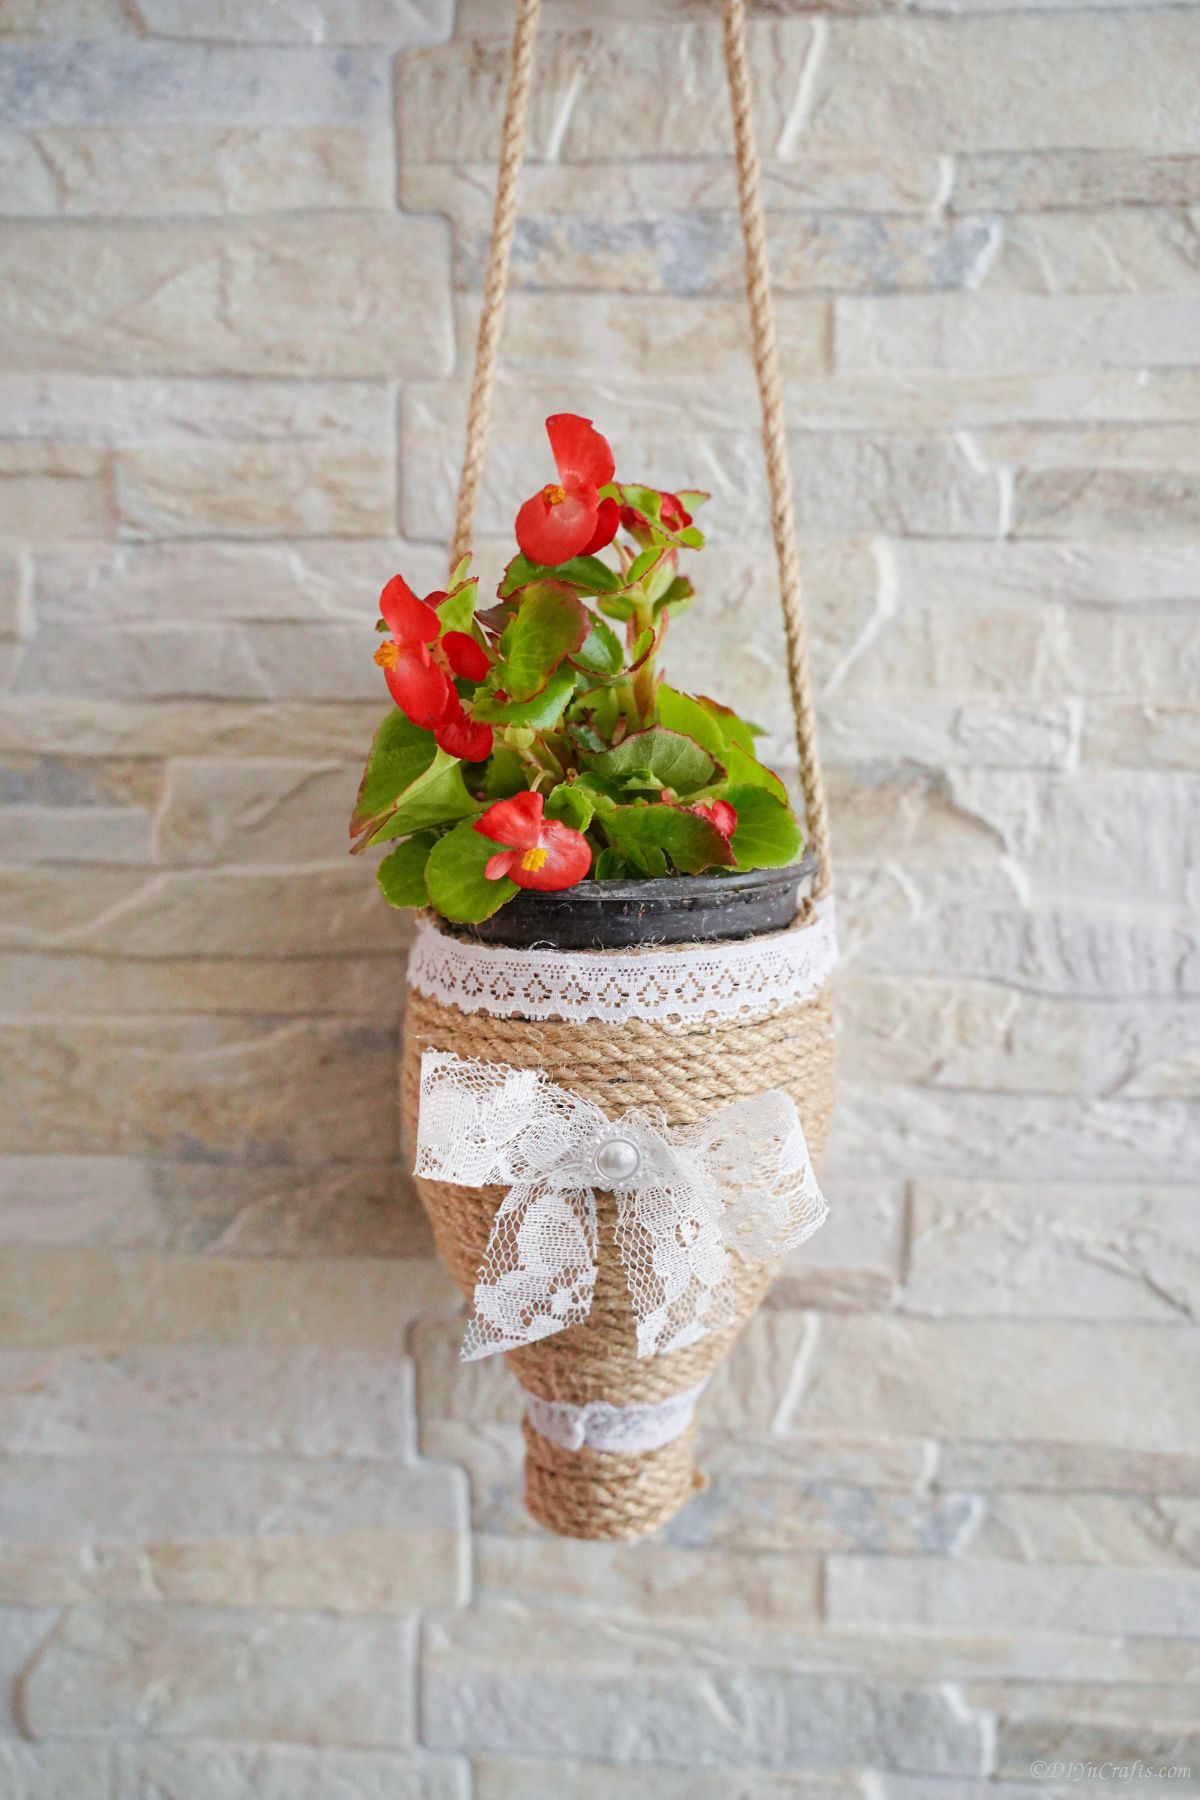
This looks great in homes that have a more country chic or rustic look, but can also hang outside for a fun addition to your porch decor or even garden hanging from a tree branch. The finished project looks beautiful and makes the ideal fun craft that can be used just to house a plant, or as part of your creative home decor.
If you like this rustic style, then you might also like this super cute paper straw DIY floating succulent planter. Another fun way to share plants with an upcycled and affordable base instead of pricey pieces from your local decor shop.
How Can I Remove Jagged Edges on a Cut Plastic Bottle?
When you cut the plastic, sometimes it causes the edges to be jagged and sharp. There are a few ways that you can fix the rough edges of the plastic bottle.
- You can use a sanding block to smooth out the edges of the plastic. Sanding the plastic smooths out the edges without worrying about using heat or adding anything else to it.
- You can also use a heat gun to melt the edges of the plastic and make them smooth. If you do not have a heat gun, you can also use a lighter, but since the heat is harder to control, it can be harder to use this method.
- Another option that is simple is using tape to cover the edge of the bottle. Since it will get wet if you have a live plant inside, then you may want to use a water-proof option like Duct tape, electrical tape, or Gorilla tape to cover the top of the cut edge of the bottle.
What Can I Use Instead of Twine?
I love the way the twine looks on this planter, but you can also use whatever you have on hand. If you plan to keep this just inside, the yarn would work well for wrapping the planter. Using ribbon is another pretty option that comes in a variety of colors, sizes, and styles to choose from fancy to rustic. Of course, you can also use strips of fabric braided or twisted and glued into place. That can give it a really unique eclectic look.
If you want a monochrome look, you can coat it with just a fishing line for a super unique style that is all clear but also not see-through. Of course, you could even decorate it with fishing lures if you want to use it in a boat house or gift it to someone who is an avid fisherman.
My favorite option other than twine though is to use colorful or patterned washi tape to cover the bottle. There are tons of different options out there with both solid and patterned varieties that can give you the perfect way to match your existing home decor.
Can I Use This For Real Plants?
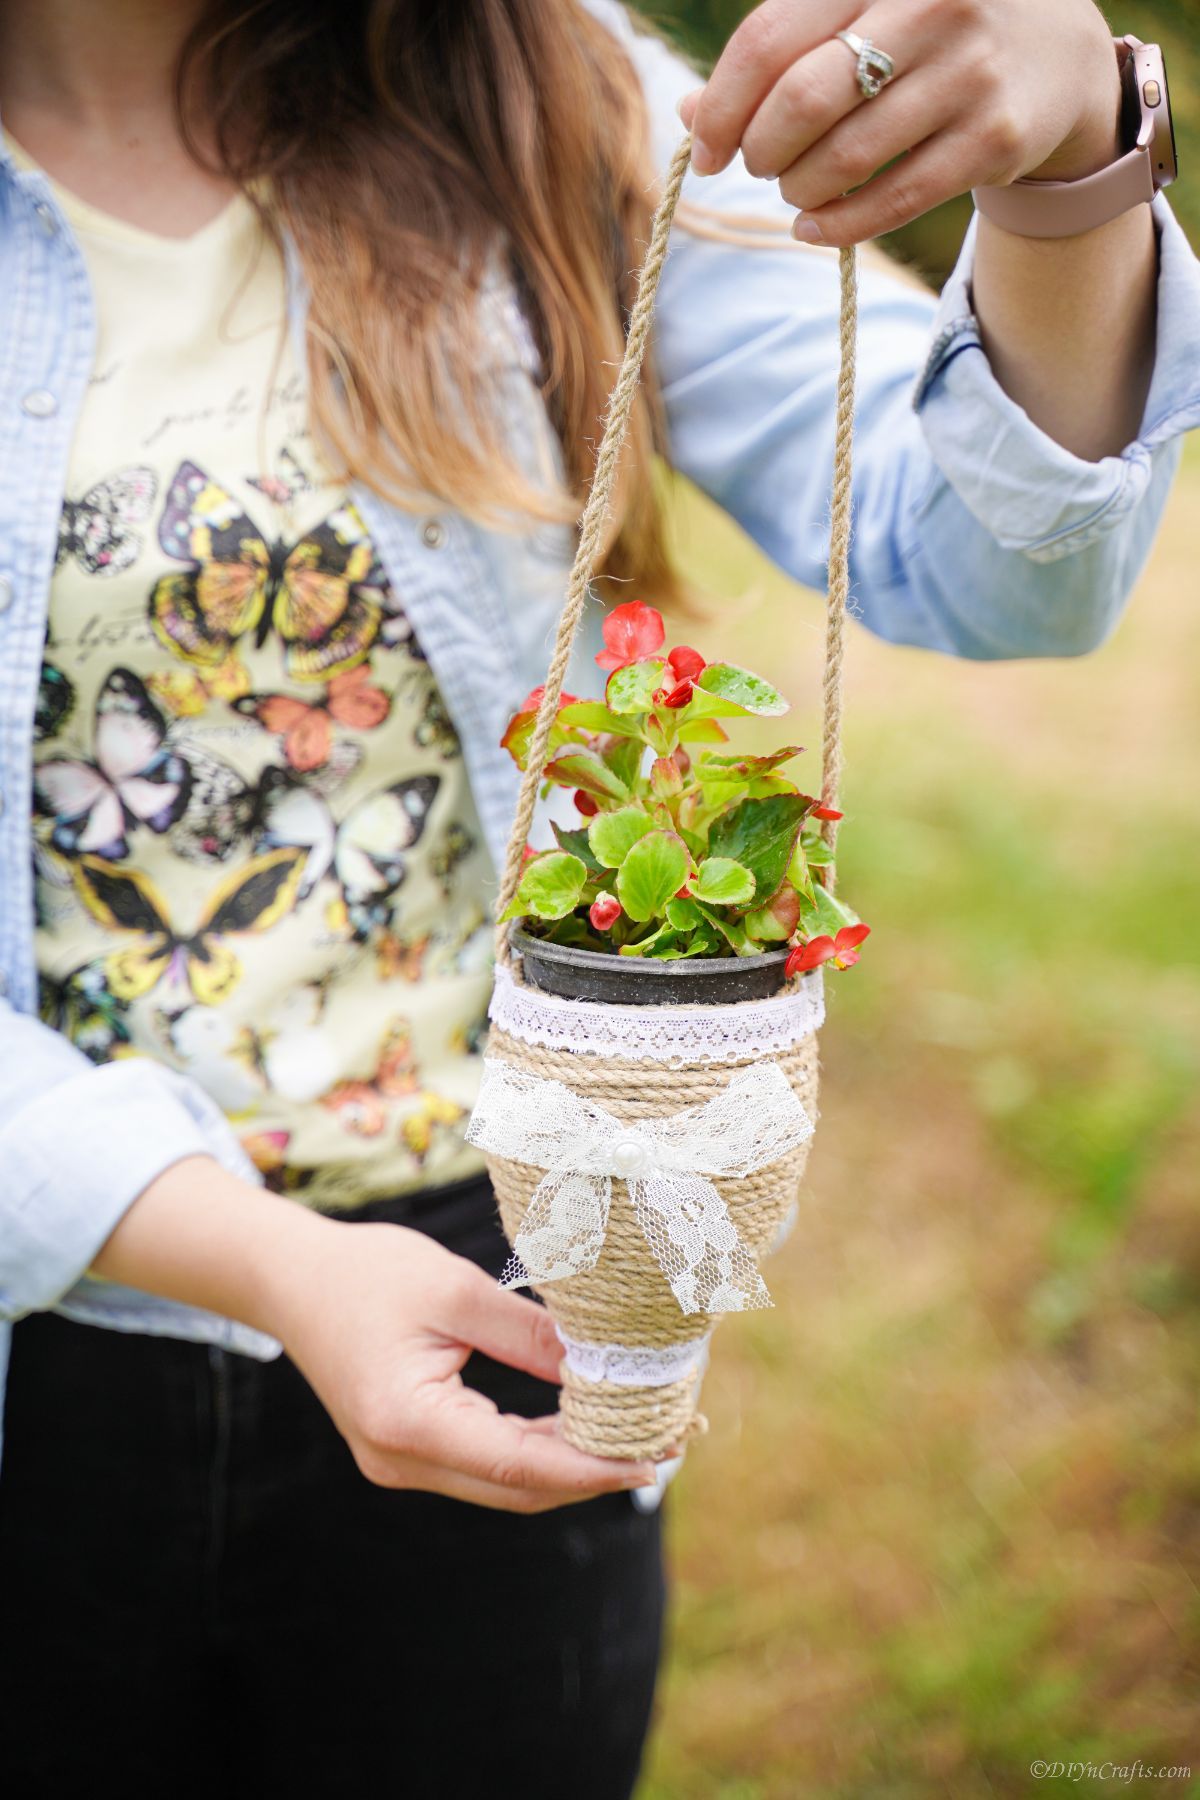
Yes, you can use this for real plants. Because it is the bottom of a water bottle, it can hold the soil and handle having water poured inside. The inside of the bottle is small-ish, so it will work with smaller plants. If you are adding a plant that will grow large, you can keep it in its nursery pot and add the burlap around it to hide it. Then as the plant gets too big, simply remove the pot and you can repot the plant somewhere else. Then you can add a new smaller pot.
If you plan to grow a live plant in this, you may want to add a few puncture marks around the neck of the bottle for water to drain out of when you water the plants. This works nicely, but I prefer just using a small planter or the nursery pod they come in to add them to my planters. That way, it is simple to take them out and put them into the garden or a larger pot later.
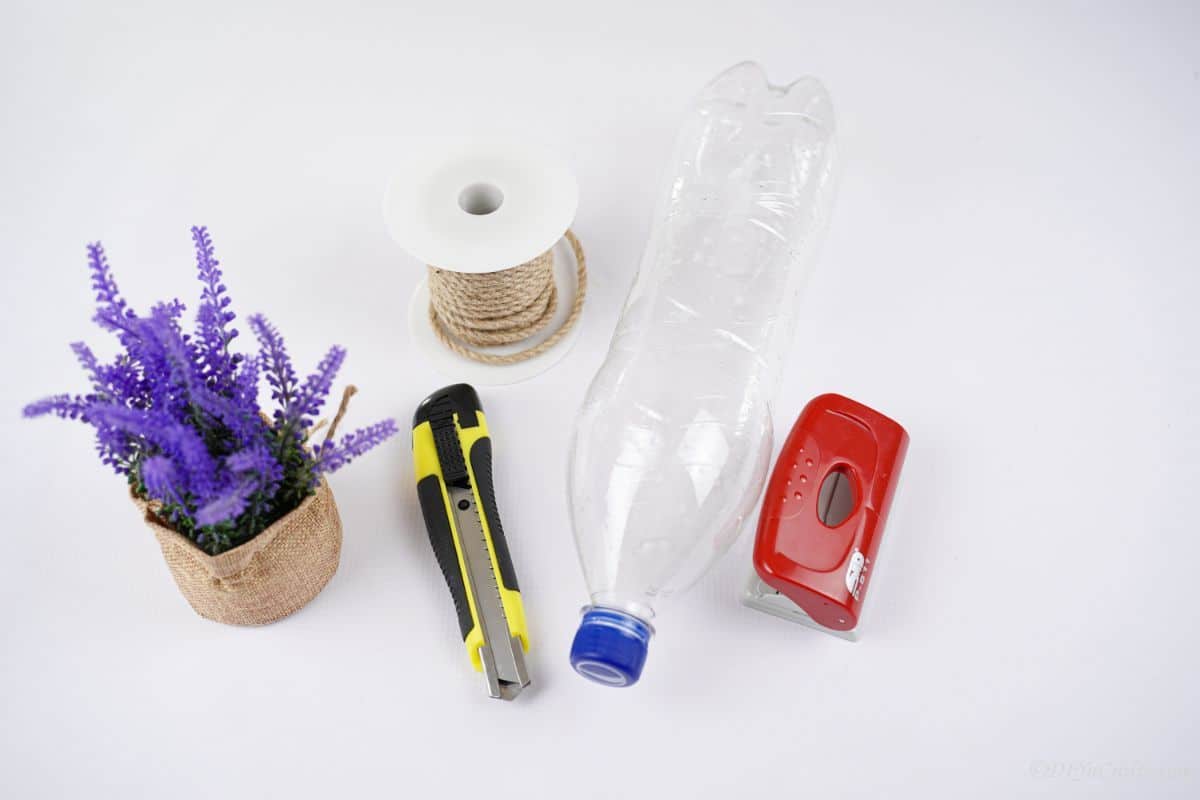
Supplies Needed
- Empty plastic bottle
- Jute or twine
- Lace ribbon
- Craft knife
- Hole punch
- Hot glue gun
- Hot glue sticks
How to Make a Rustic Hanging Planter
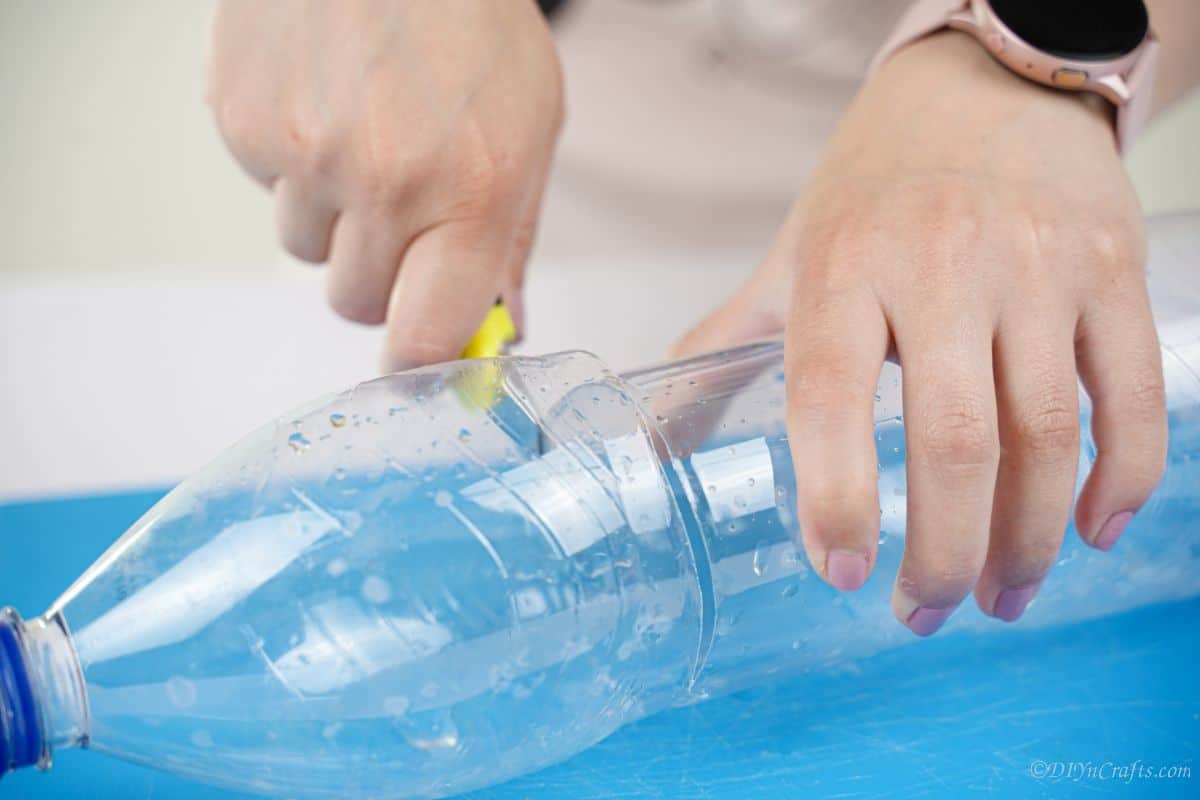
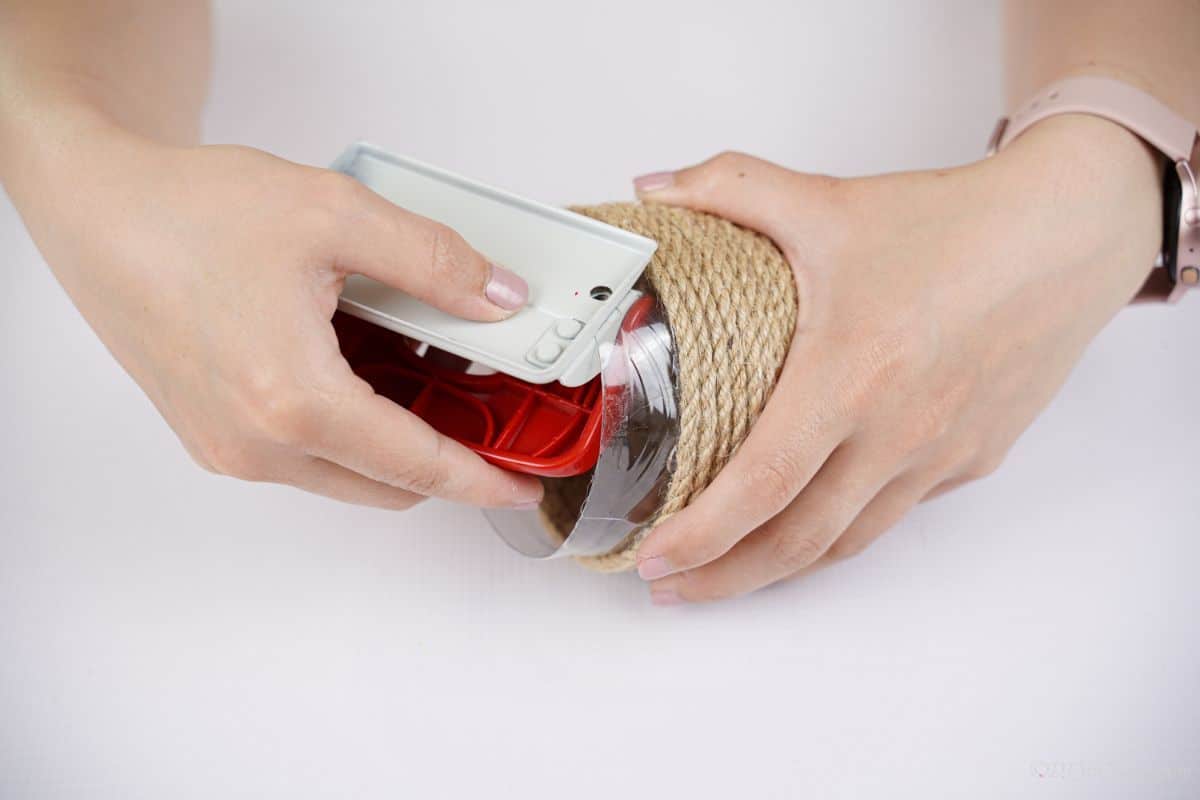
Remove the labels and any glue from the plastic bottle and clean it well then set it out to air dry. Once it is completely dry, cut the bottle in half, discarding the base and keeping the top half of the bottle including the neck and lid.
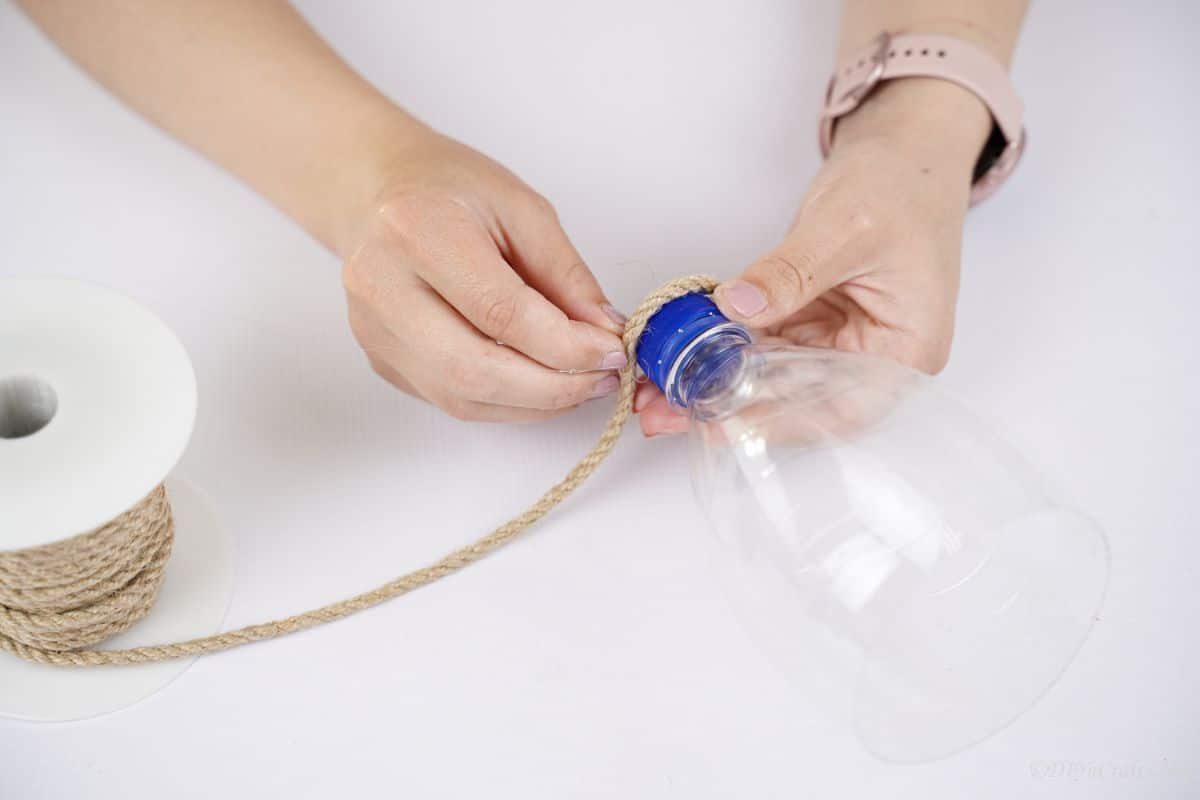
Begin at the lid and start gluing the twine onto the bottle, going in circles first around the lid, then the neck, and up the base of the bottle.
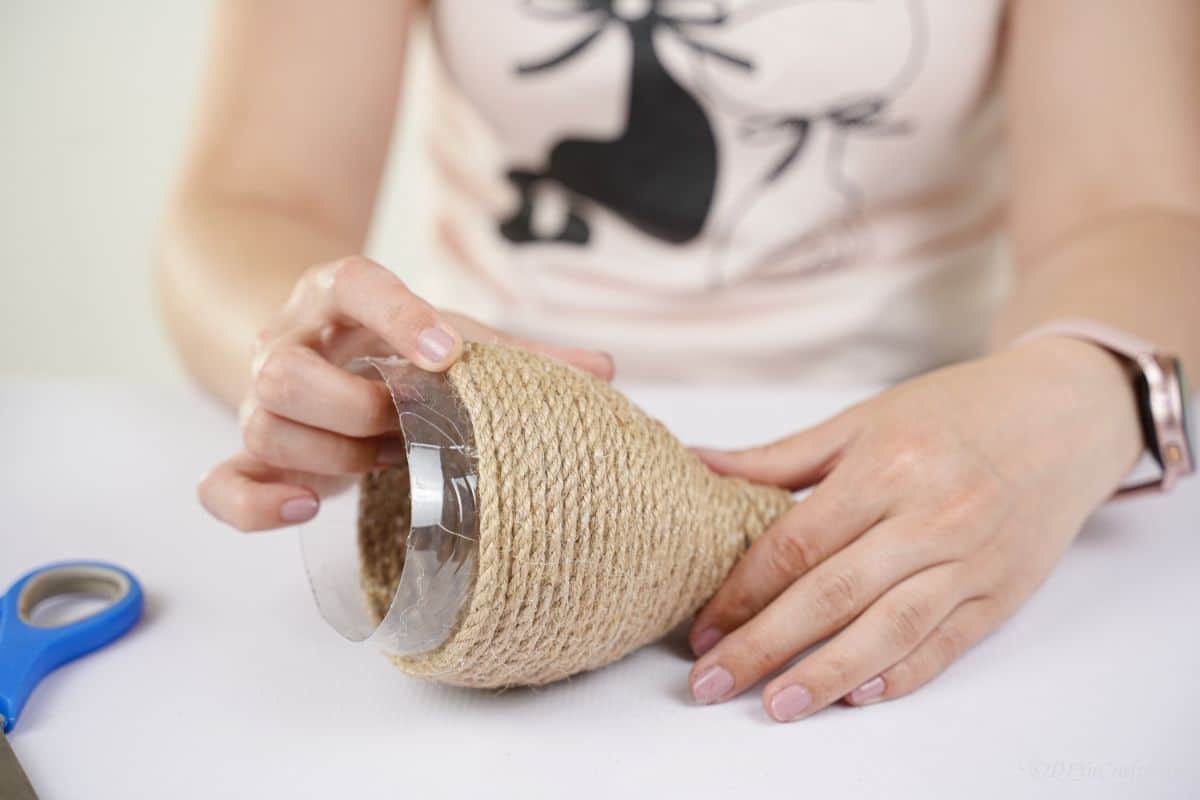
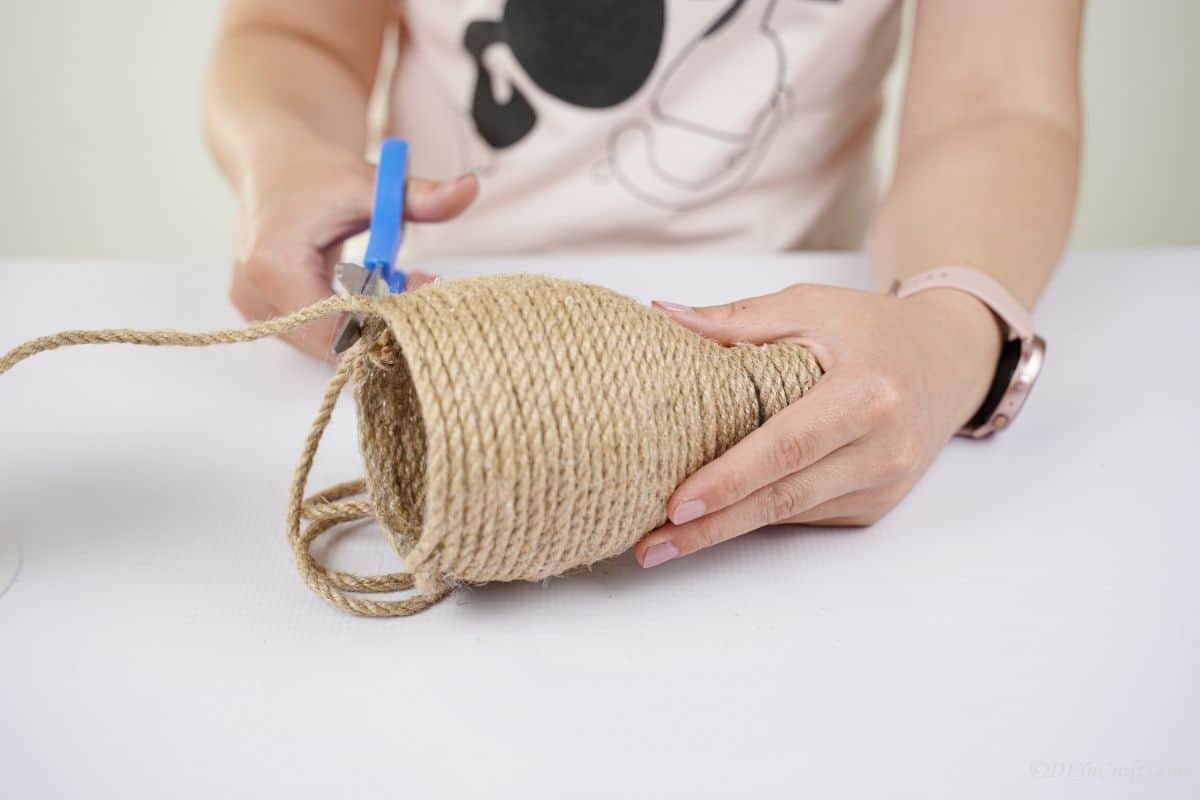
Continue gluing this into place until you have around 1" left at the top of the cut side of the bottle. Once there, stop and cut the twine then glue the end into place.
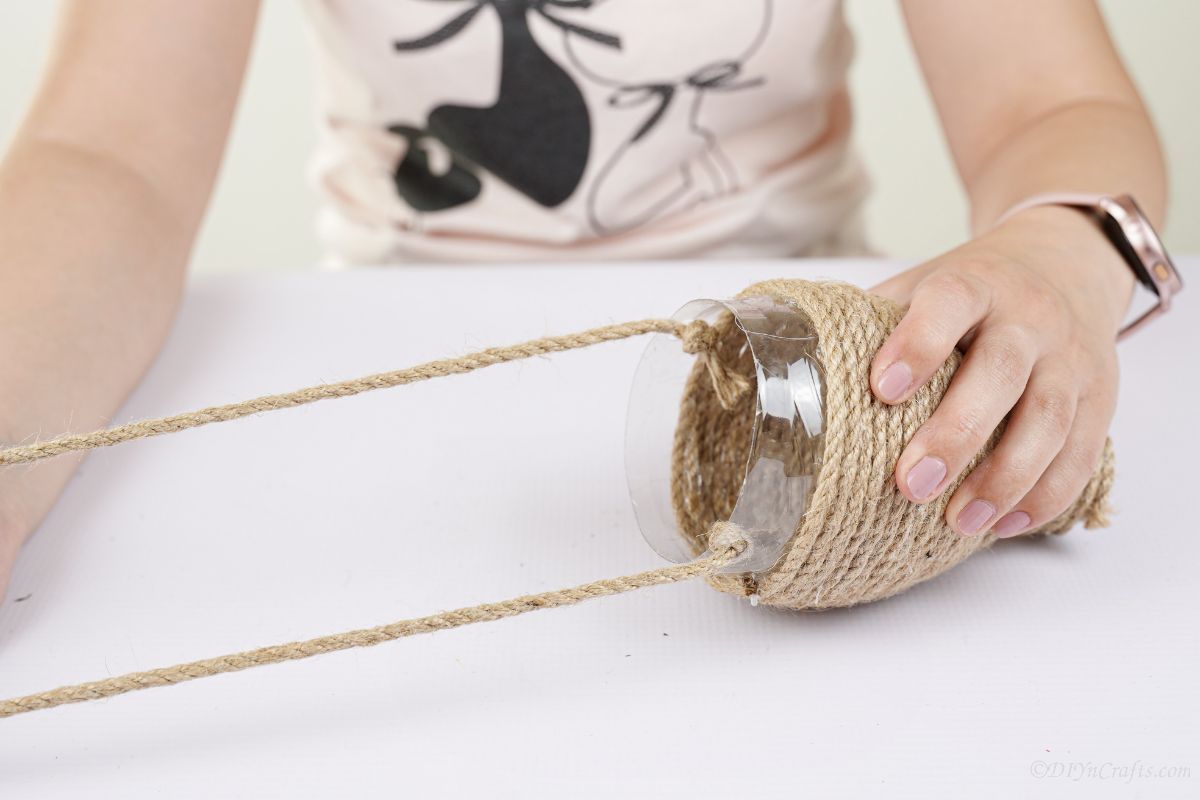
Now, use a hole punch to create a hole in this open space on both sides of the planter.
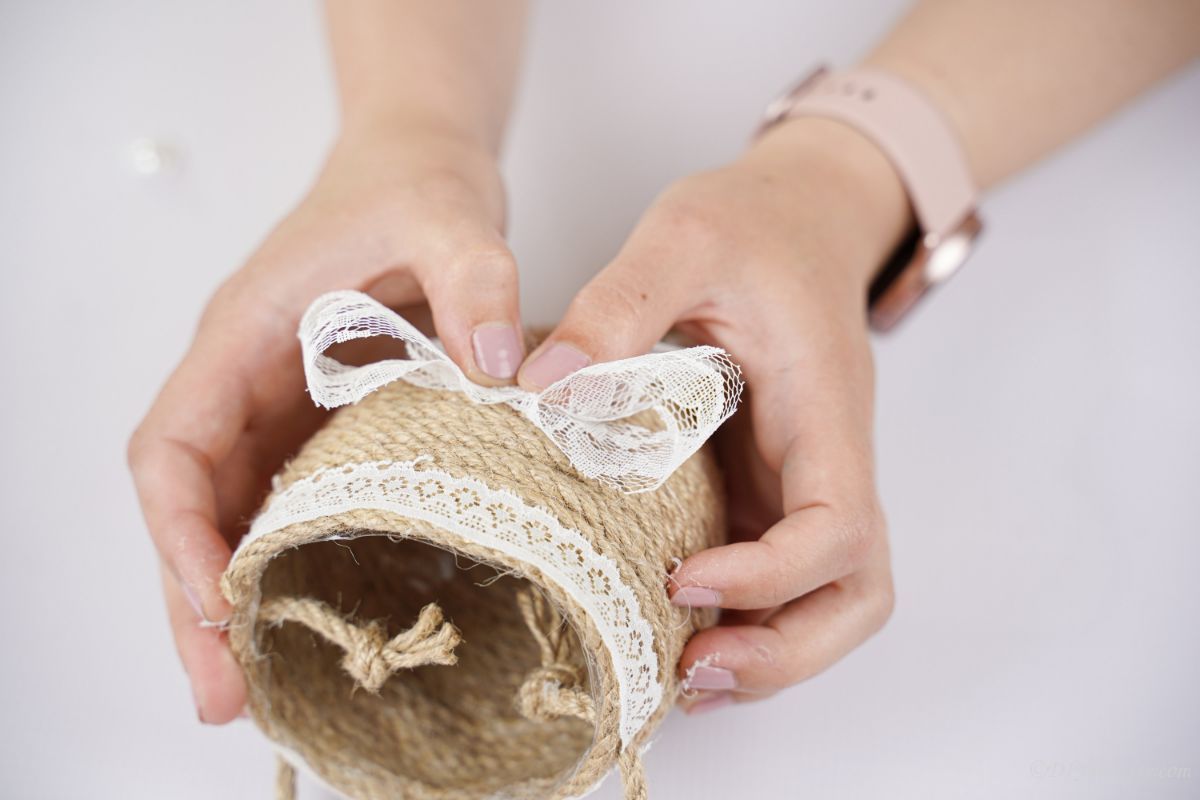
String twine through each hole, tying it into place, and creating a loop of twine to hang the planter from. I used around 15" of twine for this.
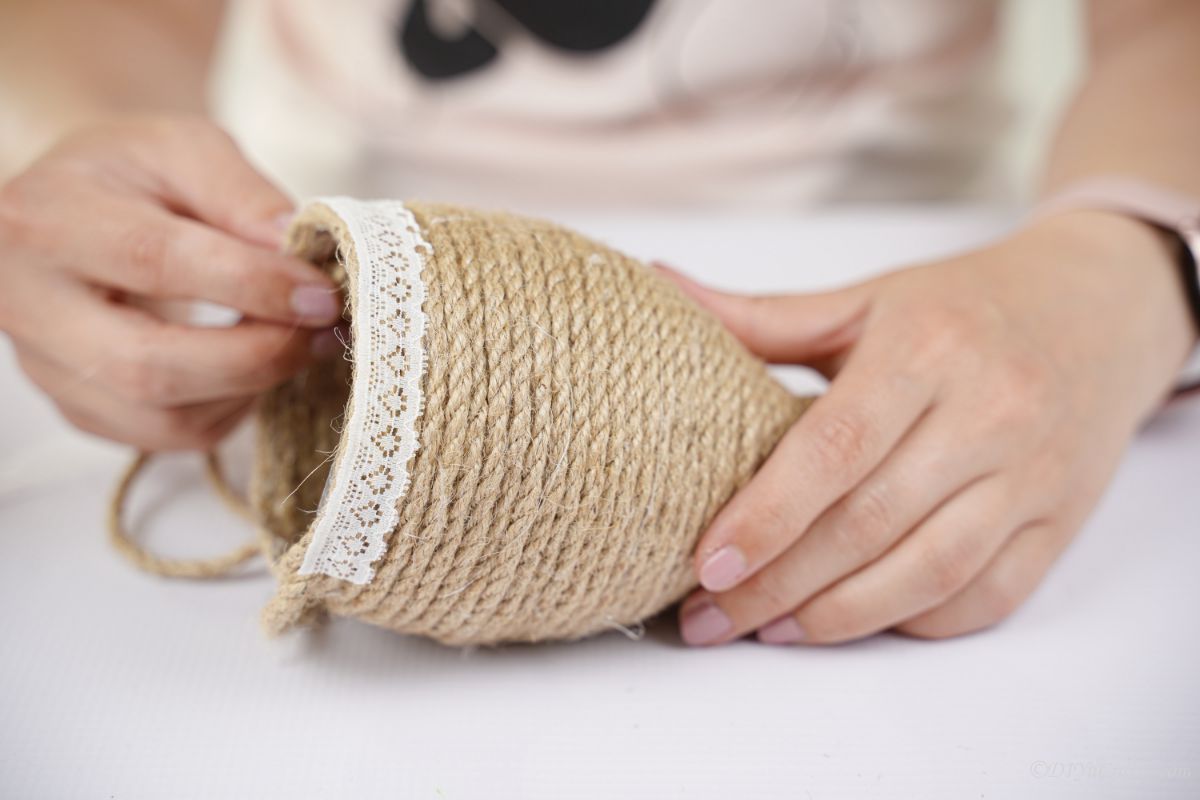
Now, go back to where you stopped wrapping the bottle in twine and start wrapping and gluing in place again. This will cover the remaining open space on the bottle and cover where the twine hanger is looped and tied into place.
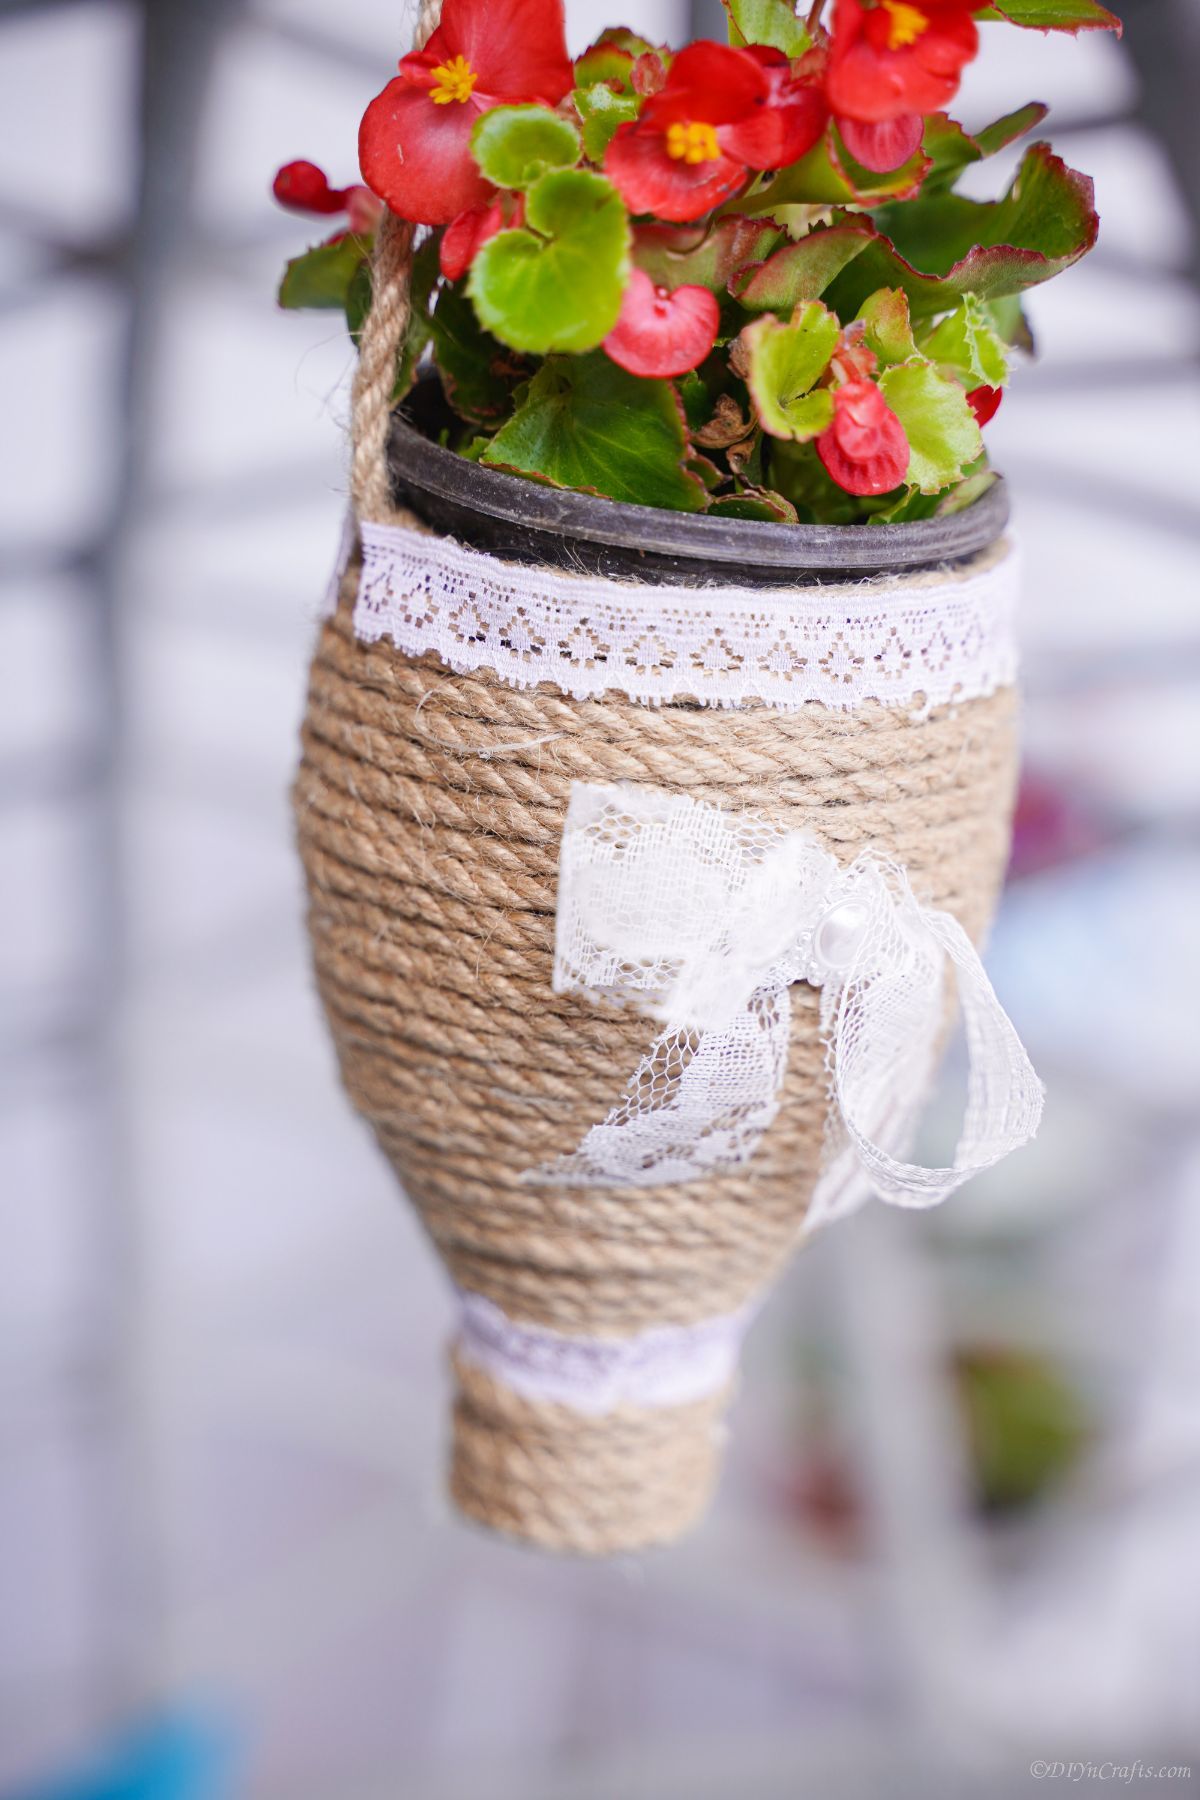
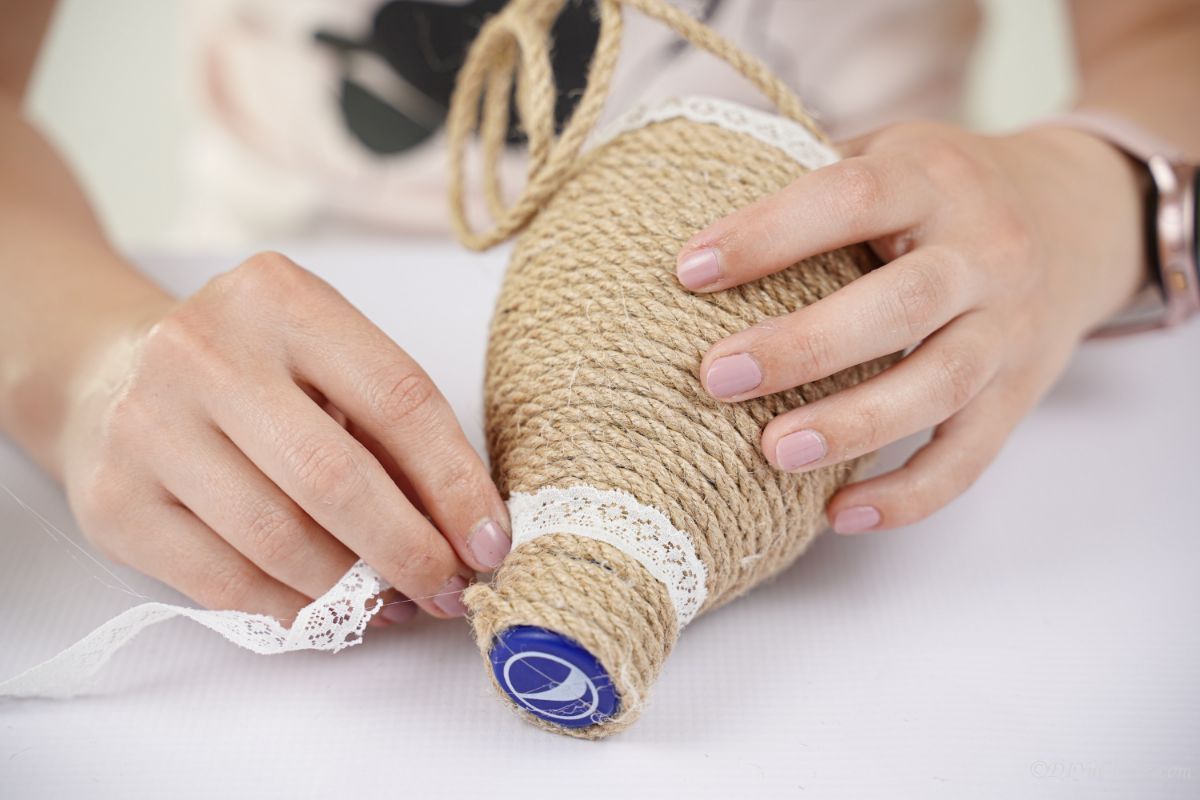
Now, wrap the burlap ribbon around the lid and glue it into place. Repeat this around the top edge of the planter, gluing the lace into place.
Then, create a bow out of the lace ribbon and glue it to the center of the planter.
If desired, add a bead or another small bow to the center of this bow.
Add fake or live plants inside and hang as desired!
More Easy Garden Decorations
If you want to add more planters or decorations to your garden, then below you will find a few more of my favorites that look great hanging or sitting inside and outside your home. Add live or fake flowers to these planters and turn them into a beautiful statement piece. Make sure to bookmark the ideas, print out the tutorials, or pin them to a gardening or crafting board on Pinterest!
- How to Make a Decorative Lightbulb Planter
- 17 Gorgeously Rustic Log Planters
- 32 DIY Ingenious Built-In Planters for Small Spaces
- Make Your Own DIY Concrete Hand Planter
Rustic Twine Wrapped Plastic Bottle Hanging Planter
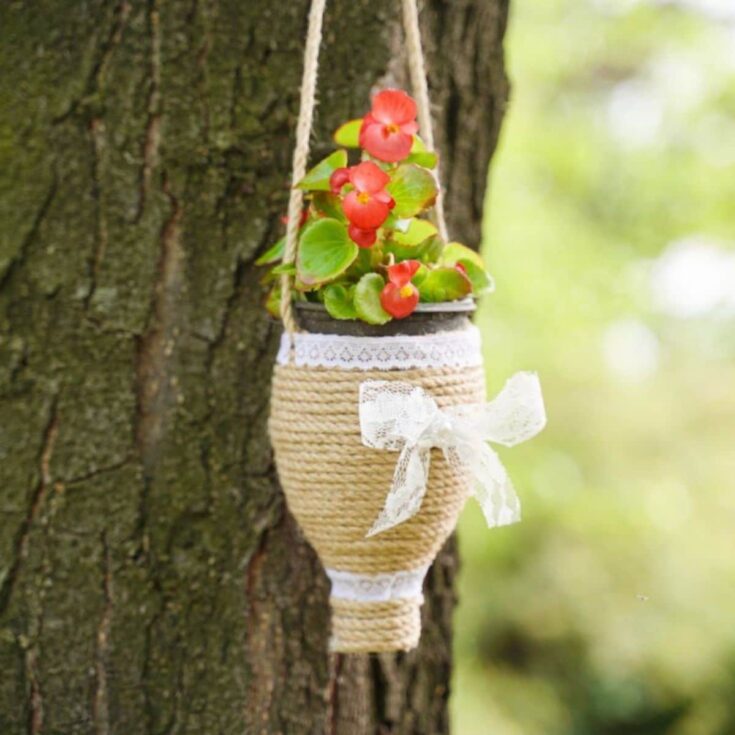
Make this rustic twine wrapped plastic bottle hanging planter in a matter of minutes! A perfect way to have flowers to hang inside or outside!
Materials
- Empty plastic bottle
- Jute or twine
- Lace ribbon
Instructions
- Cut a plastic bottle in half, keeping the neck end.
- Starting on the lid, glue on twine or jute, and begin winding it around the bottle.
- Continue, gluing in place every few inches, until all but 1" of the bottle is covered.
- On the sides of the open space, punch a hole.
- Then, thread the twine through these holes and tie it to secure creating a handle for the planter.
- Now, go back over the open 1" and cover it too with the twine.
- Next, glue a strip of lace ribbon around the top edge of the bottle.
- Now, glue a strip of ribbon around the neck/lid portion of the bottle/planter.
- Then, create a bow from the ribbon, and glue it onto the center of the planter.
- Top this with a small bead or miniature bow.
Notes
This can also be covered with rope, ribbon, or raffia if desired.
Recommended Products
As an Amazon Associate and member of other affiliate programs, I earn from qualifying purchases.
-
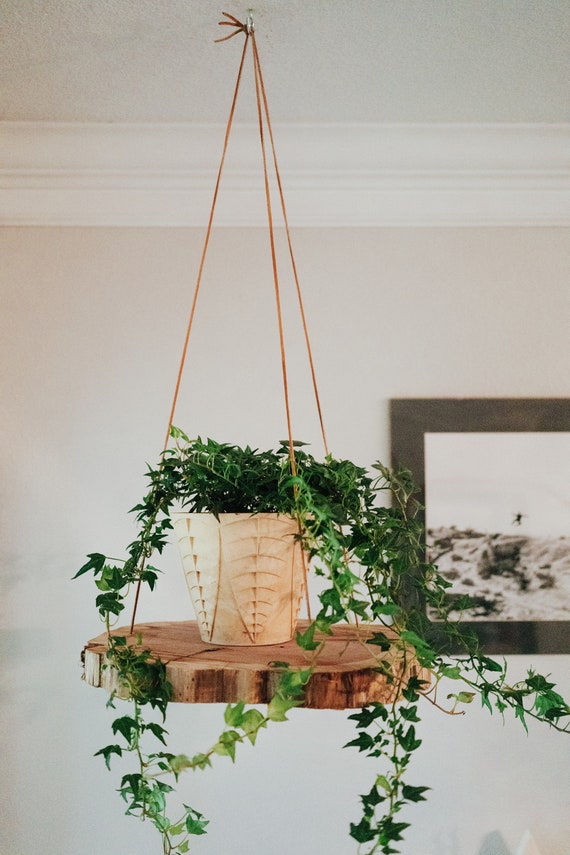 Cedar Hanging Planter | Etsy
 -
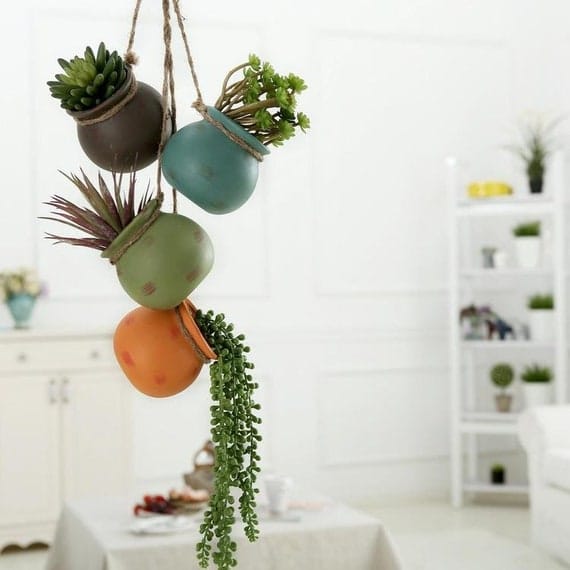 Set of 4 Colorful Mini Hanging Planter Set Indoor Planter | Etsy
 -
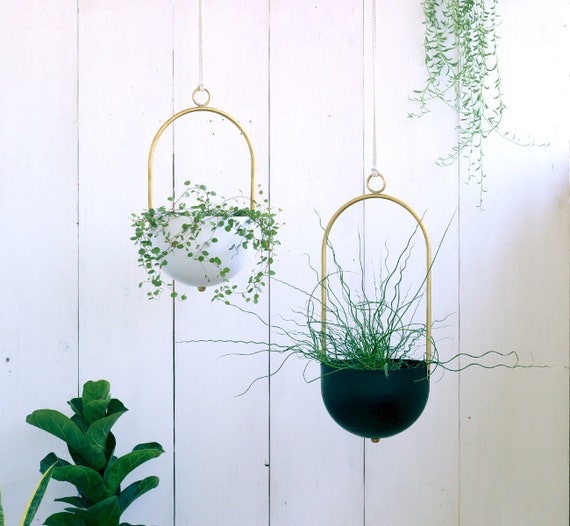 Hanging Planter Indoor or Outdoor Minimalist Planter Basket | Etsy
 -
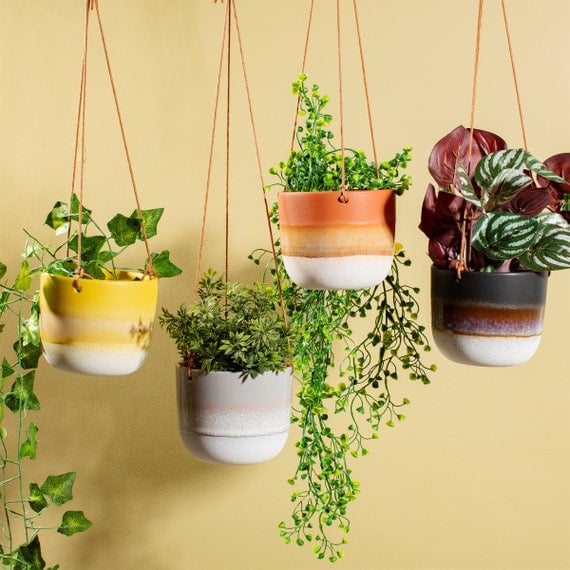 Mojave Glaze Hanging Planter Rustic Black Yellow Grey | Etsy
 -
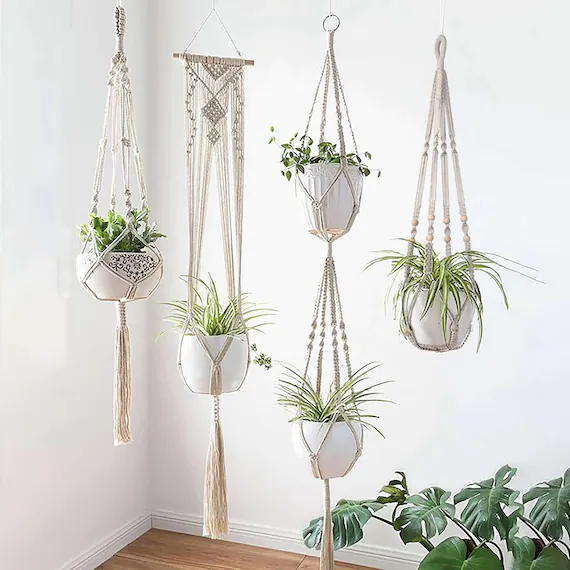 1 to 5pcs Set Macrame Plant Hanger Wall Hanging Plant Holder | Etsy
 -
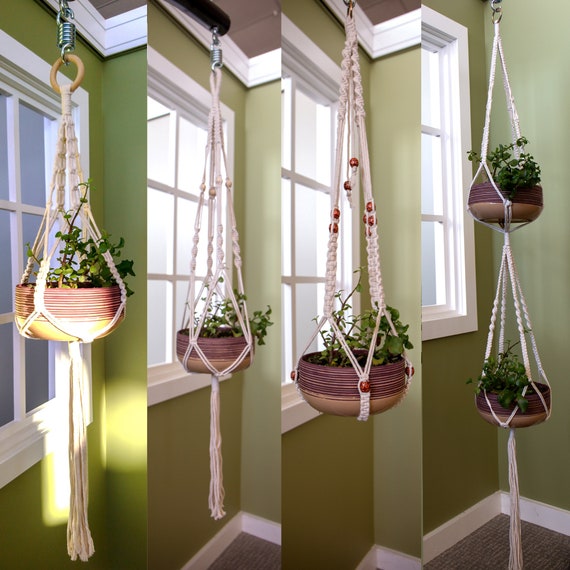 Macrame Plant Hanger With or NO Tassel Macrame Well Hanging | Etsy
Finished Project Gallery
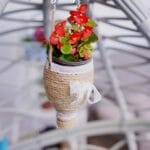
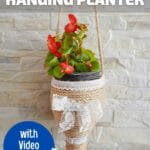
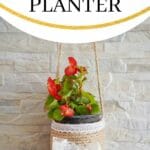
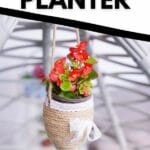
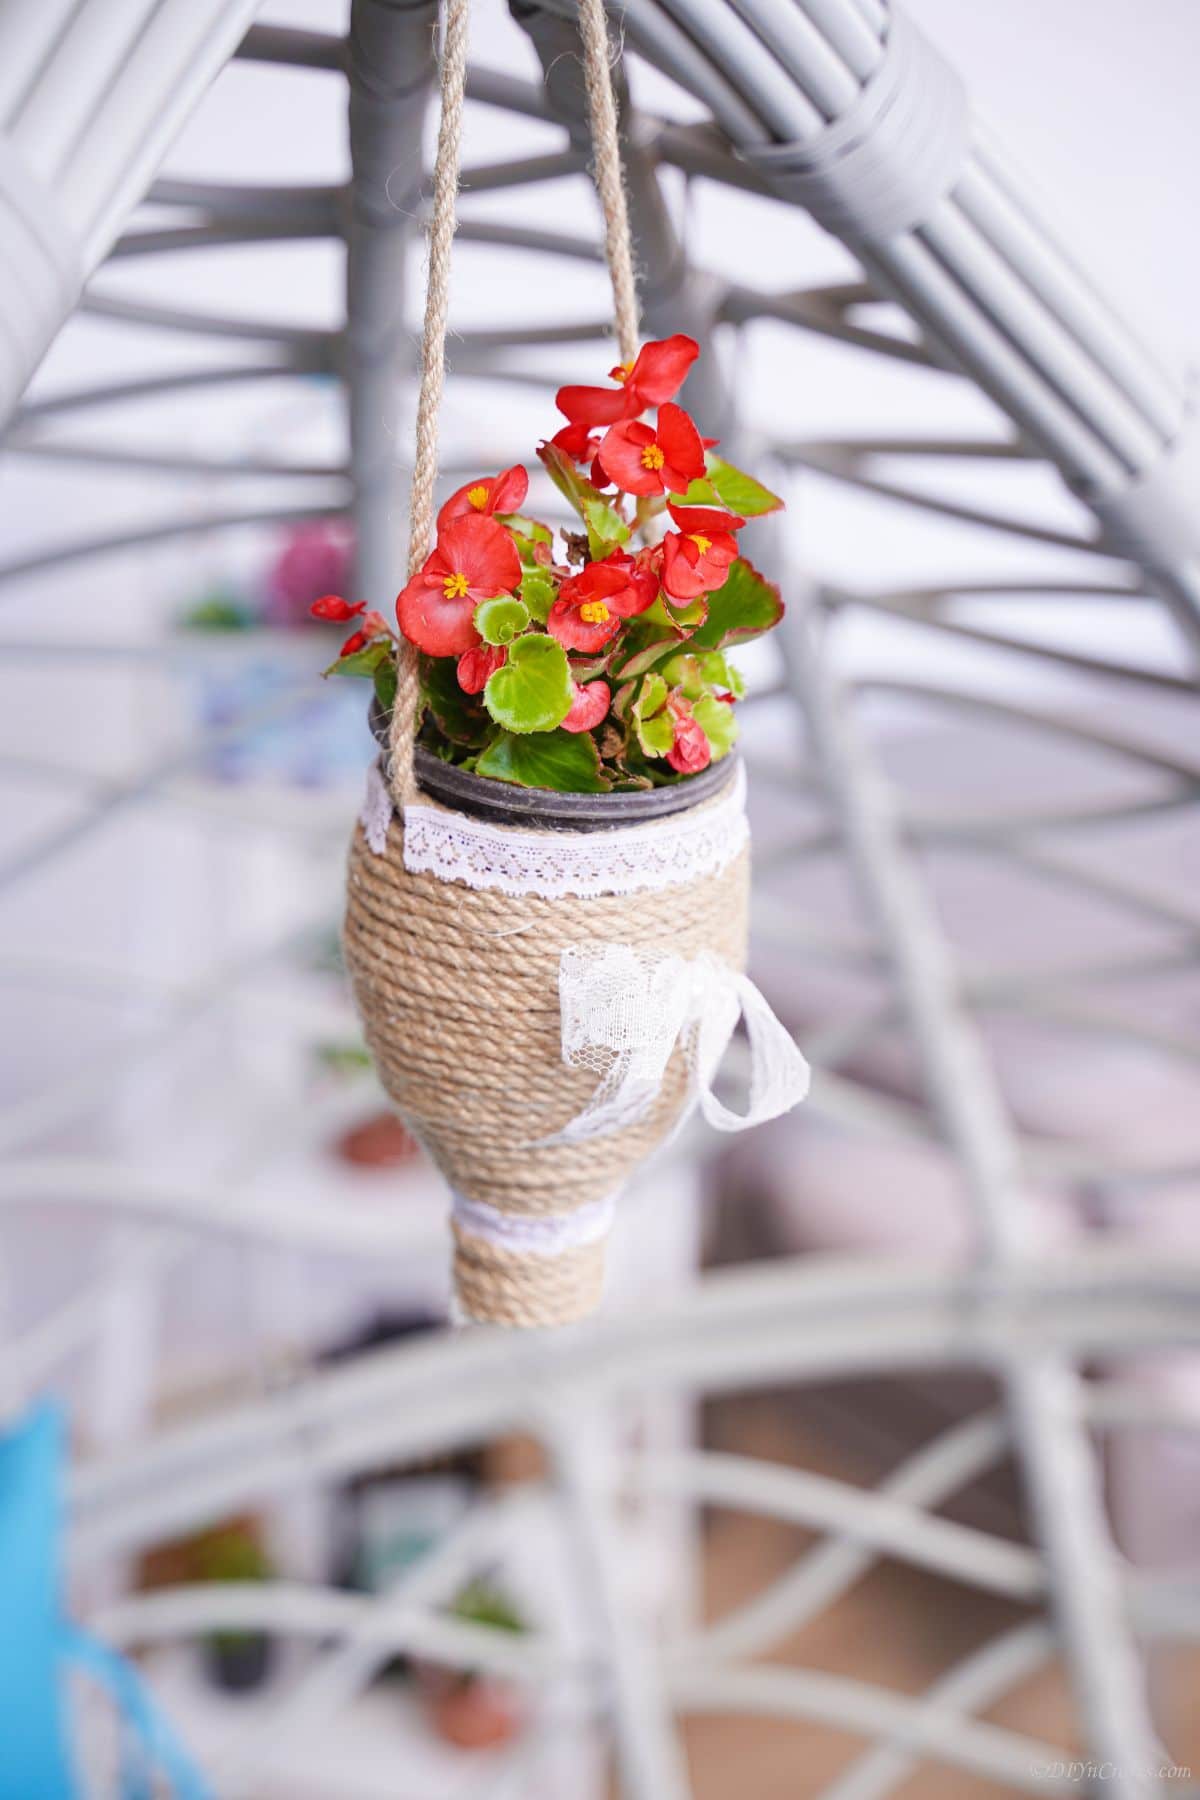
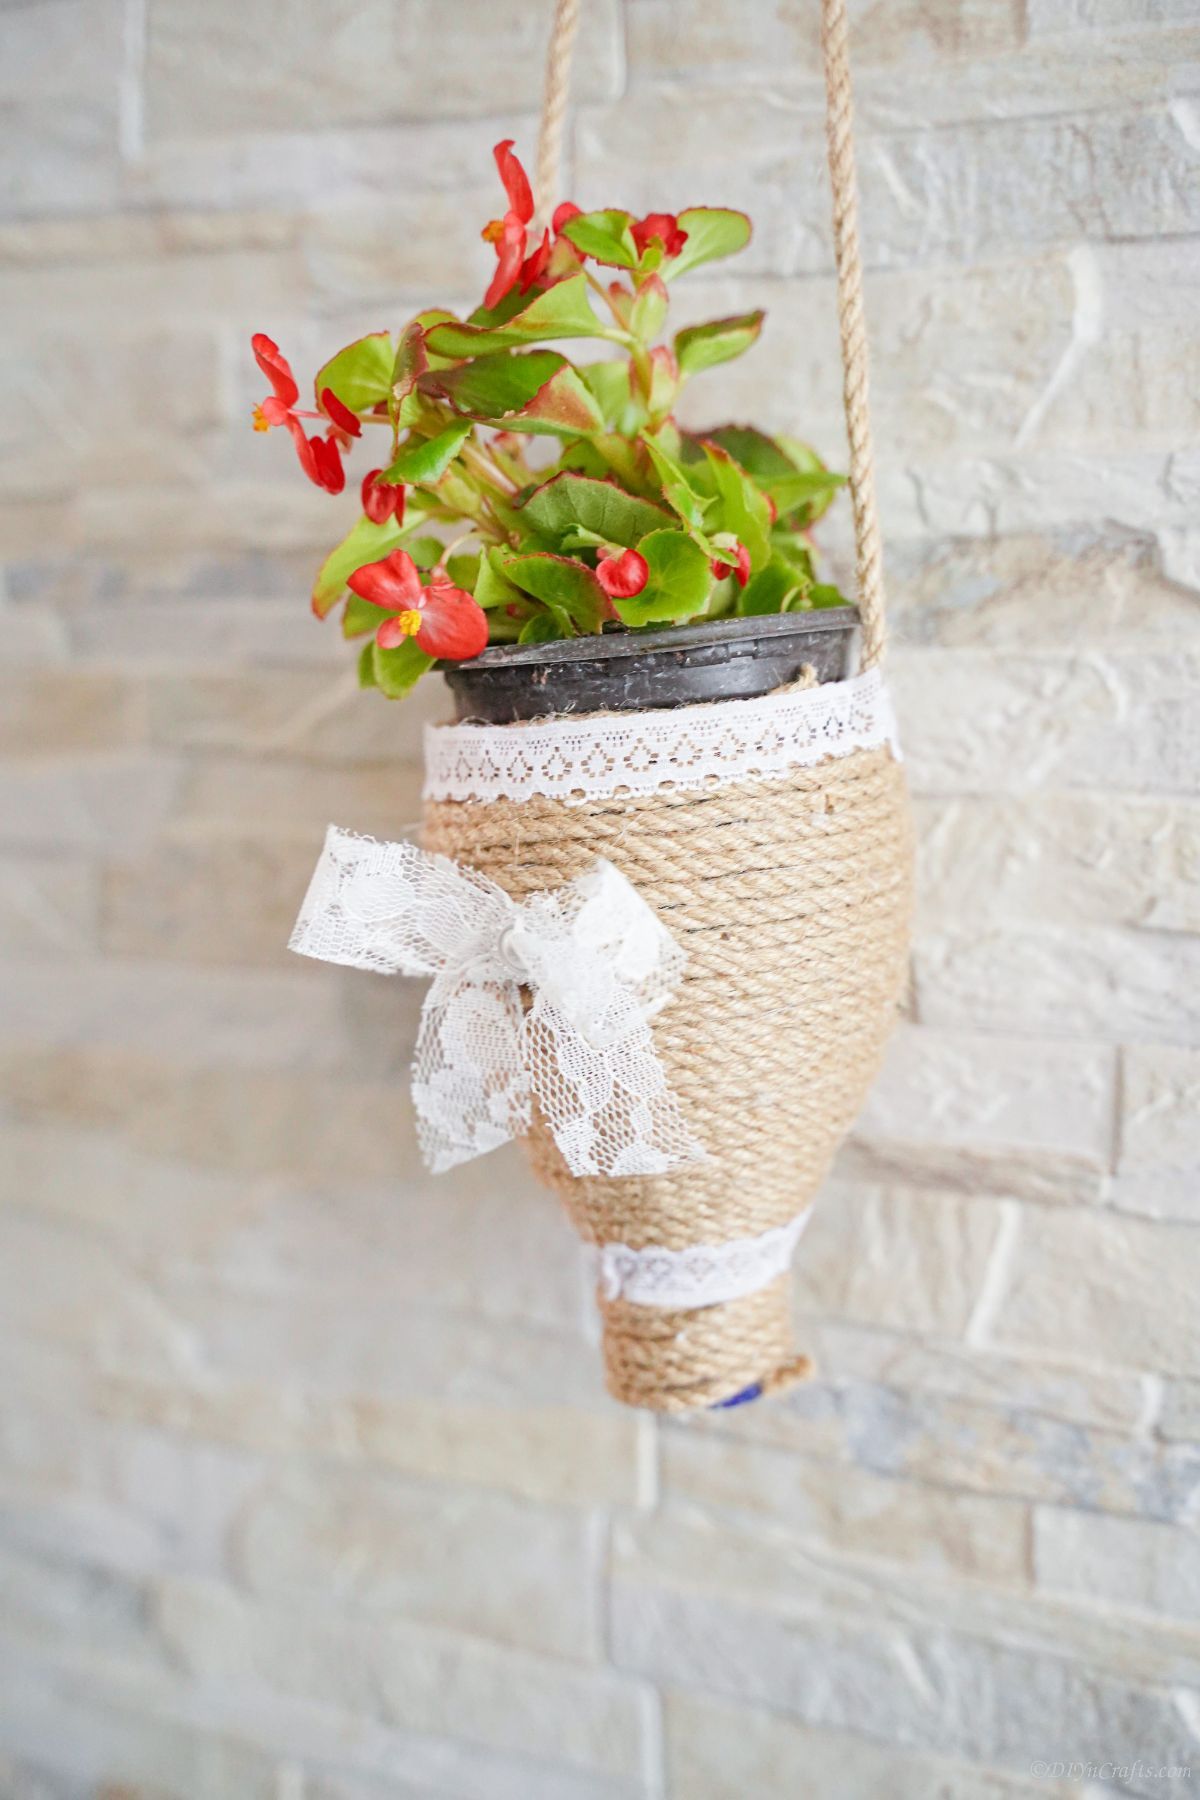
Add potted plants inside this and swap them out season to season!



Leave a Reply