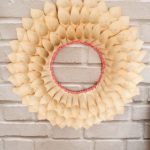


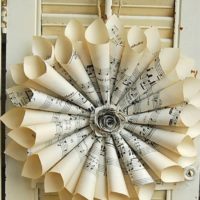
This rustic old book wreath is so adorable! What a great easy DIY addition to your home decor! I love that this is just so simple with only a few supplies needed. That means even on a day I can't get out to the craft store, I can still make this cute idea and have it added to a wall or door in no time!
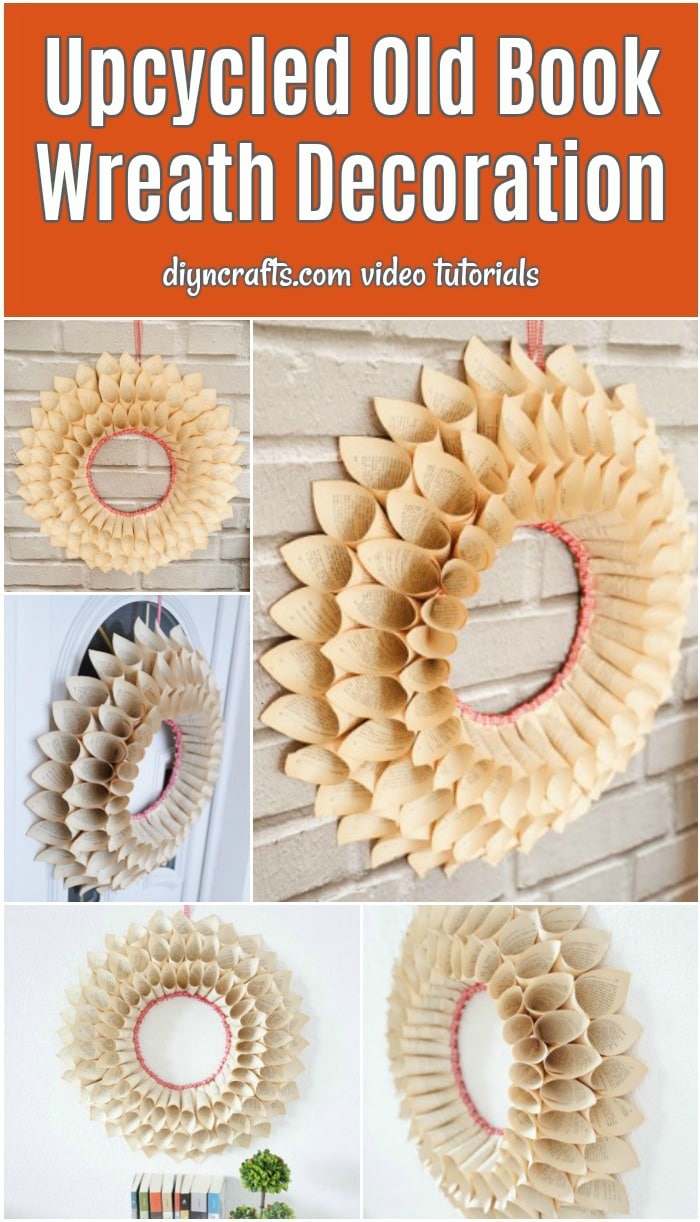
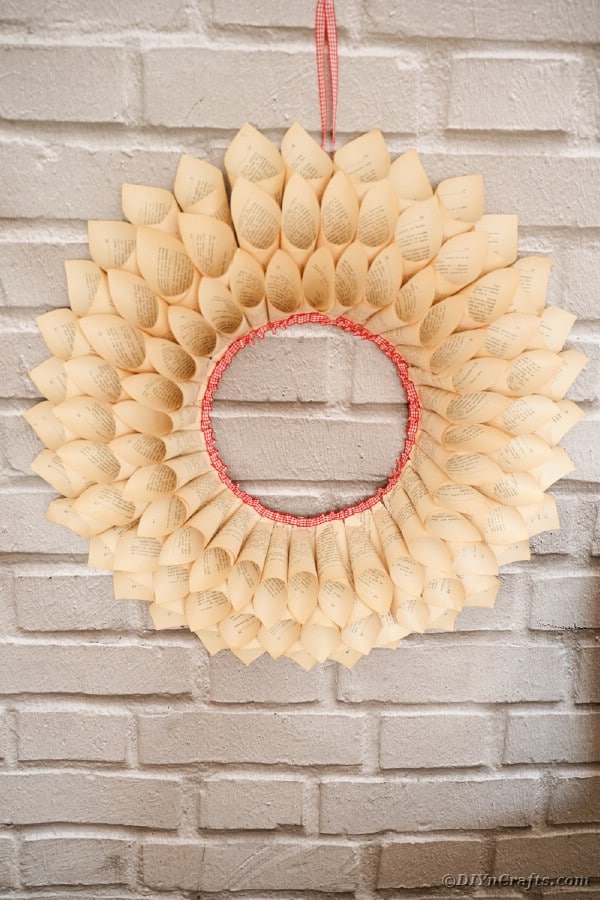
Old Book Wreath
Old book pages make great wreaths! You can fold, roll, tuck, cut, and glue them in so many different ways to make a gorgeous addition to a wall or door. This one is so simple even your little kids can help you make it! I really love how easy it is to make, and that it fits really any home decor style.
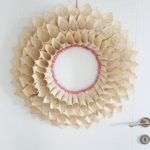
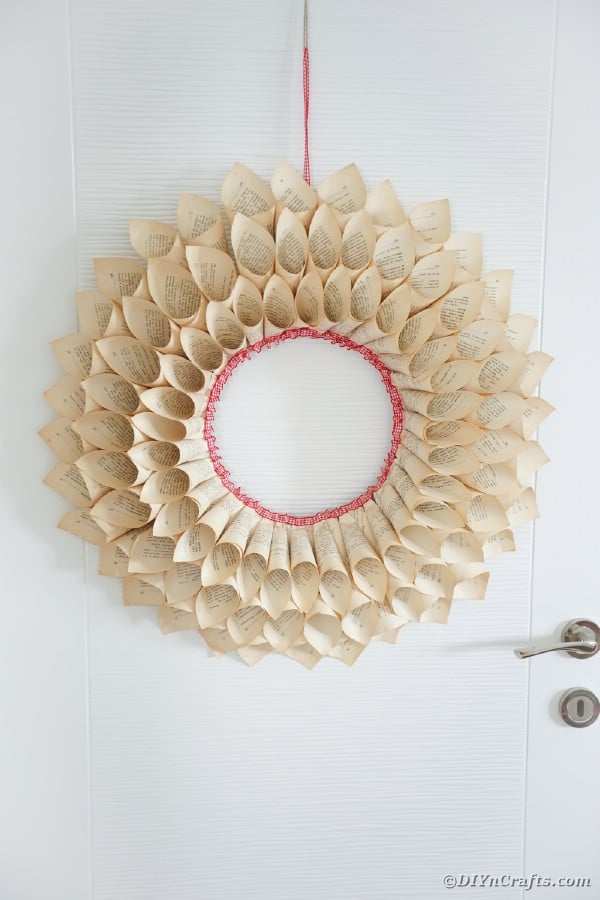
You can dress this up with a bit of glitter and ribbon, or leave rustic to fit your farmhouse style decor. I love this simple style, but you can easily add your favorite colors or accents to make it more your style if you prefer.
If you have extra book pages after making this wreath, you should make a few of these adorable little hanging paper birds. So cute to add to the window or on a wall next to this wreath. I love them and these rustic paper butterflies using old book pages. So many great ways to use up what would have been trash.
Can I Use a Regular Wreath Form Instead?
You definitely can follow this process with a regular wood or foam wreath foam. Just make sure you cover all of the form with paper so none of the foam shows through.
If you decided to use a foam or wood wreath form, I like the idea of adding some extra color by wrapping it in a bright ribbon before you glue the paper cones onto the form. It's another great way to add color and style without really changing much about the project.
What is the Best Glue for Attaching Paper?
I've used everything from basic Elmer's school glue to hot glue in my crafting. Paper works well with almost any glue, but I especially like using basic Tacky Glue for projects like this. It holds the paper in place easily, and you don't have to worry about it being expensive when using large amounts like are needed for a larger wreath.
You could use double sided tape for this if in a bind, but it would take such a large amount that it just wouldn't be worthwhile.
It's my opinion that E6000 and hot glue are a bit overkill for working with most paper crafts, including this one. If that is all you have on hand, feel free to use it, but know it will take quite a bit of the more costly glue than you may feel is worth it for this wreath.
With extra pages, practice making these rustic flowers from old book pages. So cute and a great addition to your centerpieces. Of course, you may also want to make this amazing romantic bouquet from book pages to really add beauty to your coffee table or side tables.
How can I Add Some Extra Color to This Wreath?
My favorite part of crafting is really making things fit my mood, style, or holiday. For a paper wreath, you can add all kinds of fun things to it for added appeal. Below are a few of my favorites.
- Lightly brush the edges of the paper cones with some craft paint using a foam paintbrush.
- Spray with glitter spray or glitter paint to add sparkle.
- Brush glue along the edges of the paper rolls and sprinkle on the glitter you prefer then shake off any excess.
- Glue a large bow into the center or bottom of the wreath.
- Make these rustic old book page feathers and paint them to then hang from the bottom of the wreath.
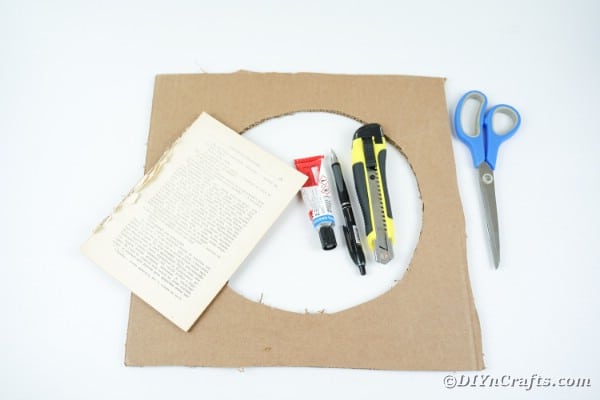
Supplies Needed
- Old book pages
- Cardboard
- Ribbon
- Pen
- Tacky glue
- Craft knife
- Scissors
How to Make an Old Book Wreath
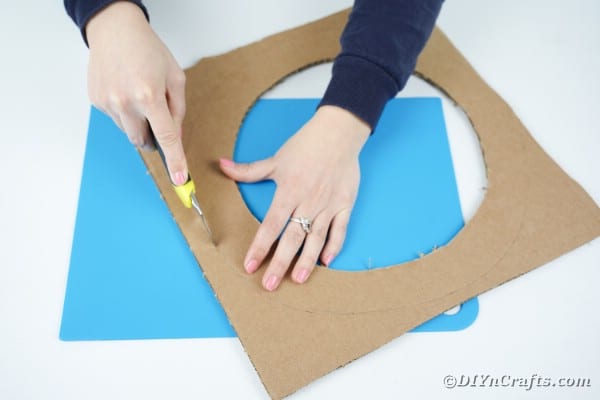
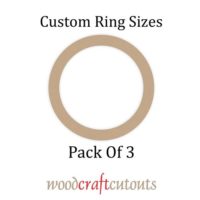
Trace a circle onto cardboard, and cut out the center, then trace around the outside of the circle.
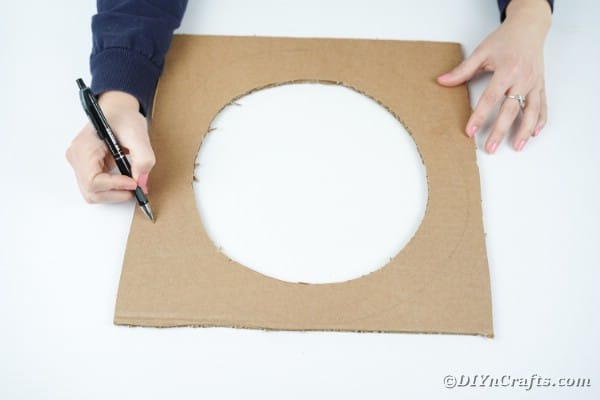
Cut out the ring you just created on cardboard and set it aside to use as your wreath form.
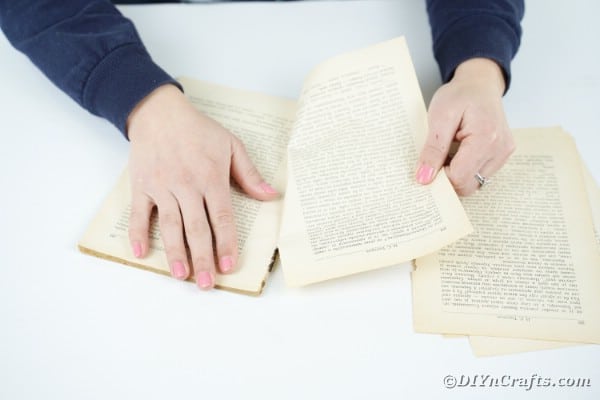
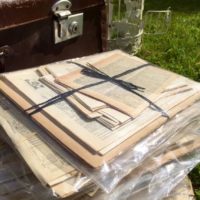
Now, you will tear or cut out several book pages. You will need upwards of 100 pages depending upon how large you cut your wreath form.
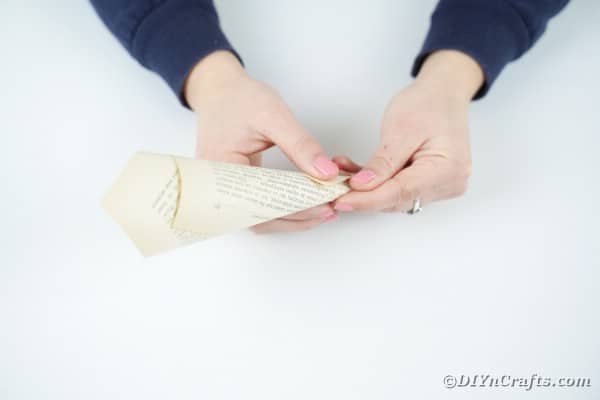
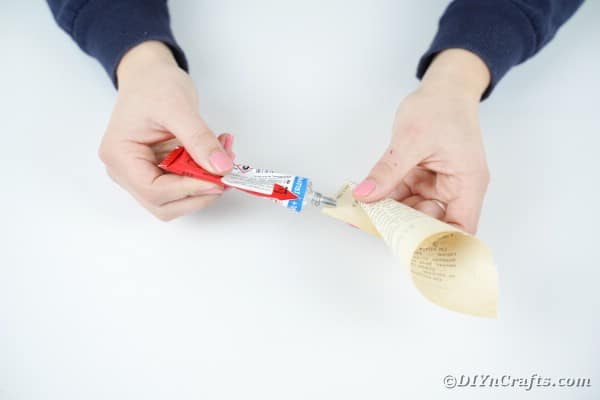
Roll several pages into a cone shape. You will need ⅓ of your papers this size to go on the very outer part of your wreath. Secure each cone with glue on the edges and set aside.
Now, you will cut some of the book pages in half to create smaller cones.
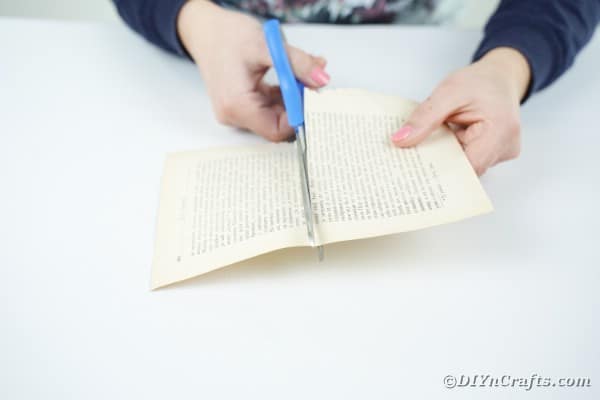
Roll those papers into cones and secure on the edges with craft glue.
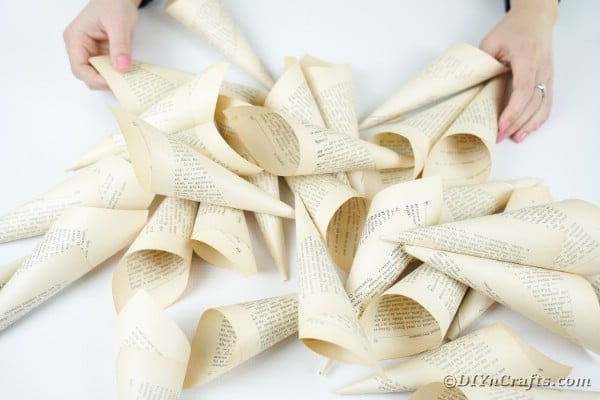
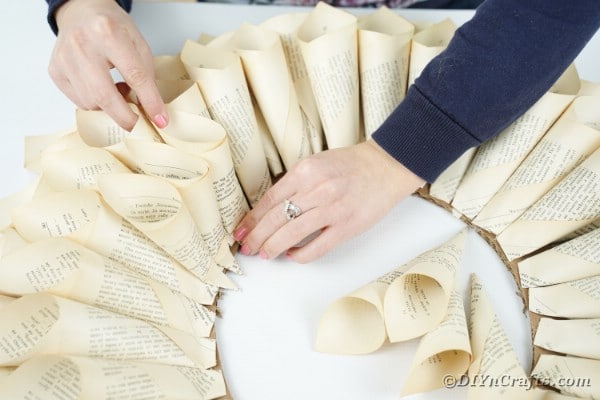
Once you have a significant amount of cones ready, you'll begin adding them to your form. Remember, you may need to make more cones to fill in gaps so don't put your supplies away just yet.
Start gluing the largest cones around the outer edge of the cardboard wreath form.
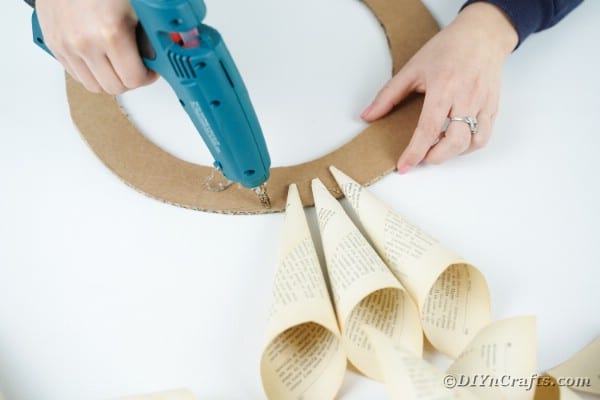
Continue gluing them in place until you have a layer all along the outside of the cardboard form. Then, you will start back around the form adding a second layer of cones gluing them in between the others to fill in gaps.

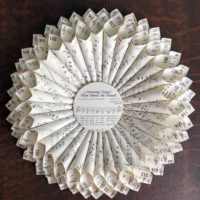
Continue this process until you have two full rows of paper cones and have covered the bulk of, if not all of, the cardboard wreath.
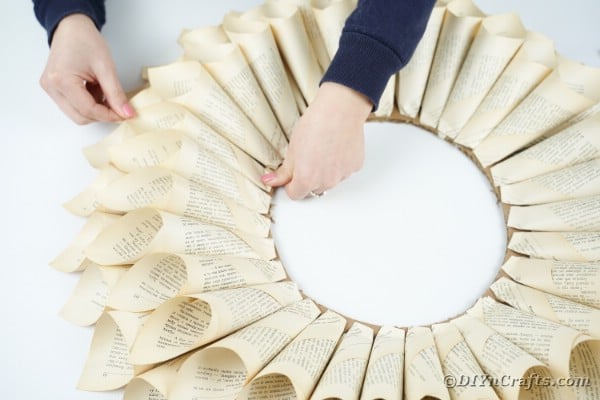
Now, you will go back with one last set of cones in the half page size and glue them along the inside edge going between the last layer of cones to create a layered affect.
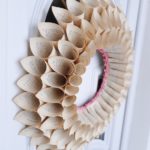
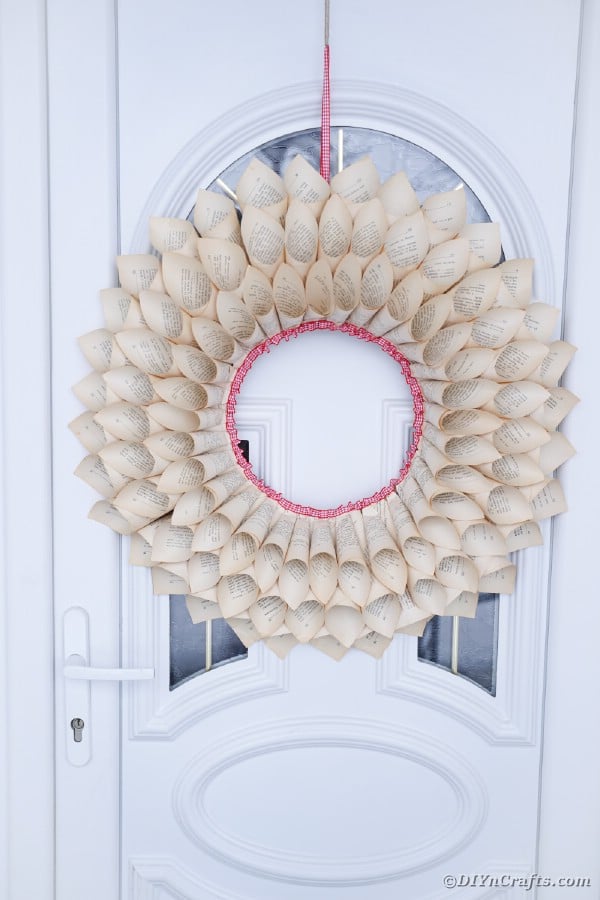
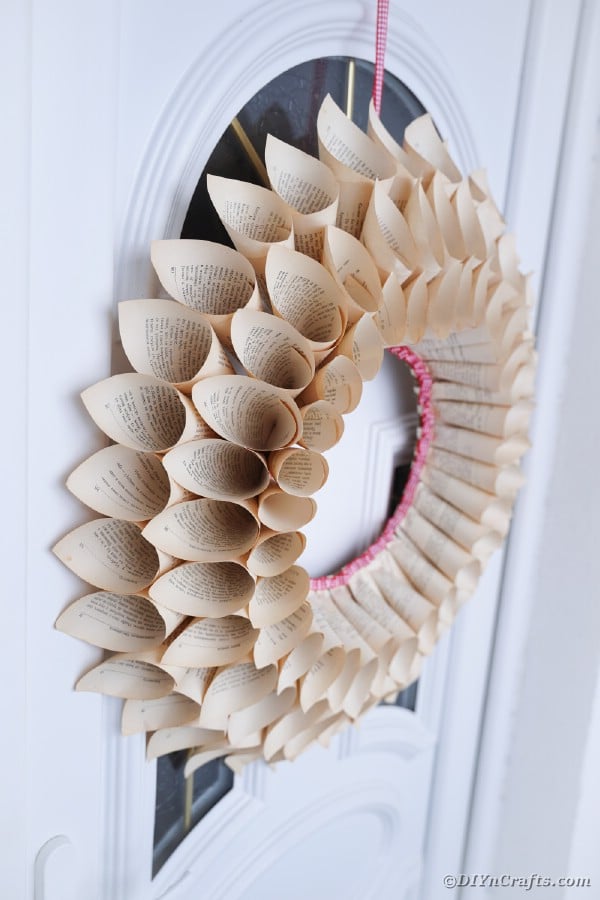
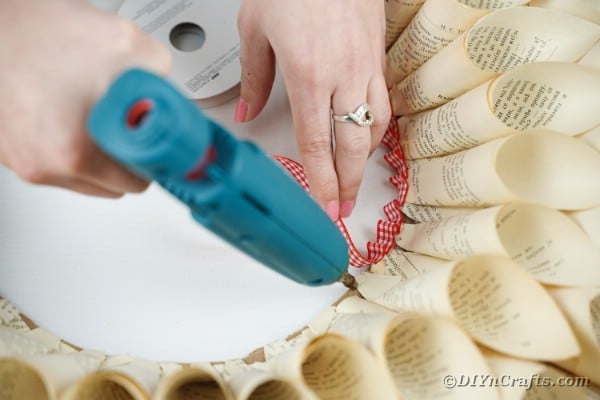
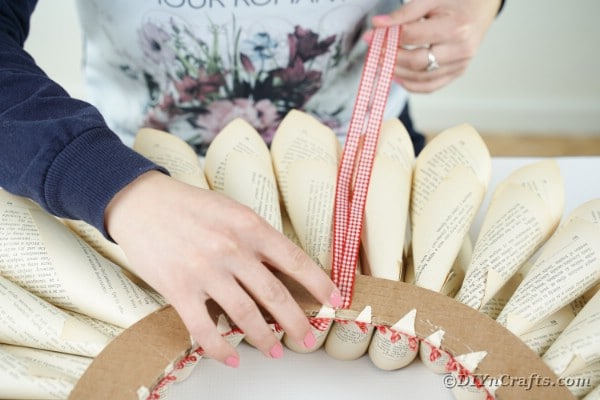
Once all cones are in place, you will now glue ribbon over the bottom of the last layer of cones and ripple them slightly as shown for a pretty addition to the wreath.
Once you have added ribbon all around the inside of the wreath, you can pull a length of ribbon through to the back creating a ribbon for hanging the wreath.
If you love using up old book pages as much as I do, then you'll adore this old book page rose wreath. I also just adore this unique hanging old book pages fern idea. So cute year round!
Crafter's Tip
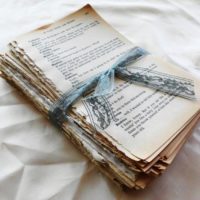
If you don't have old book pages on hand, check Etsy for old book page bundles that have a variety of sizes and types of paper you can use for this fun craft.
Rustic Old Book Wreath With Video Tutorial
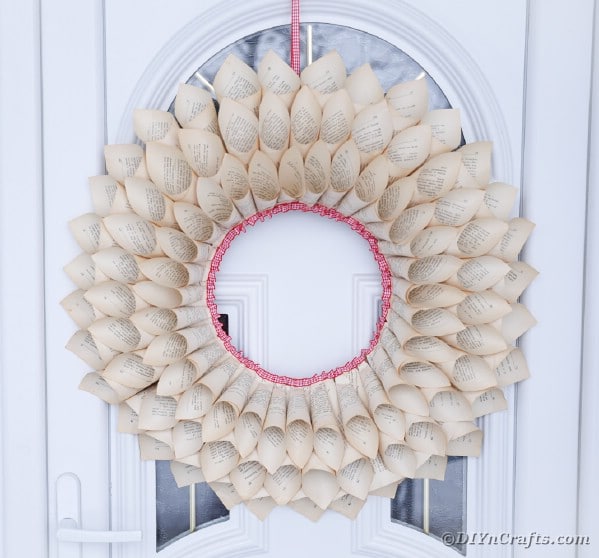
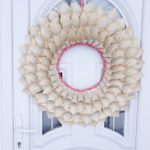
This gorgeous rustic old book wreath is made with simple rolling and gluing pages into cones and a fun accent ribbon. A great accent piece for your front door!
Materials
- Old book pages
- Cardboard
- Ribbon
Tools
Instructions
- Begin by tracing and cutting a wreath form from the cardboard;

- Now, tear out several pages from an old book for making your cones;
- Roll full pages into a cone shape and glue edges in place. Do this with about 50-60 pages;
- Now, you will cut pages in half, and roll another 25-30 cones out of half pages;
- Glue those cones together on the edges;
- Once you have all of your paper cones created, you will begin gluing the larger cones along the outside rim of your wreath form;
- Once you have one layer of cones in place, you will begin a second layer of the larger cones on the inside gluing them in between the first layer so they cover all gaps;
- Now, you will add your final row of cones layering in between the second row to fill in gaps;
- When that row of cones is in place, you will add your ribbon to the center as an accent crimping it as you glue to create a ruffled effect;
- Lastly, you will pull a loop of ribbon through to the back and glue in place to create a ribbon to hang them from;
- Now you can hang your wreath on the door!

Notes
You can easily add a small bow at the top of the center of the wreath for each season to make this work year round.
Recommended Products
As an Amazon Associate and member of other affiliate programs, I earn from qualifying purchases.


Leave a Reply