
Wood slice decorations are one of my favorites lately. These wood slice bunnies are the perfect Easter decoration! So cute and super easy to make, they fit perfectly into your springtime and Easter home decor! There are two cute designs that anyone can make in no time at all.

Jump to:
Wood Slice Bunnies Easter Decoration
I am always on the lookout for more ways to use these little wood slices I found at my local craft store. I've made tons of great things in the past with them, but this year, I wanted something a bit cute and silly for Easter. The Easter bunny is always a hit, and so this idea was born. Using a bit of paint, markers, felt, and my imagination, I created these unique and simple little bunny decorations that are ideal for propping up on the mantle.

If you have extra wood slices, you may want to use them to make my hand lettered wood slice ornaments for Easter, or tuck them away in your craft bin for making wood slice Christmas ornaments later this year.

What Paint is Best for Wood Slices?
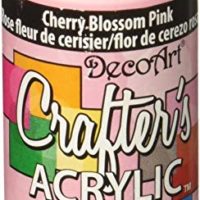
Wood can sometimes be porous and soak up paint, but in this instance, that isn't a problem. For these wood slices, you can use any favorite craft paint or even a bit of spray paint. I would recommend craft paint if only making a few of them, but if you want to make several, a spray with pink spray paint would be faster and dry easier for continued decorating.

If you need more ideas for decorations, check out this list of Easter decorations for kids and toddlers. So many fun projects for the kids to help you make. Mine especially loved making these rice filled sock Easter bunnies last year. Of course, one of my favorites is this idea for craft stick Easter decorations. A great springtime project!

How Can I Display My Easter Decorations?
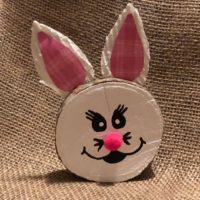
These wood slices are super versatile. Of course, that's just one of the many reasons I loved making them! As you can see, they are great for propping inside an Easter basket or laying against the wall on your mantle. If you want, you can use a simple nail and tap a hole in the upper back side to hang from the wall like you would a picture frame.
I also love the idea of gluing large dowel rods to the bottoms of these and placing them around the border of my garden or porch on Easter. It is just a fun little addition to the decor as the kids run about picking up Easter eggs!
If you add them to your mantle, make sure you make this cute little Easter bunny garland to go with them. Or, perhaps you would like these simple burlap Easter bunnies as a companion on the mantle.

Supplies Needed
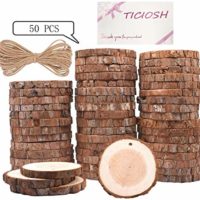
- Wood slices
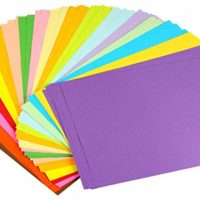
- Pink craft paper
- Brown craft paper
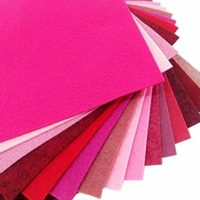
- Pink felt
- White or pink paint
- Black marker
- White marker
- Pink marker
- Scissors
- Paintbrush
- Craft glue

How to Make Wood Slice Bunnies Easter Decoration
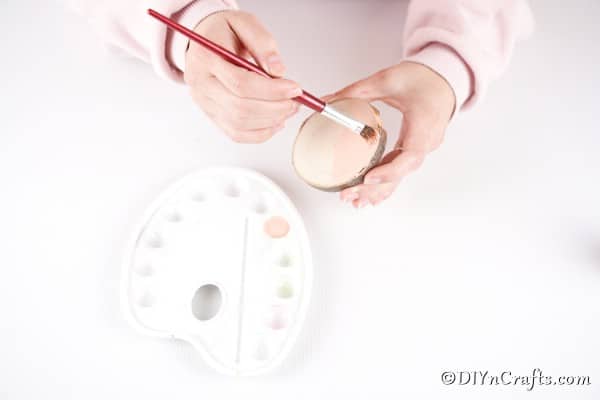
Begin by painting your wood slices light pink or white and setting them aside to dry. You only need to paint one side of these.

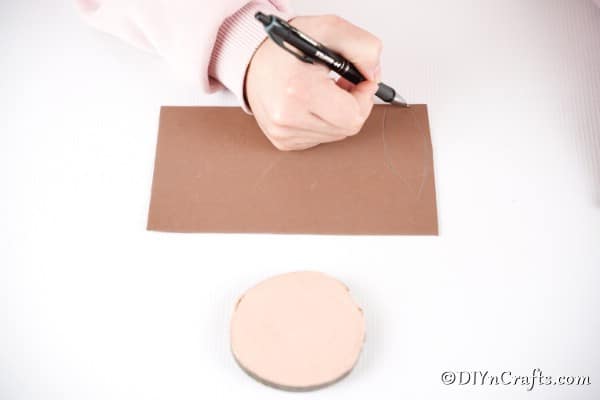
While the paint is drying, you will trace and cut out the bunny ears from first brown paper and then slightly smaller ears from pink paper.

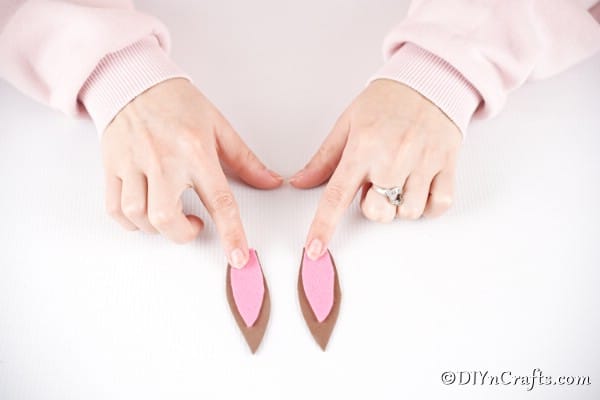
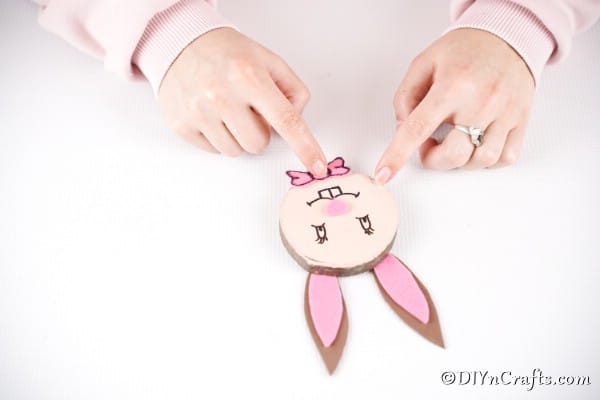
Attach the pink ear to the brown ear as shown.

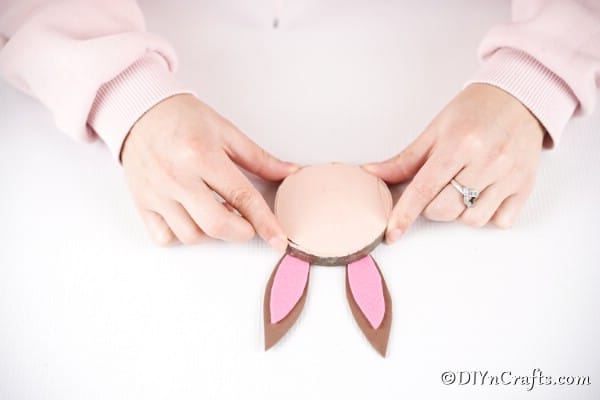
Now, you will glue the bunny ears in place on the back of the wood slice.

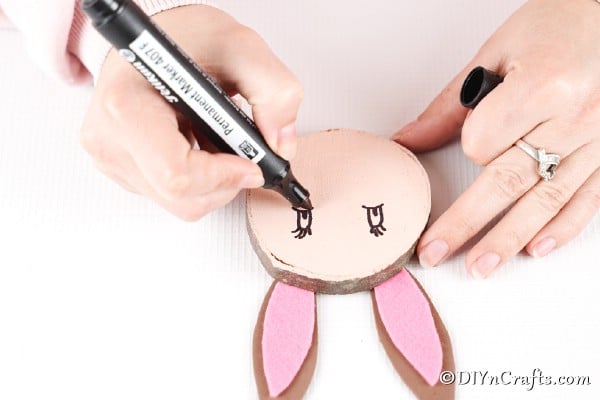
Next, draw the bunny eyes with a black marker.

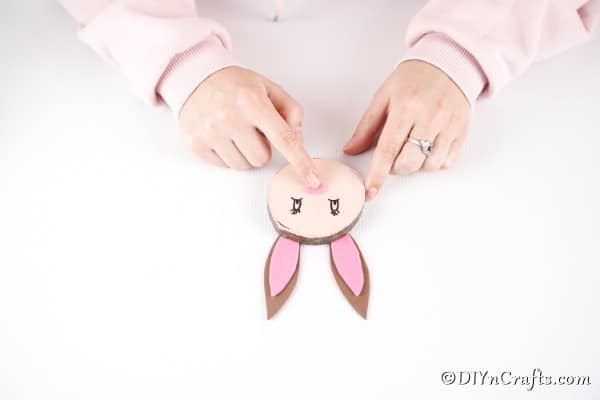
Cut out a felt circle for the bunny nose and attach it with craft glue.

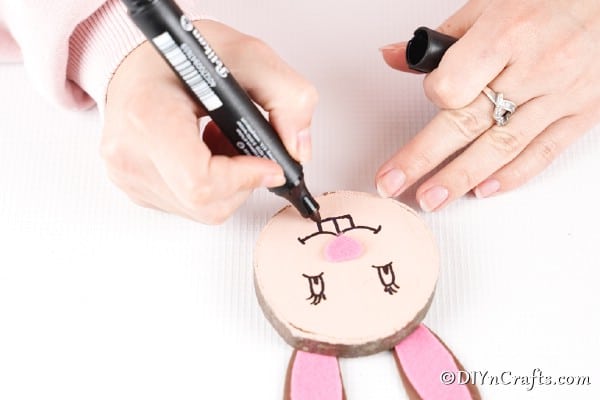
Draw on a smile with big teeth.

Attach the bow tie to the bottom of the bunny's face.

Use and display your Easter bunny wood slice decorations as you wish!

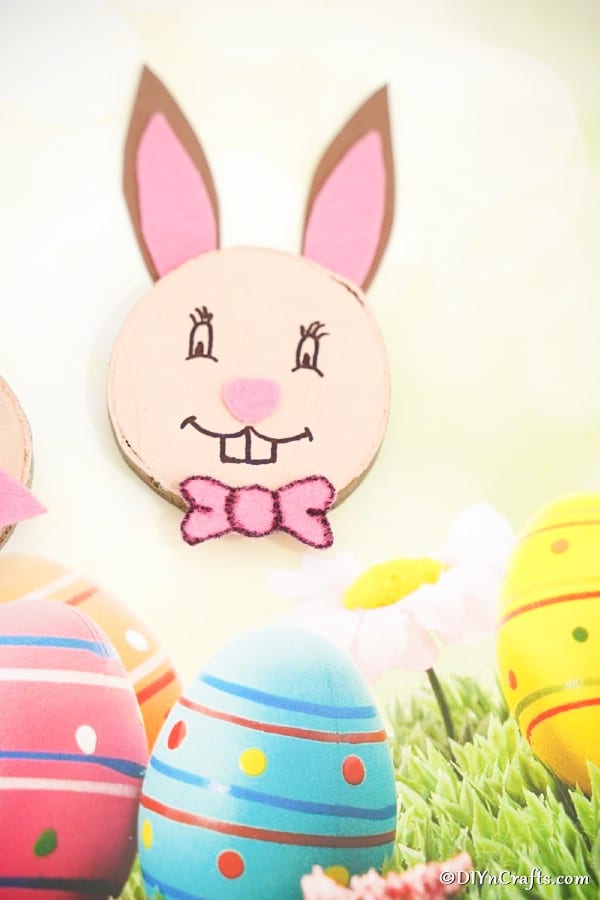
Cute DIY Wood Slice Bunnies Easter Decoration
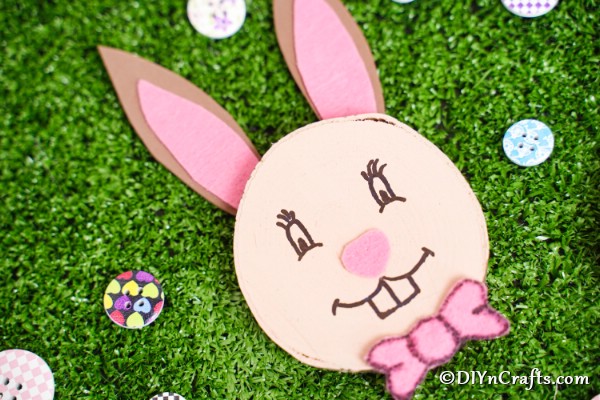
Painted wood slice bunnies are an adorable addition to your upcoming holiday brunch table or displayed on a mantle this spring! An easy kids Easter craft anyone can do!
Materials
- Wood slices
- Pink craft paper
- Brown craft paper
- Pink felt
- White or pink paint
- Black marker
- White marker
- Pink marker
Tools
- Scissors
- Paintbrush
- Craft glue
Instructions
- Paint one side of your wood slice in pink or white then set aside to dry;

- Trace and cut out bunny ears from the brown paper, then slightly smaller ears from pink paper;
- Attach the pink ears to the top of the brown ears as shown;
- Glue the bunny ears in place at the top of the wood slice on the back unpainted side;
- Next, you will draw on the bunny eyes with black marker;
- Cut out and glue on a felt circle for the bunny nose;
- Add a simple mouth with big teeth smiling as shown;
- Attach the felt bow tie with craft glue;
- Display as desired.

Notes
You can also paint these bunnies white, purple, blue, green, yellow, or any springtime colors you prefer!
Recommended Products
As an Amazon Associate and member of other affiliate programs, I earn from qualifying purchases.


touched painter
I love these. I work with wood so I would take a third circle... Symmetrically cut out an arc off of each side for the ears... and the concave part between the 2 convex pieces for the ears, I would make the bow. The 2 ears glue behind the head and glue the bow on the front of the head..
I do love your version soooo cute.