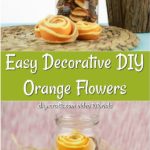
Make my easy decorative orange flowers as a perfect DIY that looks beautiful displayed as part of a centerpiece. Add these to a jar with other potpourri items for a fragrant and beautiful display that is great for any season.
You may also love these great potpourri recipes that are ideal for adding a natural scent to your home.

Jump to:
Easy Decorative DIY Orange Flowers
One of my favorite healthy snacks is a nice ripe orange. Since I almost always have them on hand, this idea came to me recently to use the peel to make something both beautiful and functional. There was no reason for me to keep adding them to compost right away. Instead, I can add them to my decor and add some bright fragrance to the room at the same time.
If you want a flower that will last longer, then you will love this tutorial for how to make flowers out of jeans. Such a cute idea that displays well for any season.

Ways to Display DIY Orange Flowers
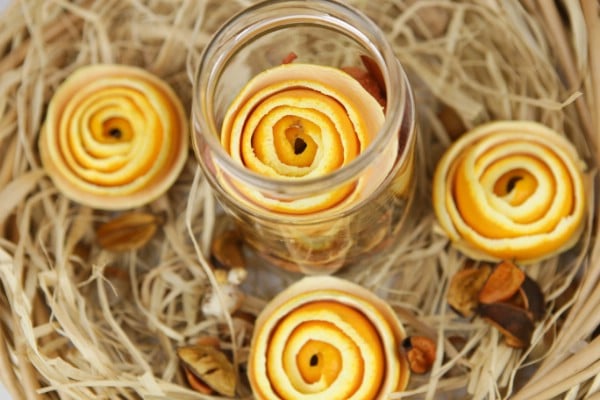
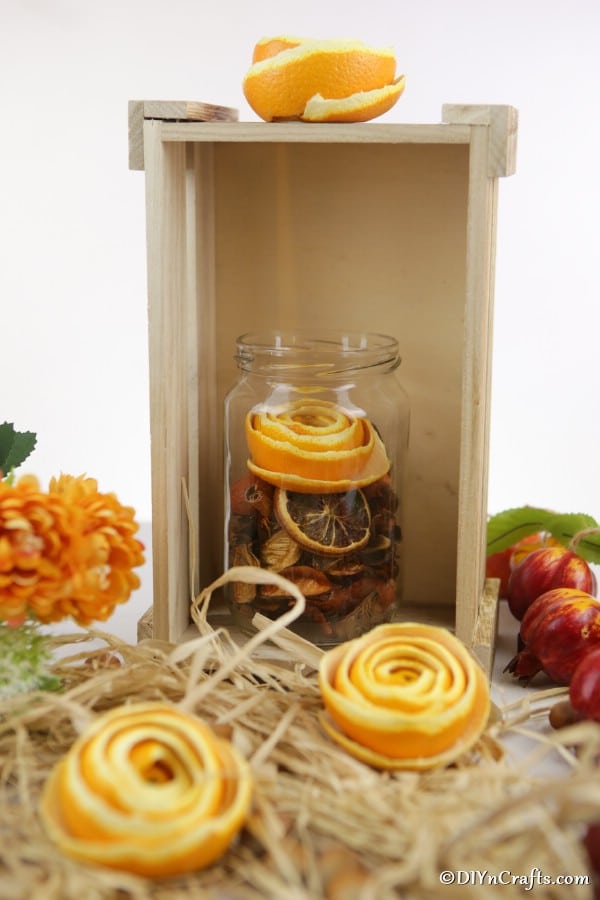
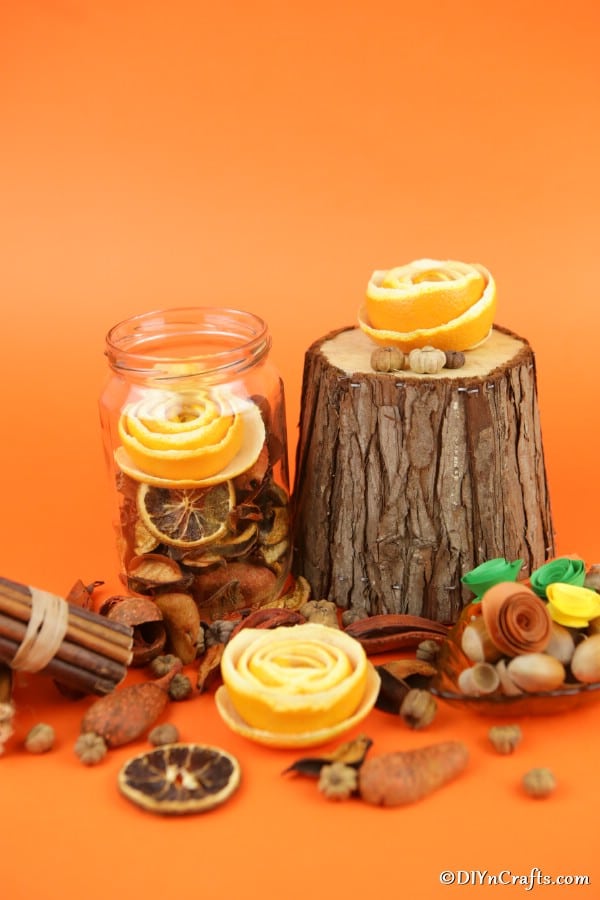
While this craft is to make flowers to go inside a jar with other dried leaves and potpourri pieces, you can definitely display this in other ways. As you can see in my pictures, I added them around the jar in some decorative hay, but you can get creative and add them just about anywhere.
I think they would look great in a centerpiece alongside these cute flowers made from old book pages. Just place them in a shallow bowl with some dried leaves and decorative hay. Place the paper flowers and orange flowers in the bowl on top of the leaves for a perfect centerpiece.
Other ways to display these are to attach to floral stems and put in a vase, lay in a shallow bowl with water or ice for a party, or even freeze into ice blocks to decorate a punch bowl.

How Long Will These Flowers Last?
Unlike regular flowers, these orange flowers can last for quite a long time. Yes, they do start to break down just like any food product, but in this case, you will see them dry out significantly first. In fact, depending on the humidity in your home, they may dry completely before they start to break down or grow mold.
Typically, I have seen these last for 2-3 weeks before I felt they needed to go ahead and be added to my compost.

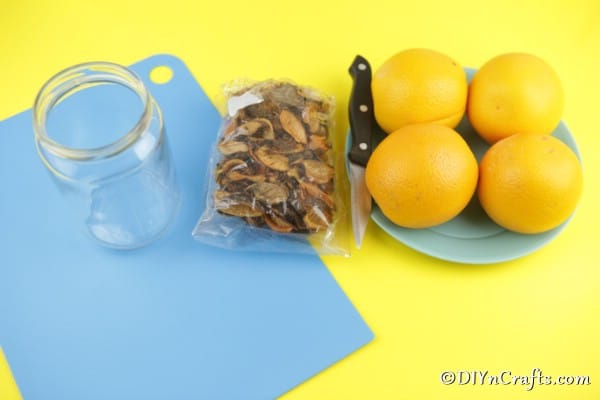
Supplies Needed
- Wide-mouthed mason jar
- Dried leaves
- Oranges
- Knife
- Cutting Board

How to Make Decorative Orange Flowers
Begin by gathering your supplies and preparing your workstation. For this project, you will need a knife, a cutting board, and, of course, the oranges.
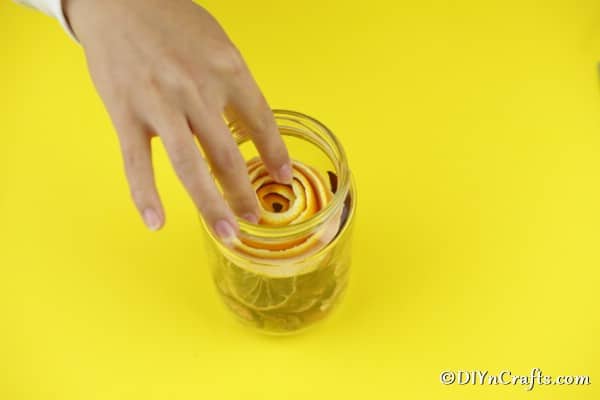
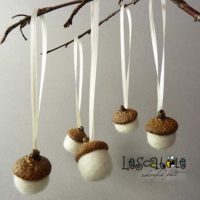
To begin, you can place the dry leaves into the bottom of the jar. You can add in cinnamon sticks, dried fruits, and other small pieces like acorns os nuts that fit the theme. Fill your jar to around the ½ point, leaving room for the orange flowers to go on top of the other items.

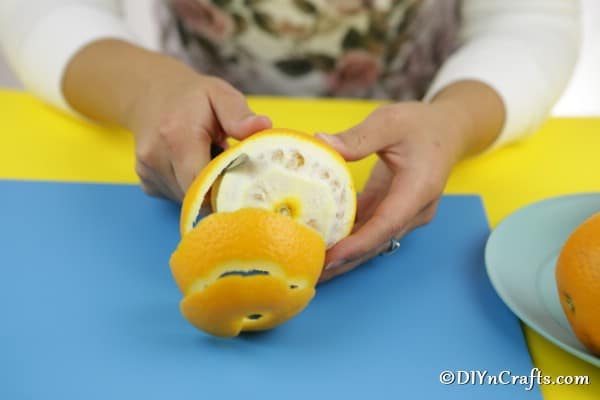
Now, you will begin peeling the orange. Start by using scissors to cut open the orange, and then slowly peel around the orange, just separating the peel from the flesh of the fruit. Be careful not to break this, as it will need to be whole for your flower.

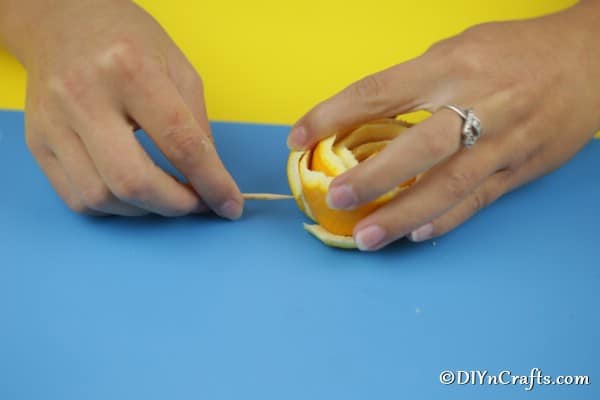
Next, you will wrap the peel into a circle with the middle being tighter and the peel looser as you get to the end.
You can arrange the peel to show some of the white and some orange to give it a bit more natural look.

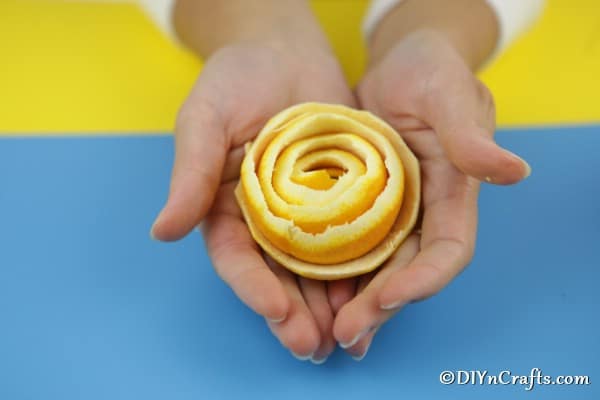
Gently slide the orange peel flower into the top of the jar and display it as desired.

Video Tutorial:
Printable Step-by-Step Tutorial:
Easy Decorative DIY Orange Flowers
Grab your favorite snack to create this cute Decorative Orange Flowers project! Use the peel of a simple orange to make a beautiful and fragrant addition to your decor.
Materials
- Wide-mouthed mason jar
- Dried leaves
- Oranges
Tools
- Knife
- Cutting Board
Instructions
- Gather your supplies and lay them out on your workstation to prepare your orange flowers;

- You will begin by cutting the top of our orange with scissors to start the peeling process;
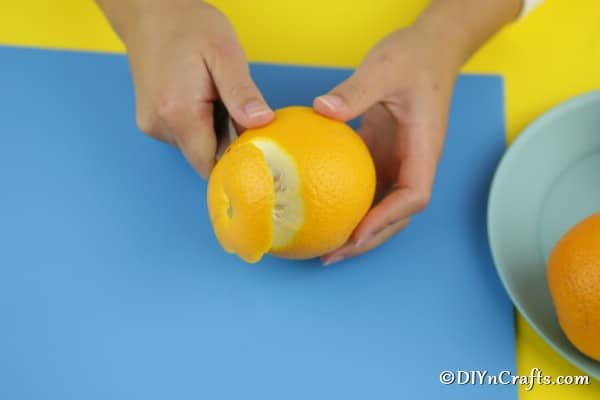
- Next, you will use a sharp paring knife to continue cutting around the orange carefully keeping the peel intact while you remove it completely from the flesh of the orange;
- Continue peeling until you reach the bottom, cutting the end;
- Once your orange peel is off of the orange, you will begin winding it up to create the flower;
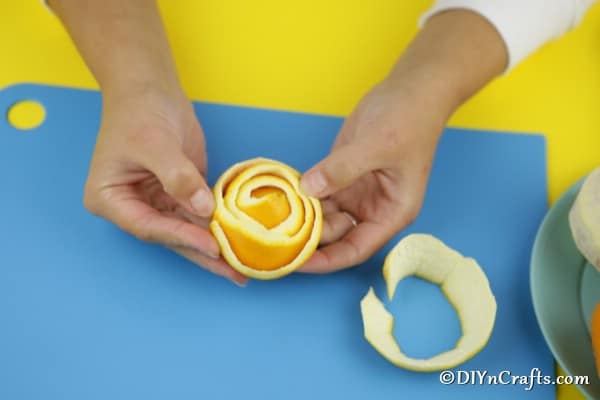
- Start with one end and wind tightly as if you are making a snail;
- You will continue wrapping the peel around in a circle with outer layers being looser;
- Once done, you can add-in extra pieces of white peel to give the flower a more natural look;
- Pin the bottom together with a toothpick;
- Place dry leaves, dried fruit, or acorns and nuts into a glass jar with a wide-mouth;
- Next, you will put the orange flower gently into the jar and display it as desired.

Recommended Products
As an Amazon Associate and member of other affiliate programs, I earn from qualifying purchases.
-
 Smiling Snowman candle holder
 -
 Sylvie Snowman on a pedestal of driftwood.
 -
 Winter White Wool 11" Scandinavian Tomte Gnome Nisse Ornament
 -
 Winter Decoration/tree decorations
 -
 Snowy winter pine cones white pine cones
 -
 X-MAS Crochet Kit lalylala 4 seasons amigurumi: Christmas Tree, Candle, Angel, material set, festive Winter decorations, DIY


KATHY
Great ideas