Have you ever wanted to know how to make your own Square Knot Bracelet to use as a friendship bracelet? This simple tutorial breaks down the steps of weaving the cord back and forth and knotting in between to create the classic square knot bracelet that is so popular.
Make these for yourself, to share with friends, or as a great craft to resale in local art fairs!

Jump to:
- Square Knot Bracelet Friendship Bracelet Tutorial
- What thread should I use for a paracord bracelet?
- How to tie a square knot
- Reasons to make best friend bracelets
- More fun homemade jewelry ideas
- Supplies needed for a knot bracelet
- How to make a square knot bracelet
- Materials
- Tools
- Instructions
- Recommended Products
Square Knot Bracelet Friendship Bracelet Tutorial
I have always enjoyed making friendship bracelets to share with others. Whether it was as a teen wearing a matching bracelet with my best friend or boyfriend or as a mom to share with my children, they are a super fun way to connect.
The bonus of making this square knot bracelet is how durable it is compared to the old embroidery thread bracelets of my youth.
What thread should I use for a paracord bracelet?
The best part of making friendship bracelets is how versatile they are to make with whatever supplies you have on hand. However, when it comes to making a square knot bracelet or a more traditional paracord bracelet, you will typically want a thicker thread or ribbon.
Traditionally, for a true paracord bracelet, you would use parachute thread or a similar thick ribbon that is more ropelike in size and strength.
I have tried using basic ribbon or embroidery thread for these bracelets. While it is doable, the appearance isn't as neat, and they are not as durable.
I suggest shopping around at your local craft stores for various colors of parachute thread or thin nylon rope to make your friendship bracelets.

How to tie a square knot
The full tutorial for this particular bracelet is listed below. However, understanding the basics of a square knot is important. Below is a basic guide to tying a square knot. Practice this before you begin making your bracelets to make sure you are comfortable with the process.
- Begin by holding an end of your rope or thread in each hand
- You will then pass the end of the right side of the cord over and then under the cord in your left hand
- Next, you will then pass that rope end that is now in your left hand, back over and under the one that is now in your right hand
- Finally, you will pull both ends at the same time to tighten the knot
This tutorial is for a basic knot using a cord or rope. This is not the complete method you will be using for the bracelet, but it is a valuable skill that will help make your bracelet weaving easier to manage. A square knot is simple to make and durable for your needs, but it is also easy to undo if needed.

Reasons to make best friend bracelets
Do you really need a reason to make a bracelet? Not really, but sometimes people make a lot of bracelets and then don't know what to do with them. So, here are some fun ideas for using this tutorial to do something unique or great for your friends.
- Make matching bracelets for your group of friends to wear
- Create color-themed bracelets for your school. Think about teams or groups at school that might want to show solidarity with a bracelet
- They are perfect gifts for a new boyfriend or girlfriend
- Wear them to honor someone who is no longer with you (perfect fundraisers for those in need)
- Make a large number of square knot bracelets to sell at craft fairs, art shows, or online with things like Etsy or eBay
More fun homemade jewelry ideas
This is a great bracelet idea, but we have even more fun jewelry crafts here to share with you. Check out some of my favorites linked below and have your own fun crafting party!
- How to Make a Pearl and Ribbon Bracelet
- DIY Yarn Tassel Earrings Tutorial
- 15 Fun DIY Bead Jewelry Projects
- 35 DIY Jewelry Ideas
To store all of your fun jewelry pieces, you'll want to check out these tutorials!

Supplies needed for a knot bracelet
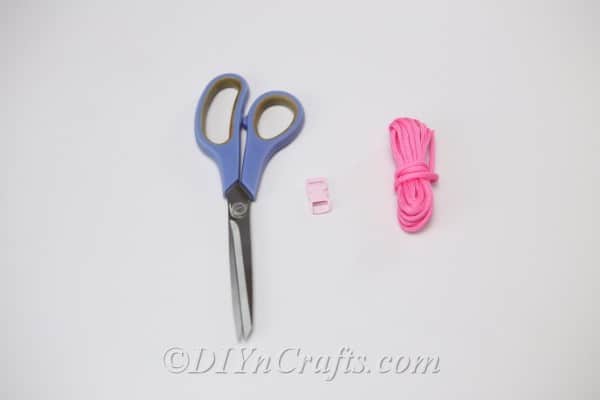
- Thick ribbon, paracord, or rope for making a bracelet (8-10 feet long)
- Plastic bracelet clips (2 per bracelet)
- Scissors
- A lighter or matches to burn the ends of the cord to prevent fraying
- Tape to secure bracelet as you tie knots

How to make a square knot bracelet
Video Tutorial:
Prepare your supplies so you have everything needed at hand. Choose the color of thread and ribbon you prefer, then measure a length that allows not only room for you to make the knots, but that will make this long enough to go around your wrist (or the wrist of who this will be gifted to later). A good parameter is typically 1' foot of cord for every 1" of the knotted bracelet you will make.
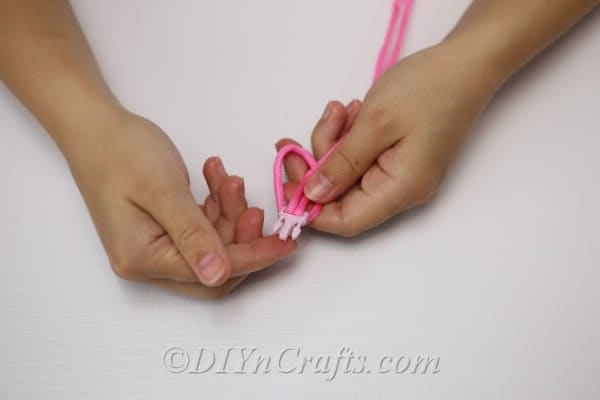
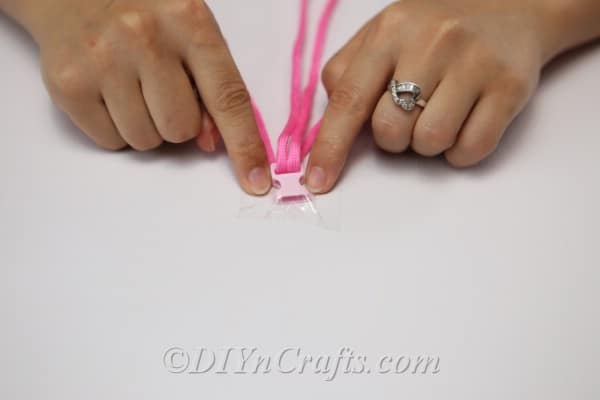
Once you have supplies ready to begin, you will begin by threading the ribbon or cord through the clips. Open both clips, and fold the thread in half, tie on one side, then slide the two ends through the clip. These ends will be on what will be the backside of the clip, so make sure you position as needed.

Adjust the length of the rope as needed by adding your second clip approximately where you want the bracelet to end. This will need to be a bit longer as things will tighten during the tying process.
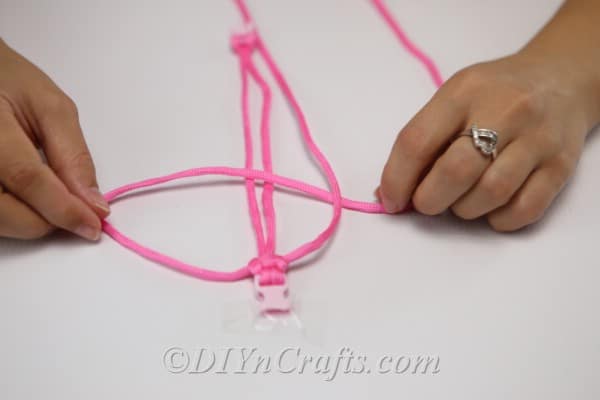
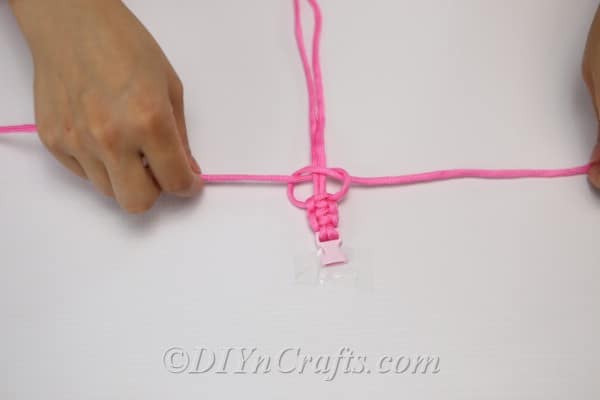
Secure the clip with ribbon to your workspace (I used tape), and begin the process of tying knots. Follow the printable tutorial below for crossing the cord over each side to create the knots as shown. You will start on the right side by making a "P" shape, then bring the left side of the ribbon under and over, then tighten to create the knot. You will continue repeating these alternating sides until you make the bracelet as long as you desire.

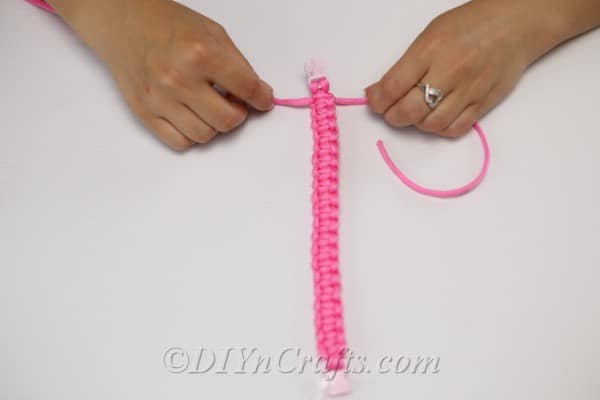
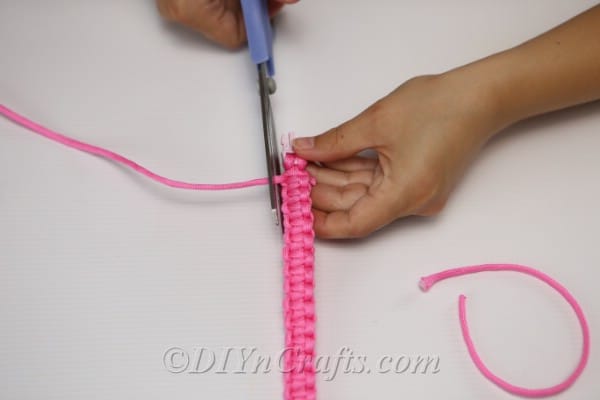
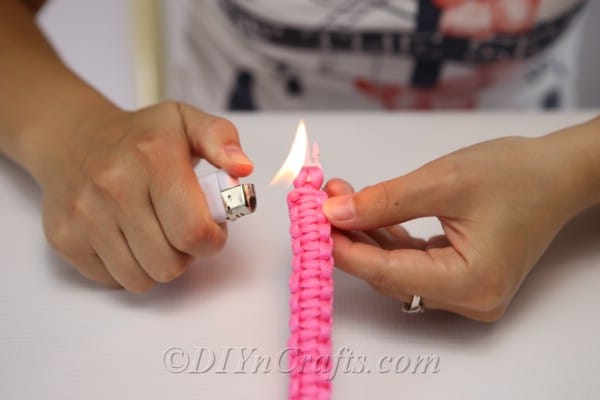
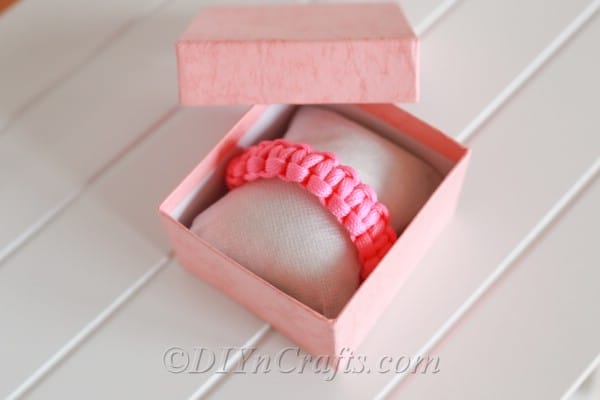
As you near the end of the bracelet, you will cut the thread and burn the ends to prevent fraying before clipping together and wearing.

Square Knot Friendship Bracelet Tutorial
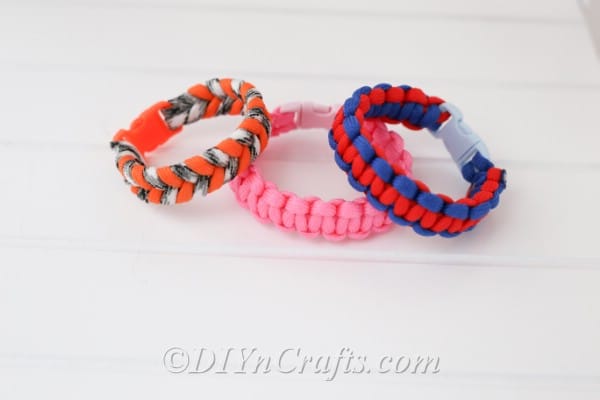
Easy step-by-step square knot bracelet tutorial. Make a homemade fun paracord style friendship bracelet in simple steps using this tutorial.
Materials
- 8'-10' Thick Ribbon or Parachute Thread
- 2 Bracelet Clips
Tools
- Scissors
- Lighter
- Tape
Instructions
- Measure and cut the chosen ribbon to the desired length. This bracelet typically requires 1 foot of thread per 1 inch completed bracelet.
- Open both of the clips.
- Take the thread, fold it in half and tie it on one side of the clip.
- Adjust the length of the bracelet. Measure the desired length taking apart the two clips. Make sure that you will leave a little extra space as the thread will shorten during the knotting process.
- Attach the clips to your work surface using tape to make the process secure and easier to manage.
- Take the end of the thread on one side and put it over all the threads creating a "P" shape on the right side. Thread the two ends on the other side and pull through to the other part of the clip. These threads should be on the backside of your clip.
- Move the left side thread and put it through the crease of the "P" shape from the backside
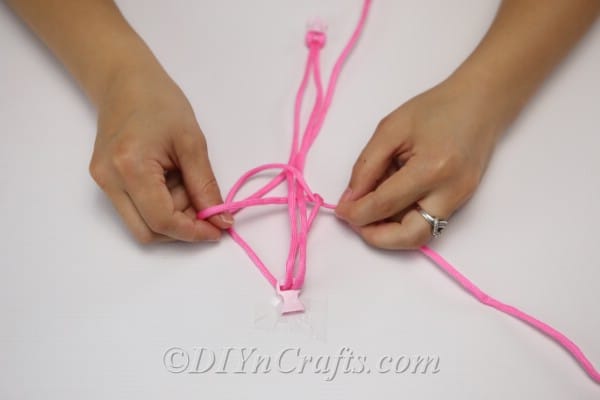
- When you tighten the ends, you will see that you have one knot on the right side.
- Repeat this process on the left side.
- Continue repeating this process alternating from the right to left side until you have reached the desired bracelet length.
- At the end of the bracelet, cut the thread slightly longer than it should be. Make sure the bracelet will stay by burning the ends and as it starts to melt, attaching it to the bracelet so it is glued and won't fray. You can also use glue for this step. **This should always be done by an adult when children are making this bracelet.
Recommended Products
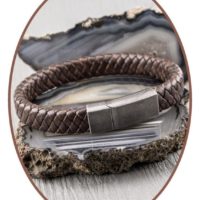
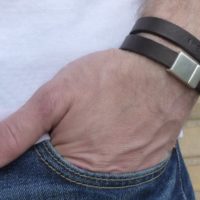
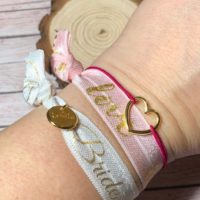
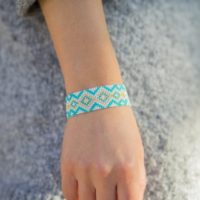
My favorite Etsy bracelets.





Leave a Reply