Love crafting projects that have a rustic or vintage flavor? Then this video tutorial is for you. In our tutorial, we will be transforming an ordinary egg into a lovely homespun decoration for Easter. This can add a rustic touch to your holiday.

Jump to:
This rustic Easter craft is delightfully cheap and easy. The only tools you need are a hot glue gun and a pair of scissors. As far as materials go, you need an egg, which you probably already have in your kitchen. You will also require regular twine and ribbon, as well as some faux flowers, leaves, or both.
In short, you should only end up having to spend a few dollars to make this easy Easter craft.
Technically, you can get away with doing this project using nothing but the egg and the twine (along with the glue). Even though we are going to be using ribbon to create a loop that you can hang the egg by, you could do this with twine if you did not have ribbon handy.
As for the flowers and leaves, they worked well with the rustic look, but you probably could think of other decorations you could use to create a different effect and still hold to that rustic style. So, if there are any other creative ideas you have or different materials that are on hand, experiment and see what you like.
Below, you can view the materials and tools that I used for this project. I have also written up directions to go with the video tutorial.
DIY Rustic Twine Easter Egg Decoration Step-by-Step Video and Photo Tutorial:
Materials:
- Egg
- Ribbon
- Faux flowers and/or leaves
- Twine
Tools:
- Scissors
- Hot glue and glue gun

Instructions:
1. To begin with, you are going to need a hollow egg. I have not shown this in the video, so if you do not know how to do it, here is a quick explanation.
First, wash off your egg and dry it. Next, poke holes in both ends of your egg using a needle. A large needle is ideal, as you do not want a really tiny hole. You will need to puncture the egg yolk, or it won’t come out. Then, blow into one of the holes. The white and yolk should spill out the opposite end. Once that is done, wash the egg as well as you can, and then set it aside to dry. Needless to say, you must do all this carefully.
2. Apply some hot glue to the top of your egg. Do this carefully so that you do not weaken the egg and break it. Attach one end of a piece of twine to the top of the egg.
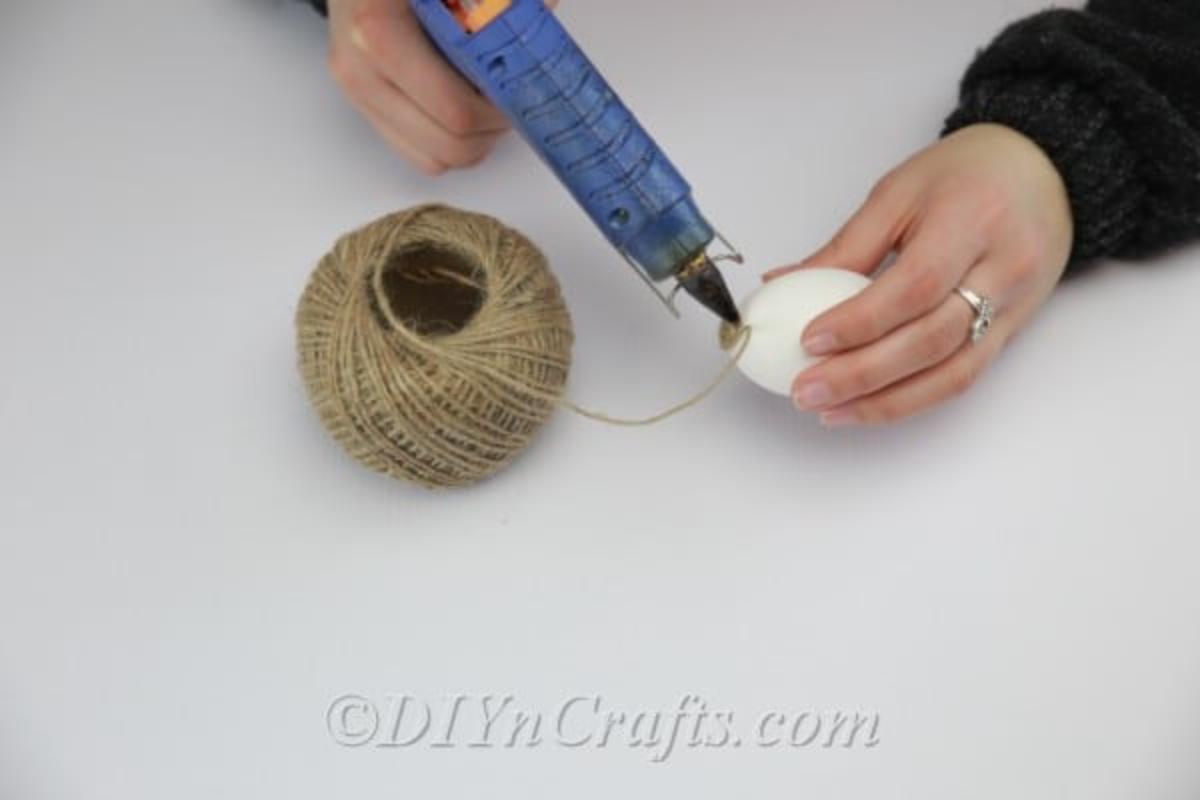
3. Begin winding the twine around and around your egg, gluing as you go, and work your way down.
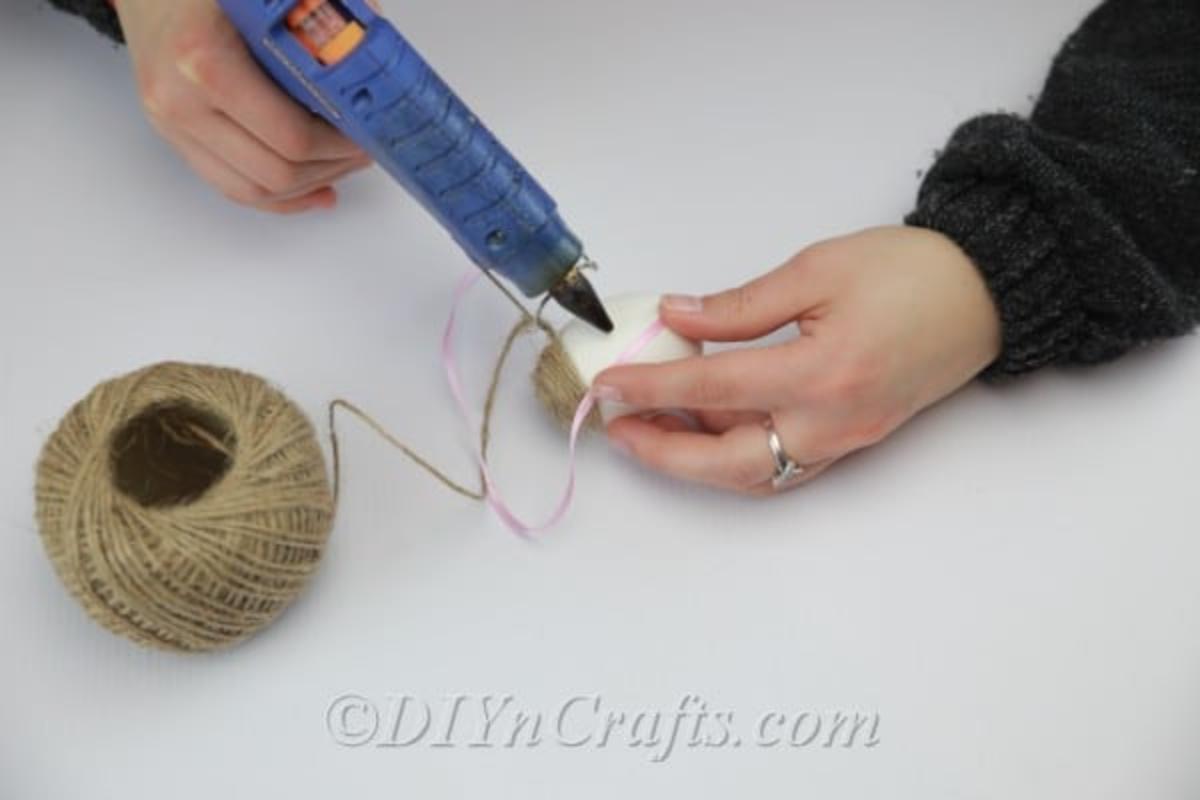
4. Pause what you are doing with the twine when it is about halfway down to the center of the egg. Get a narrow, small strip of ribbon, which you will use to create a loop or “handle” for the egg. Use hot glue to attach each end to opposite sides of the egg. You want to attach the ends a ways below the level the twine is at.

5. Once the glue on the ribbon ends has dried, you can resume what you were doing with the twine, continuing to work your way around and down the egg. Cover up the ribbon ends. That way the ribbon loop will emerge from underneath the twine.

6. Continue with the twine until you have covered the egg completely.

At this point, your egg will look like this:

Now, it is time to decorate it.
7. I had a wide, decorative ribbon to use, so I wrapped it around the center of the egg and glued it in place.


8. As a final step, I used hot glue to attach a faux flower and leave it to the egg.


Here is the finished result!


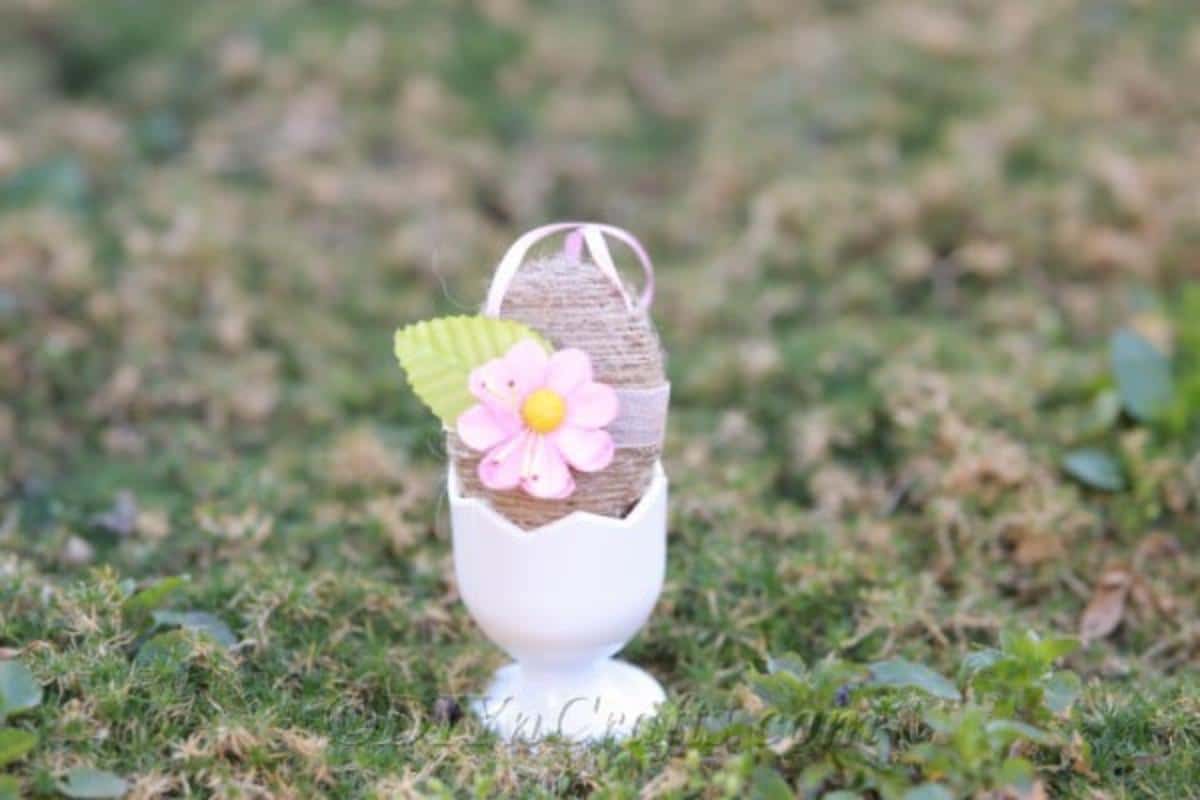
This Rustic-Looking Easter Egg Will Add Some Homespun Charm to Your Holiday
You have now crafted a rustic Easter egg decoration. As you can see, it was really easy to take an ordinary egg and turn it into something extraordinary. You can either set it down or hang it up, depending on where you want to display it.
Unlike a lot of decorated Easter eggs, this one has a layer of protection now in the form of twine and glue. This means that if you are careful, you can pack the egg away in Styrofoam or bubble wrap, take it out again, and enjoy it next year.
Or, if you prefer, you can simply keep it out for all to see all year long.
Once you have finished making this craft, check out some of the other Easter craft tutorials on our site. Find out how to make a colorful Easter wreath out of sticky notes and how to make a cute Easter chick out of DIY pom poms.
Easter Projects
We also have some fun Easter activities for kids using free printables. Enjoy!


Leave a Reply