• Skip to primary navigation
  • Skip to main content
  • Skip to primary sidebar
  • Home
  • Repurpose
  • Crafts
    • Cricut
    • Kids
    • Paper
    • Winter
  • Holidays
    • Valentine's Day
    • Easter
    • Halloween
    • Christmas
  • Fashion
    • Sewing
    • Beauty
    • Hairstyles
  • Gifts
    • Baby Shower
    • Father's Day
    • Mother's Day
  • Homemade
  • Home
    • Furniture Makeovers
    • Lifehacks
    • Decorating
    • Organization
    • Parenting
    • Gardening
    • Health
  • Food
    • Recipes
  • Knitting & Crocheting
menu icon
go to homepage
  • Decor
  • Repurpose
  • Paper
  • Crafts
  • Kids
  • Cricut
  • Fall
  • Fashion
  • Father's Day
  • Baby Shower
  • Food
  • Beauty
  • Recipes
  • Furniture Makeovers
  • Gifts
  • Hairstyles
  • Health
  • Holidays
  • Christmas
  • Easter
  • Halloween
  • Home
  • Gardening
  • Parenting
  • Homemade
  • Kids Crafts
  • Knitting & Crocheting
  • Lifehacks
  • Mother's Day
  • Organization
  • Party
  • Sewing
  • Spring
  • Upcycling
  • Valentine's Day
  • Videos
  • Wedding
  • Winter
  • Woodworking
search icon
Homepage link
  • Decor
  • Repurpose
  • Paper
  • Crafts
  • Kids
  • Cricut
  • Fall
  • Fashion
  • Father's Day
  • Baby Shower
  • Food
  • Beauty
  • Recipes
  • Furniture Makeovers
  • Gifts
  • Hairstyles
  • Health
  • Holidays
  • Christmas
  • Easter
  • Halloween
  • Home
  • Gardening
  • Parenting
  • Homemade
  • Kids Crafts
  • Knitting & Crocheting
  • Lifehacks
  • Mother's Day
  • Organization
  • Party
  • Sewing
  • Spring
  • Upcycling
  • Valentine's Day
  • Videos
  • Wedding
  • Winter
  • Woodworking
×
Home » Holidays » Easter

How to Upcycle a Party Ball into a Cute Easter Bunny

Modified: Mar 14, 2025 by Vanessa Beaty · This post may contain affiliate links · Leave a Comment

If you are getting ready to host an Easter party at your house, you are going to want to make some DIY decor to give your party a unique vibe. In this video tutorial, you will be transforming a regular honeycomb ball into a cute Easter Bunny to welcome your guests and celebrate the holiday.

How to Upcycle a Party Ball into a Cute Easter Bunny
Jump to:
  • Honeycomb Ball Easter Bunny Step-by-Step Video and Photo Tutorial:
  • Materials:
  • Tools:
  • Instructions:
  • Easter Projects

Just a few tools and materials are needed for this project, most of which you might already have in your craft room. One unique supply that you will need is a honeycomb ball decoration made out of paper. You should be able to buy one of these ready-made at a party supply store.

I decided to use a pink honeycomb ball for my Easter bunny decoration, but you can pick any color you want. Pastels are usually best to get that perfect springtime ambiance.

All materials and tools you need can be found in the list below. You also can read written directions as you follow along with the video tutorial. Let's get started crafting a honeycomb ball Easter bunny.

Honeycomb Ball Easter Bunny Step-by-Step Video and Photo Tutorial:


Materials:

  • Honeycomb ball party decoration
  • White cardboard
  • Pink foam sheet
  • Large googly eyes
  • Wooden craft stick (or tongue depressor, etc.)
  • Pink pom pom

Tools:

  • Scissors
  • Hot glue and glue gun
  • Black marker
Project materials.

Instructions:

1. When you purchase a honeycomb ball, it may be in a collapsed form. Expand it so that it is in a ball shape.

Expand the party ball to get it ready for the project.

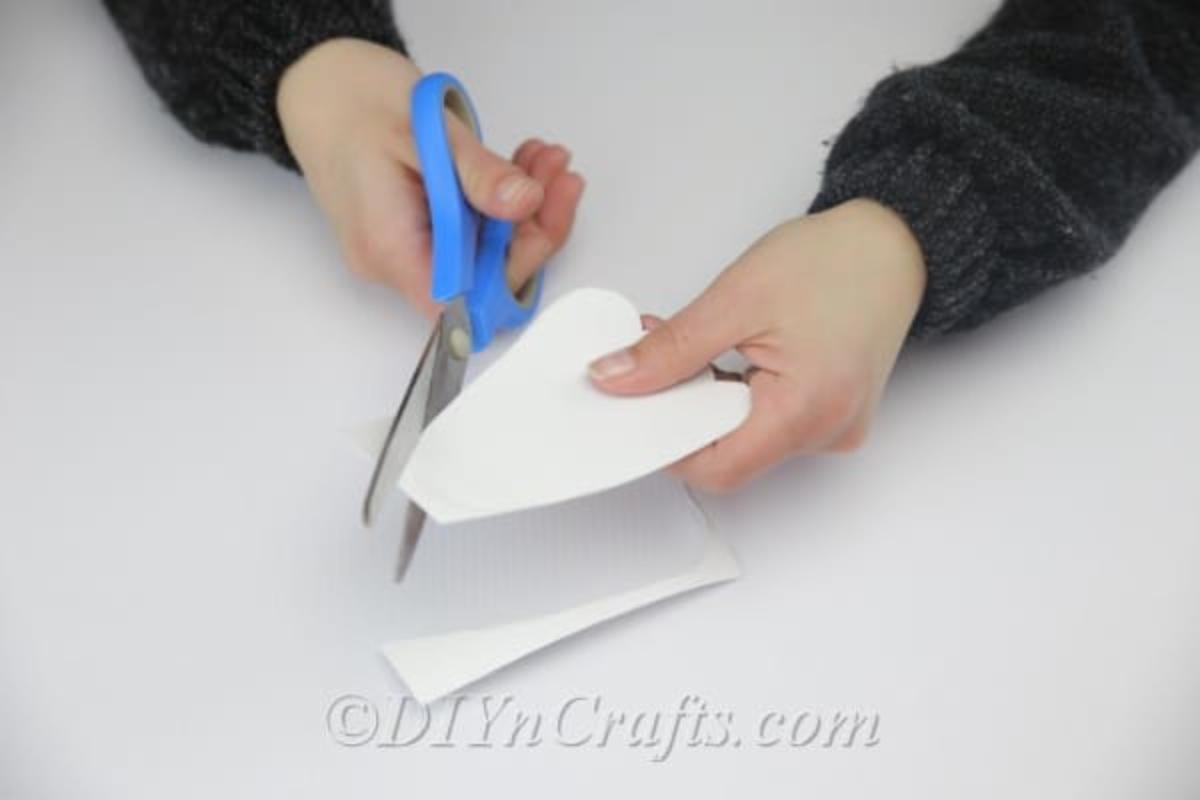
2. Next, you will need to draw and cut out a circle shape from a piece of white cardboard. It will become the bunny’s head. The size of the circle depends on the size of the honeycomb ball you are using. In my case, I found that tracing around a CD produced the size that I needed.

Preparing the the bunny's head.
Using a cd to form the bunny's head.
Cutting the circle we'll use as the head.

3. You can set the circle aside now, but use it for reference as you sketch and cut out the shapes of two matching bunny ears, also from the white cardboard.

Draw and cut the bunny's ears.

4. To create the inner ears, cut out the same shapes, but slightly smaller, from the pink foam sheet.

Cut out smaller ear shapes from pink foam sheet, you're gonna use them for the bunny's inner ear.

5. Glue the inner ears on top of the outer ears, and then glue the completed ears onto the circle. It will look best if you attach them at the back.

Glue the inner ear to the outer ears.

6. Now that you have the bunny's ears and head, you can create its face. To do this, glue on the googly eyes and then glue on the pom pom as the nose. Sketch the bunny's mouth using a black marker.

Glue the googly eyes to the bunny's face.
Glue the pink pom pom nose and draw the bunny's mouth.

7. Glue a craft stick to the back of the bunny’s head, sticking out below like a neck.

Glue a Popsicle or craft stick onto the bunny's neck.

8. Insert the craft stick through the top of the honeycomb ball so that the head rests on top.

Insert the finished bunny head in the middle of the party ball.

9. Cut out the shapes of two bunny feet from the same white cardboard that you used to create the head and ears.

Cut the bunny's feet out of white cardboard.
Finished bunny project feet.

10. From the pink foam sheet, cut out the shapes of paw pads.

Cut and glue the pink paw pads onto the finished feet.

11. Glue the completed feet onto the base of the honeycomb ball, making sure that they will still be visible when the bunny is standing upright. That means they should be positioned somewhat in the front, not directly on the bottom.

Glue the completed feet onto the base of the honeycomb ball.

Here's what your completed honeycomb ball Easter bunny decoration should look like:

Finished honeycomb ball Easter bunny decoration.

You Now Have the Perfect Bunny Decoration for Any Easter Party

That was fast and easy, right? And it’s such a better idea than just putting out honeycomb balls. Craft a few of these for your party, and you are bound to hear lots of compliments from your guests.

Still looking for more ideas for DIY Easter party decorations? Find out how to make a colorful Easter wreath using sticky notes. Or try making an Easter wreath which is shaped like a bunny.

If you need a centerpiece for your table, try this rustic DIY Easter centerpiece project using an old book. If there will be children at your party, keep them entertained with these dot-to-dot Easter activity pages for kids with free printables.

Easter Projects

Keep exploring the site for more fun and easy Easter DIY projects, and check back again soon for even more exciting tutorials.

More Easter

  • 4 DIY Easter Cards
    44 DIY Easter Cards
  • wood slice chicken on table with purple flowers in background
    Cute Wood Slice Spring Chicken Decoration
  • yarn sheep wreath on grass with white picket fence
    Cute Yarn Sheep Easter Wreath
  • wood slice bunny with pink ribbon around neck on grass
    Adorable Wood Slice Bunny Rabbit Decoration
234 shares

Reader Interactions

Leave a Reply Cancel reply

Your email address will not be published. Required fields are marked *

Primary Sidebar

DIY n Crafts Avatar

Hi, I'm Leah! I started DIYnCrafts long ago to spread crafts and happiness. Currently, we have thousands of easy crafts and tutorials, making us the biggest crafty site on the internet.

More about the team → and me

Recent:

  • Cute Monkey Card Paper Craft for Kids
  • 4 DIY Crown Molding Ideas and Products
    20 DIY Crown Molding Ideas and Products
  • 24 diy cocktail kits and ideas featured
    24 DIY Cocktail Kits and Ideas
  • easy diy fall farmhouse cloche centerpiece
    DIY Fall Farmhouse Cloche Centerpiece

Pages:

  • About Us
  • Be Featured
  • Contact Us
  • Email and Push Notification Subscriber Settings.
  • Privacy Policy

Categories

Footer

↑ back to top

About

  • Privacy Policy
  • About Us

Contact

  • Contact

As an Amazon Associate, I earn from qualifying purchases.

Copyright © 2022 DIYnCrafts LLC.

234 shares
  • 172