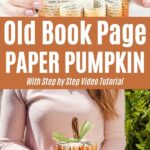
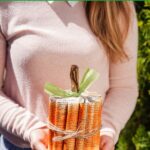
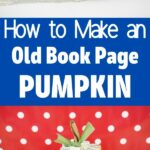
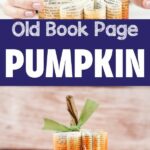


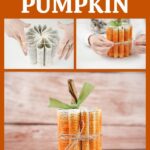

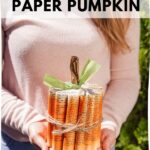
Don't you love seeing pumpkins popping up in decor everywhere? This book page paper pumpkin is one of my recent favorite projects. Of course, I use pumpkins all year in my decorations, but typically, they start being seen in August and continue through November. Whether you are decorating just for fall, adding to Halloween decor, or want it for your Thanksgiving table, this old book page upcycled idea is a perfect solution!

Jump to:
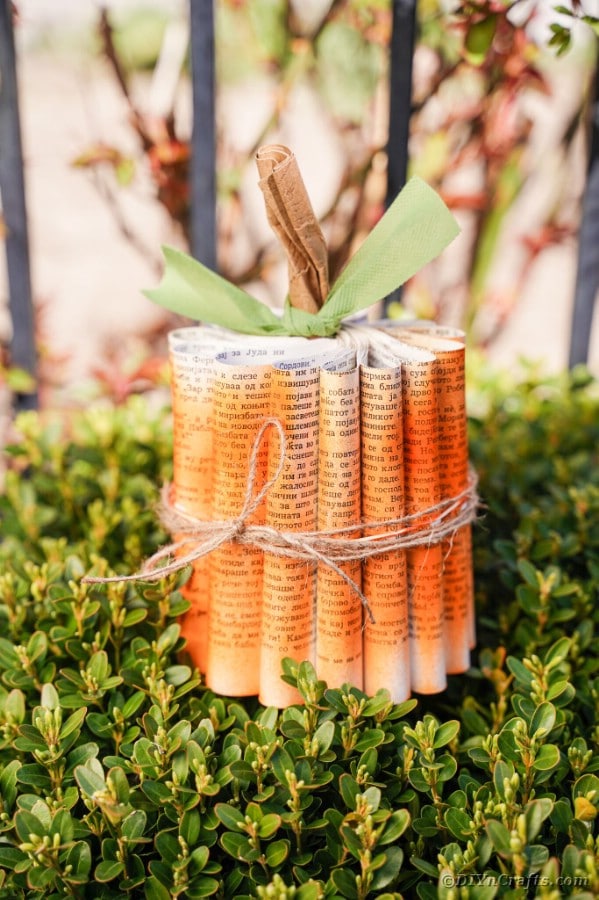
Book Page Paper Pumpkin
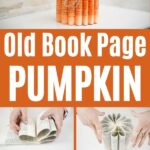
Old books are kind of my "thing." I find them at thrift shops, second-hand bookstores, and, of course, the library trash bins. Instead of seeing them go to the trash or recycling bin, I love adding them to my project lists. They are super versatile, a great base for many crafts, and, most of all, frugal. What more could you ask for in a craft base?
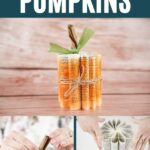
This pumpkin is a super easy craft that is great for making with kids. While simple in design, this is pretty easy to customize. Whether you make it different colors, add some pizazz with beads, or make a dozen to create your own pumpkin patch, I am sure it will be a new favorite pumpkin craft.

What Can I Use for the Stem?
I chose to go simplistic with this one and only used a bit of leftover brown craft paper. You can, however, use any number of items to create the stem for your pumpkin. Below are just a few ideas that come to mind.
- A piece of cardboard cut into the shape of a stem.
- Stick or twig from your yard.
- A wooden dowel or skewer painted brown.
- Thick rope or twine.
- Braided rope, twine, or yarn.

Can I Use Different Paint for My Pumpkin?
For this project, I found that spray paint was the perfect choice to coat the paper in seconds with minimal mess. I didn't want a thick coat of paint as I wanted this to appear more rustic, but you can use different paints if you prefer.Some ideas for updating with different paints are below.
- Stain the pages of the book and let dry before turning into the pumpkin.
- Use different colors of spray paint for different looks. Darker oranges, yellow, red, brown, and even white all work for pumpkins and gourds.
- Brush with watercolor to give a stiffer feel to the pages and a slightly more transparent appearance to the pages.
- Add your typical acrylic craft paint to just the outside edges of the pumpkin.

How Can I Customize My Paper Pumpkin?
I just love the country chic or rustic appeal to this design. That said, you might prefer something a bit more jazzed up to go on your mantle this year. If that's the case, don't hesitate to make this pumpkin truly your own.
I love the idea of adding a bit of glue to the paper edges and sprinkling on some brown or orange glitter. Adding sparkle to projects is always my go-to choice, and this is a great one to use that method. A beaded top or sequins added around the stem and leaves can also bring the "bling" you might be looking for on your pumpkin.
Different colors of paint, different stems, artificial leaves, or even vines growing from the top are all ways to customize. Think outside the box and just have fun making yours. If working with kids on this project, let them use their imagination and turn the project into their own custom piece of art.

Supplies Needed
- Old book pages
- Brown craft paper
- Green tissue paper
- Twine or rope
- Rubber bands
- Orange spray paint
- Scissors

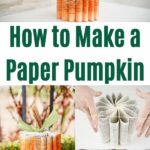
How to Make a Paper Pumpkin
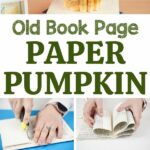
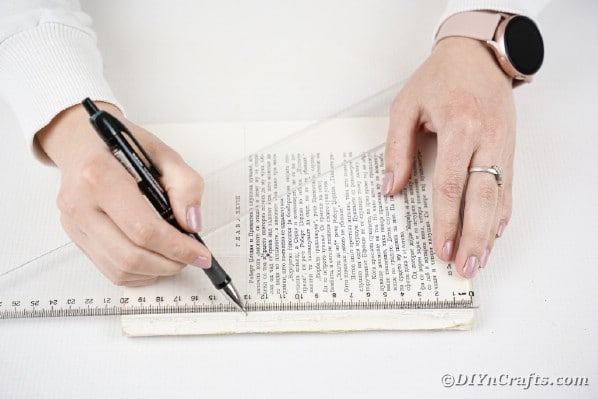
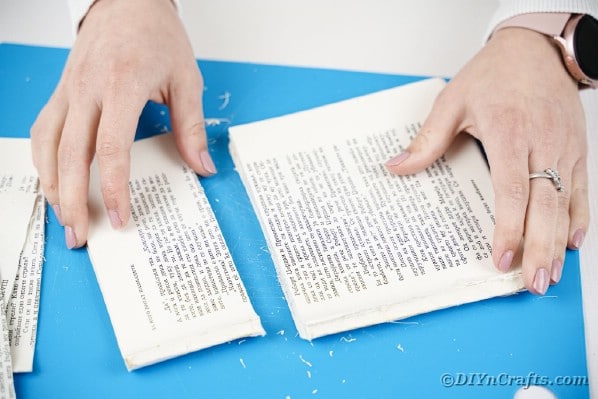
Remove a stack of 40-50 pages from a book, leaving the glue binding intact.

Use a ruler to measure a straight line across the top and outside of the pages, creating a square shape.

Cut the top half of the pages off and trim off the excess outside page so it is an even square.

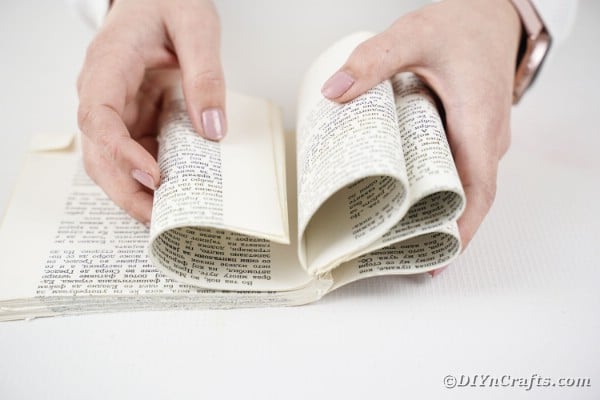
Now, section off the pages into 10-12 groupings of 4-5 pages each and begin rolling them inward toward the spine of the book.
Roll some in one direction and others in the opposite direction until the entire set of pages has been rolled and formed into a circular shape.

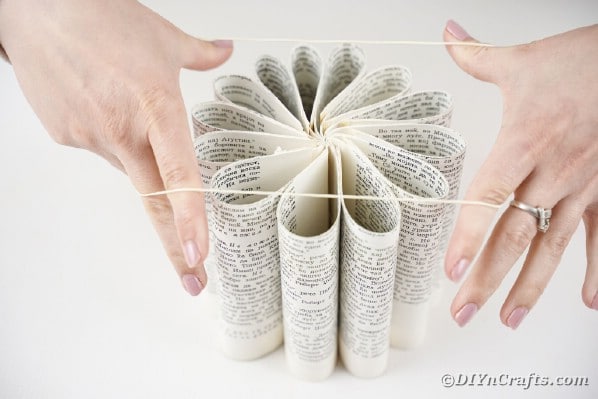
Using a rubber band, secure the pages into a circle.

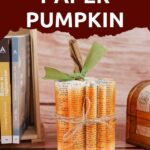
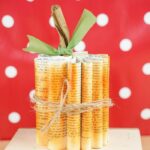
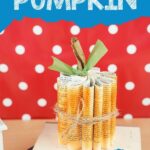
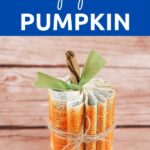
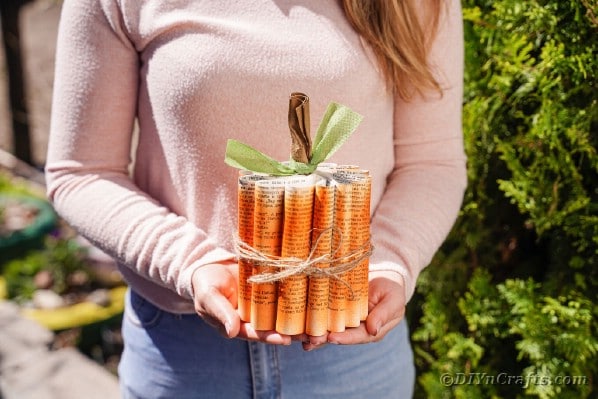
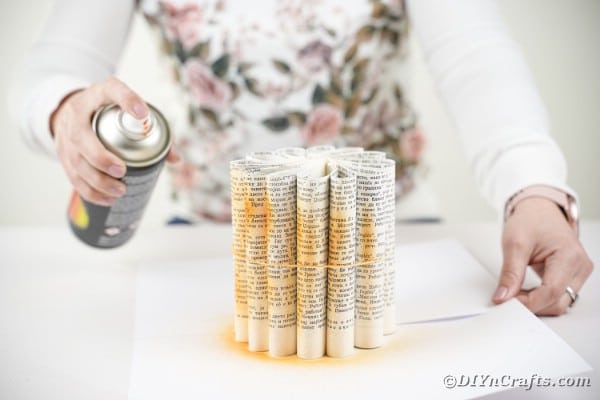
Now, spray the outside of the pumpkin with orange spray paint, leaving it rustic by not coating it completely in the paint.

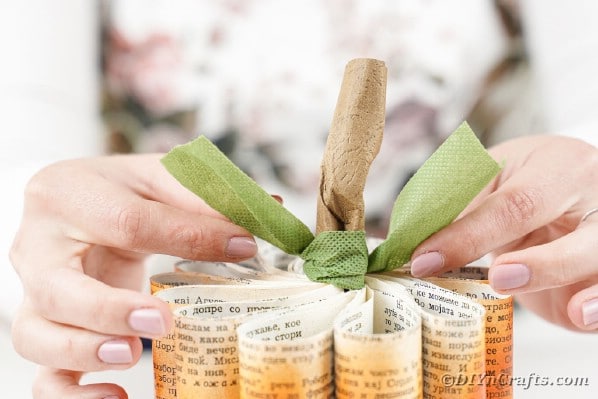
Once the paint has dried, roll a piece of brown paper or cardboard into a tube.

Stick into the open middle of the pumpkin. Glue in place if needed.

Now, using a piece of green paper or tissue paper, tie "leaves" around the brown stem.

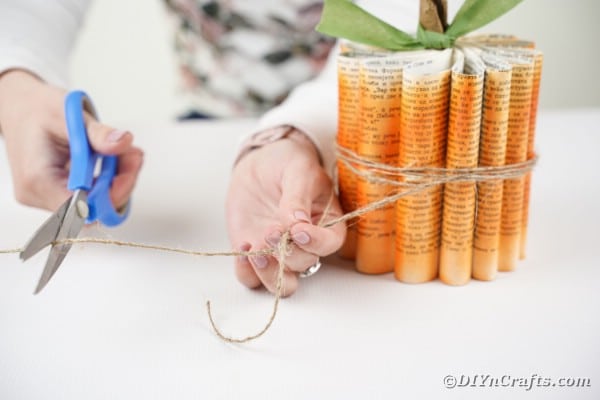
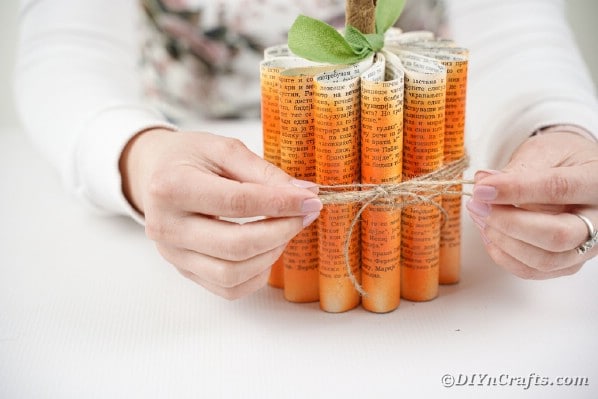
Wrap a length of twine around the center of the pumpkin 2-3 times.

Tie the ends of the twine into a bow.

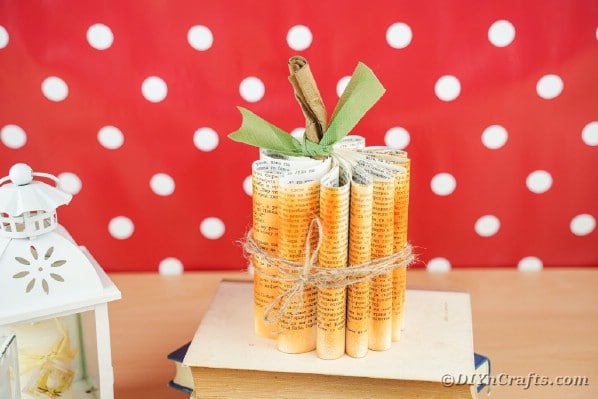
Now, you can display your pumpkin!

Want to add more pumpkins to your decor? Check out this fun fabric pumpkin, a kids craft paper plate pumpkin, or even this DIY pumpkin ornament. You can even make a wine glass pumpkin if wanted. It's such a cute idea! Of course, I love the pumpkin button wall art and the yarn pumpkin garland. Both are amazing additions to your home during the fall season.
Crafter's Tip
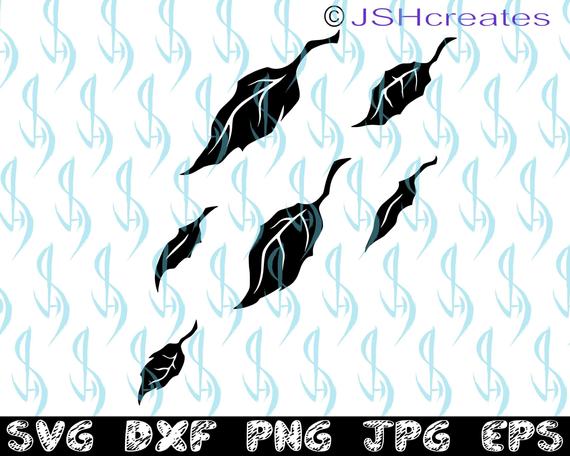
If you prefer a more exact look to your pumpkin, grab these leaf and stem SVG files to cut from paper and secure to your pumpkin. These are handy for multiple uses in crafting.
Shabby Chic Book Page Paper Pumpkin Decoration
Grab that old book and turn it into this adorable paper pumpkin! A simple craft that adds rustic appeal to your fall decor!
Materials
Tools
Instructions
- Remove 40-50 pages from an old book, leaving the binding in place;

- Measure the pages into a square;

- Trim the top half of the pages off and trim the outer edge of the paper into a square;
- Section off the pages into groupings of 4-5 pages;
- Roll the pages inward toward the spine of the book creating rolls;
- Continue this until a circle has formed, and then tie with a rubber band securing them into a circle;
- Spray the outside of the paper pumpkin with orange spray paint and then set aside to dry;
- Once the pumpkin has dried, roll a piece of brown paper into a tube, and place inside the top of the pumpkin;
- Tie a piece of green tissue paper around the stem as leaves;
- Next, tie a length of twine around the middle of the pumpkin wrapping it 2-3 times;
- Tie the twine into a bow;
- Display your pumpkin as desired.


Notes
Feel free to use different colored paints to make your pumpkin unique.
Recommended Products
As an Amazon Associate and member of other affiliate programs, I earn from qualifying purchases.

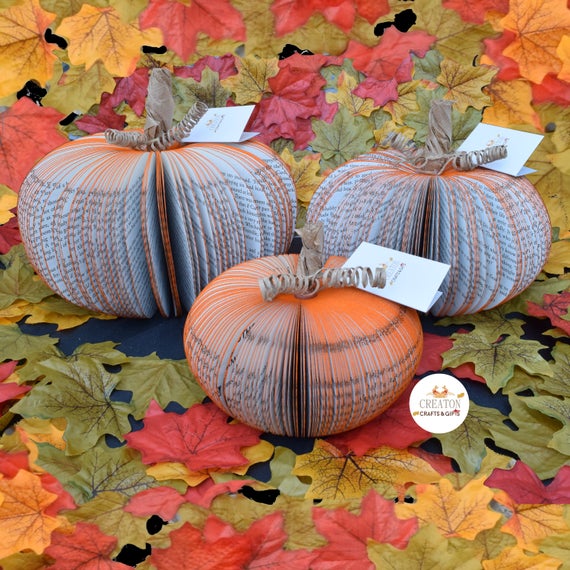
Finished Project Gallery


Deb
What a great idea! I'm going to try this!