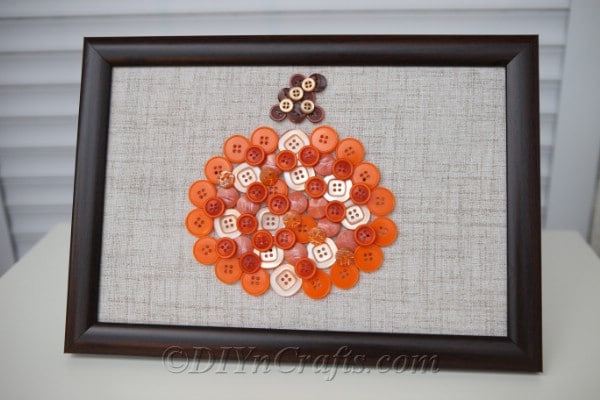
Have you ever made a button art craft? This super cute and easy DIY pumpkin button art piece is a great place to start! All you need is a picture frame, a nice cloth, and buttons in various sizes and shades of orange. Grab some craft glue or a hot glue gun and have fun creating your own unique pumpkin wall craft to hang on the wall throughout the fall season.
If you have fun making this button craft, then you will love our list of unique button craft ideas!

Jump to:
- DIY Pumpkin Button Art Craft
- Where can I get inexpensive buttons?
- Does my Pumpkin Have to be Orange on this Button Craft Wall Art?
- More Pumpkin Craft Ideas
- Supplies for making a pumpkin button art craft
- How to make a button art pumpkin
- Video Tutorial:
- Step-by-Step Printable Photo Tutorial:
- Materials
- Tools
- Instructions
- Recommended Products
DIY Pumpkin Button Art Craft
When I was a little girl, I loved going through my grandma's big box of buttons. She had collected buttons for years when they came off clothing or when she had extra from a sewing project. That meant her box often had hundreds of different shapes, sizes, and colors of buttons.
When I first saw the idea for a button art piece, it took me back to those childhood days. On weekends at my grandparents, I often would dump her box of buttons out on the bed and sort them by color and size. It was so much fun trying to figure out what each button could have been on originally.
This fun pumpkin button craft is a perfect way to have fun creating something unique with buttons you have gathered through the years. While the base is orange for the pumpkin, there are various shades, so you could really get creative in making this pumpkin.

Where can I get inexpensive buttons?
Of course, as mentioned above, I have always loved buttons. So, I personally had a nice stash of random buttons in my craft room to go through. If you don't have spare buttons on hand, then you can go to any craft or fabric store to pick up some for this project. Dollar stores will occasionally have buttons, but it may be harder to find orange ones there.
Another great place to find buttons is to ask your mom or grandma or any person you know who enjoys sewing. Of course, one of my favorite places to find craft supplies has been and always will be the yard sale or flea market.

Does my Pumpkin Have to be Orange on this Button Craft Wall Art?
No! While it is traditional and definitely lends itself to looking more sophisticated as a rustic art piece, you do not have to stick with traditional natural colors. You could create a purple and green pumpkin that is vibrant for Halloween. Yellow, brown, orange, green, and tan are all colors you might find naturally in gourds or pumpkins.
No matter what colors you choose - this project, like many others here - is all about having fun creating!
More Pumpkin Craft Ideas
I love pumpkins and the season when pumpkin spice recipes are everywhere. Of course, with pumpkin crafts, it is so fun to make something new for your holiday table, front door, or even your yard.
I love the paper pumpkin garland for a quick and easy mantle option. If time is important, you might want to throw together this last-minute pumpkin vase in a hurry. For the rustic look, this twig pumpkin art is super cute, easy, and kid-friendly.

Supplies for making a pumpkin button art craft
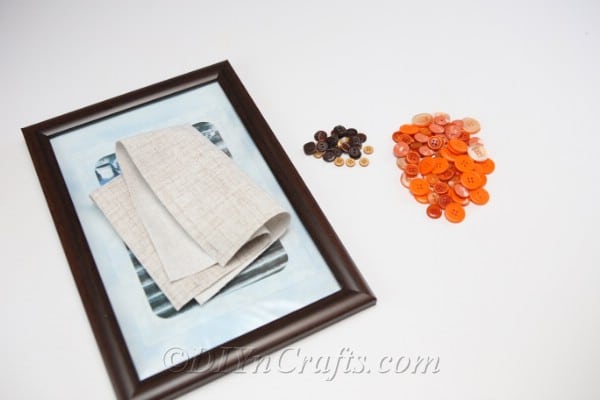
- Picture frame
- Scarp fabric
- Orange buttons
- Brown buttons
- Green buttons
- Craft glue or hot glue gun and glue

How to make a button art pumpkin
To begin this craft, start by picking out the color of the buttons and fabric you want. When you pick your frame, you want it to match and coordinate with your fabric and pumpkin colors.
Lay all of your supplies out on your work surface so they are easy to access as you begin working.
You will remove the back of the picture frame and the glass piece. Depending upon the frame, you may want to keep these to put back onto the frame after you are done adding your fabric and buttons. For now, set them aside.

Measure your scrap fabric against the frame to make sure it will fit well. You will cut it to fit, making sure it is a bit larger on all sides just in case.
Attach the fabric to your frame with staples or glue if desired, or simply be putting the back of the frame back into place to hold the fabric in place.

Before you begin gluing your buttons onto the fabric, you may want to place them on the counter or work surface and set them up in general design to make sure you have enough to cover the surface how you prefer.
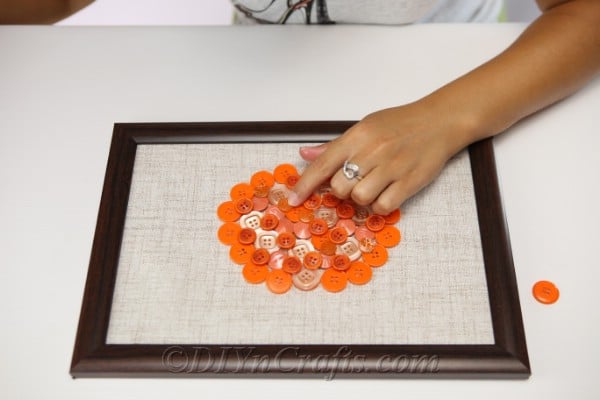
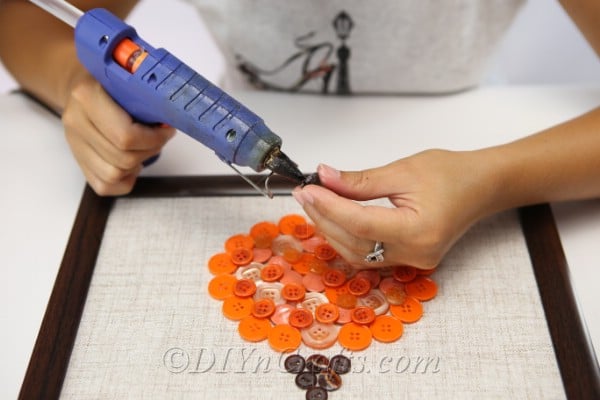
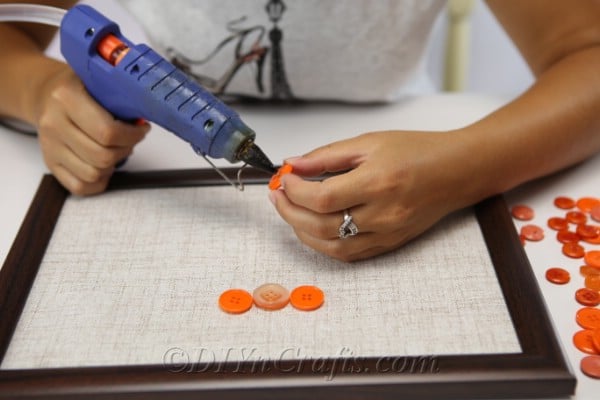
Next, you will begin gluing each button onto the fabric in the design you prefer. Start with the colors you want for the pumpkin, and end by creating the stem and any leaves in alternate colors like brown and green.

You can also create multiple sizes of button pumpkins on the piece of fabric so it looks like a cluster of pumpkins or a pumpkin family.

Video Tutorial:
Step-by-Step Printable Photo Tutorial:
Easy DIY Pumpkin Button Wall Art Decoration
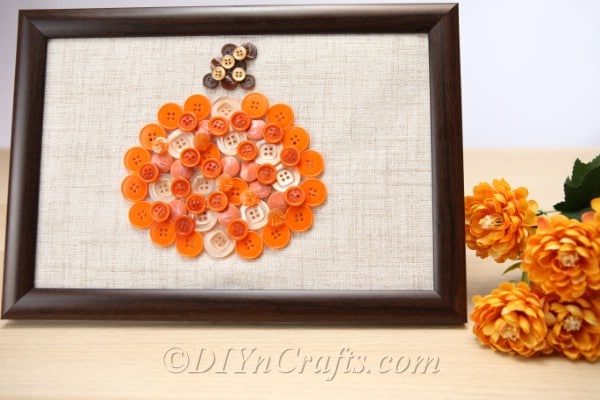
Make this DIY Pumpkin Button Art Craft with scrap fabric, buttons in various shades, and a bit of craft glue for a unique and custom fall wall art piece!
Materials
- Picture frame
- Buttons in colors of choice (green, orange, brown)
- Scrap fabric
Tools
- Craft glue or hot glue gun and glue
Instructions
- Gather all of your supplies and place nearby on your work surface to make preparing easier to manage;
- Begin by removing the back and glass piece from your picture frame. Set aside for later;
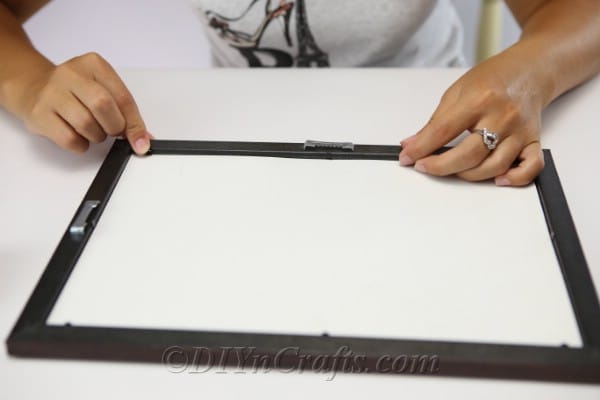
- Measure your scrap fabric against the frame and cut down to size leaving edges a bit larger than needed;
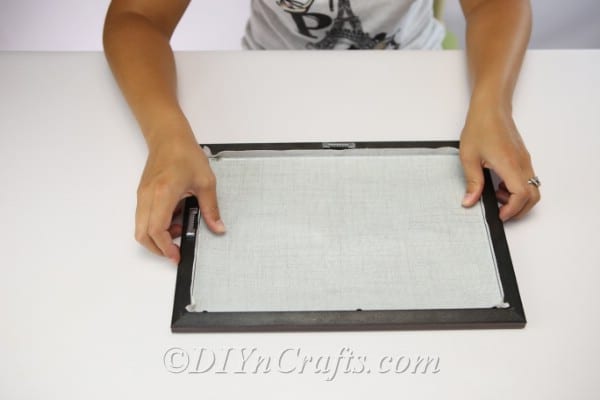
- Secure fabric to the frame with glue or staples, or alternately with the original back to the frame;
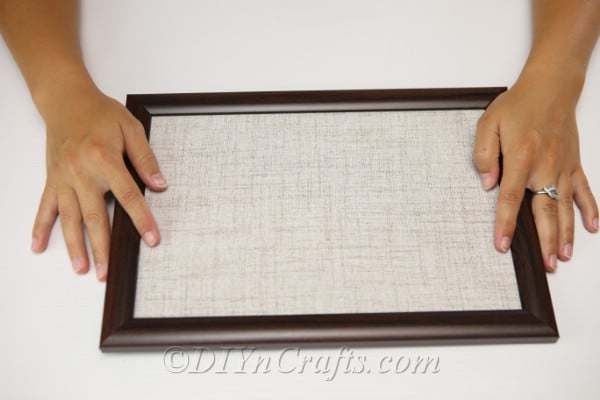
- Once fabric is secure, begin placing your buttons onto the fabric in the design desired;
- Outline the shape of your pumpkin first, then fill in with a variety of colored buttons;
- Once all of the pumpkin buttons are secure, begin making the stem and leaf with the brown and green or preferred color of buttons;
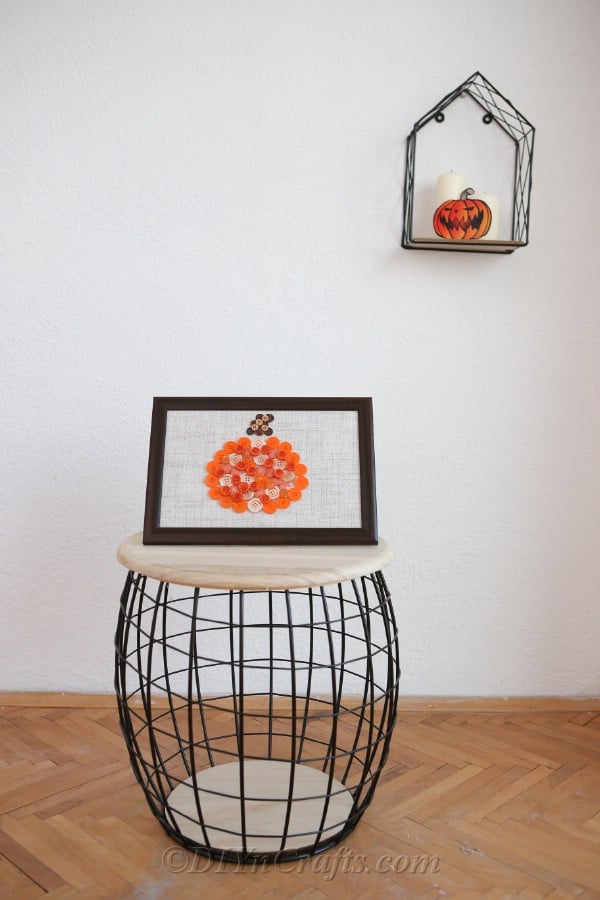
- Once completed, display on a counter or wall as preferred;
Recommended Products
As an Amazon Associate and member of other affiliate programs, I earn from qualifying purchases.




Leave a Reply