
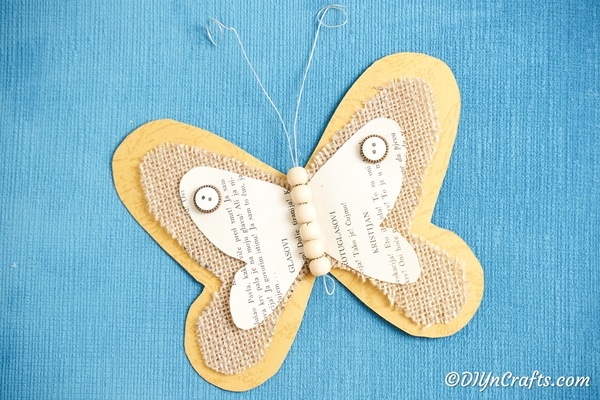
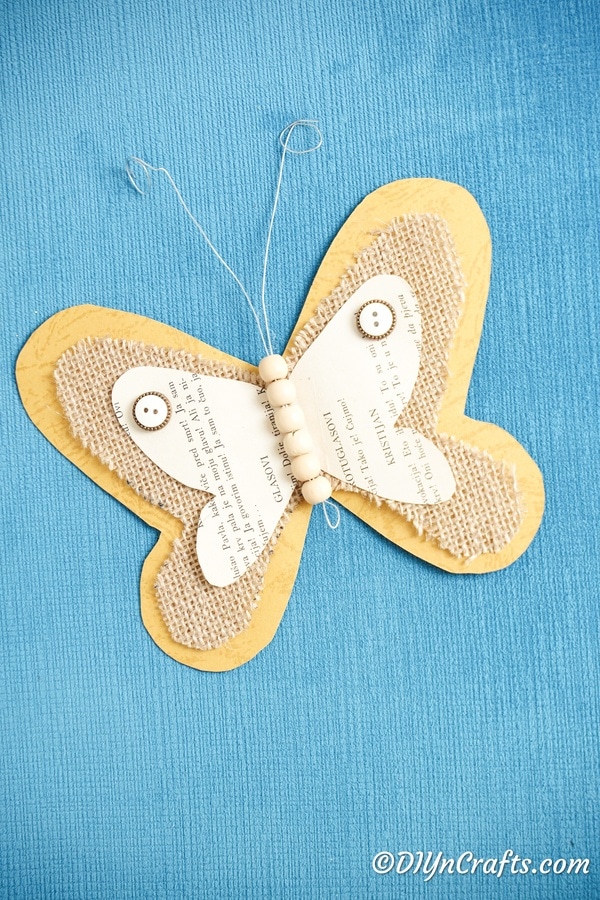
Isn't this rustic burlap butterfly beautiful? There is just something magical about a butterfly. Knowing it came from what was an ugly worm and is now beautiful, it's a favorite creature. This easy butterfly is made with scrap paper, burlap, beads, and buttons. So few supplies allow for an easily customizable decoration. Add this to your project list and get your kids involved in making this and adding it to your home decor!

Jump to:
Rustic Burlap Butterfly
When I have just a bit of scrap craft supply, I am determined to find a way to make it into something. There is nothing I hate more than throwing away something that could have become a beautiful craft. Leftover scrapbook paper and burlap inspired me to make this adorable butterfly. It's rustic, simple to make, and a perfect craft to make with kids.
I love that this can be made in just a few minute's time. That means I can make several of them in a short time. This allows me to add them to a multitude of projects around the house.

If you have extra burlap, you need to check out this list of 100 gorgeous burlap projects. For another fun butterfly idea, you can make this rustic butterfly from an old book or even this fun paper butterfly craft for kids!
Can I Make This With Colored Burlap Instead?
Yes! Butterflies come in a multitude of incredible colors. While I love the rustic look of this project with regular burlap, I know it would really pop on a wall if made with different colors. If you buy purple, blue, pink, orange, or green burlap, you can make a variety of colors to create an even more beautiful pattern of butterflies on your wall.
I love the idea of making a family of these butterflies put together and make them into a grouping to display. Using multiple burlap colors will really make them stand out.

If you are doing this project with your kids, you could whip up this adorable butterfly snack idea to serve. They would love to eat it while they create their very own butterfly!
Can I Turn This Into a Magnet?
If you want, you can easily attach a magnet to the backside of this butterfly. It's a perfect choice to add to your refrigerator. Make them smaller and in various colors to have beautiful magnets all over your kitchen that are not just useful but also a beautiful decoration.
Another option would be to glue these to a round slice of wood or a small round piece of plastic that has a magnet on the back. It would make the butterfly a bit sturdier. This allows you to hold up more with the magnet. Which, is useful if you have a ton of kids' artwork as I do on your refrigerator.

You may also want to check out this incredible butterfly wall art idea! So gorgeous! Or, the adorable butterfly diaper cake idea for a baby shower! Butterflies are everywhere!
How Can I Display This Butterfly?
There are so many ways to add this butterfly to your decor or craft projects! It's not just a simple burlap craft, but in fact, it is a wonderful addition to a number of crafts. Below are a few of my favorite ways to use this butterfly.
- Attach a magnet to the back, as mentioned above.
- Glue inside a shadowbox and display on the wall.
- Tape or glue to the top of a gift and use it as a name tag.
- Attach to a napkin ring to add a lovely touch to a place setting.
- Make smaller versions and attach them to barrettes as a hair accessory.

If you love the pretty little butterflies, then you may also like ladybugs. I know I sure do! If so, this fun upcycled flower pot ladybug is a favorite addition to my garden!
Supplies Needed
- Burlap
- Solid craft paper
- Patterned craft paper
- Wood beads or Colored beads
- Buttons
- Jewelry wire
- Scissors
- Hot glue gun
- Hot glue
- Pen or Pencil

How to Make a Burlap Butterfly
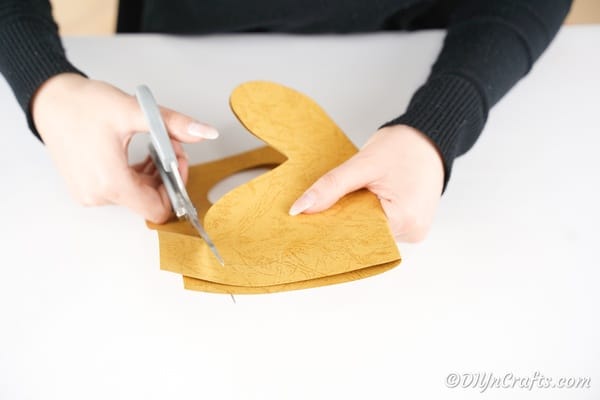
Start by folding the solid piece of craft paper in half, then drawing a curved side of a butterfly wing onto it. Cut this out and unfold.

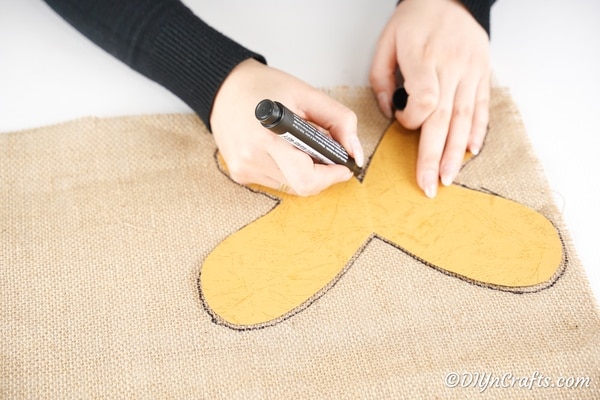
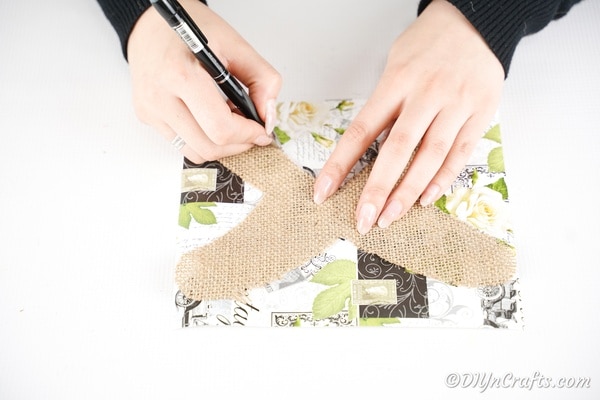
Use the paper butterfly as a template and trace the outside of it onto the burlap.

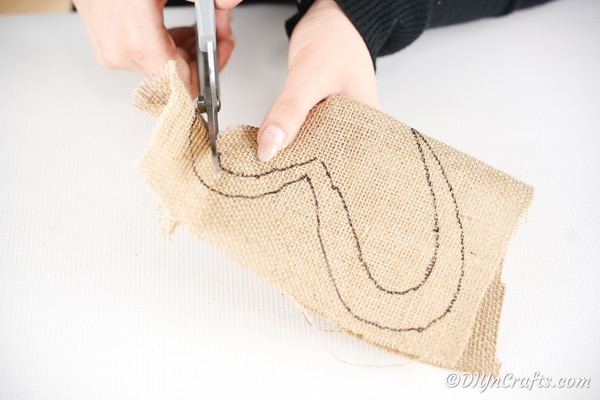
Now, draw a slightly smaller butterfly inside this one, and cut out the burlap so it is just a little smaller in size than the craft paper.

Follow the same process, only using the burlap as a template on the patterned craft paper, making it slightly smaller when you cut it out.

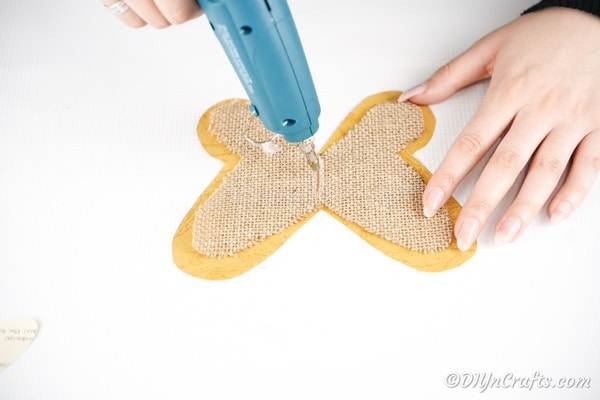
Now, you will place the solid craft paper down and glue the burlap on top of it.

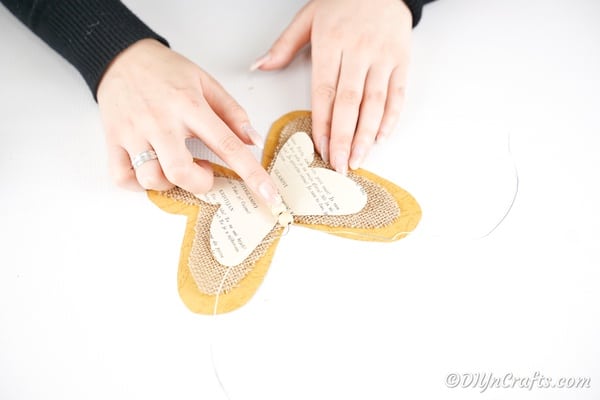
Then, you will glue the decorative craft paper on top of the burlap.
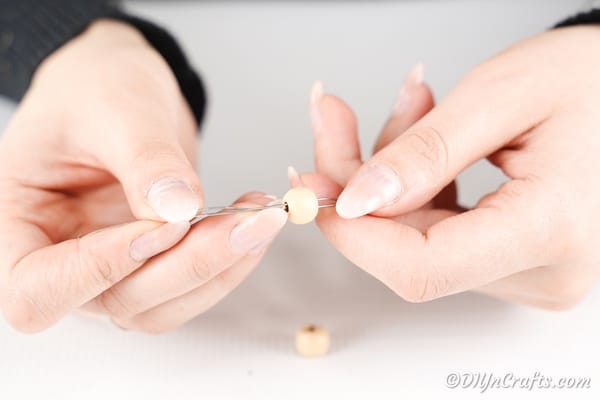
Now, use your craft wire to string a few beads the length of the middle of the smallest butterfly, wrapping the wire around the top to create two sides that will then be curled on the end to become the antenna.

Glue your button "body" in place in the middle of the butterfly.

Lastly, you will add the two buttons at the corners of the top of the wings.

Display as you desire!

Crafter's Tips:
- When working with burlap, you may find that the edges unravel. Using a bit of spray starch and heating it for a few seconds with the iron after cutting can prevent this.
- If you aren't comfortable freehanding the butterfly shape, you can use your Cricut machine to cut the shapes out on not just the craft paper, but also the burlap. Did you know that a
- Cricut fabric bonding knife will cut fabric and burlap easily for projects like this one? I love using it for this reason.
- To add some brightness to the craft, use colored beads for the body of the butterfly.
Beautiful Decorative Rustic Burlap Butterfly
This beautiful rustic burlap butterfly is a great idea for decorating your home or even adding to a gift! An easy craft that kids can make, it's always a hit!
Tools
- Scissors
- Hot glue gun
- Hot glue
- Pen or pencil
Instructions
- Begin by folding the solid paper in half and cutting a curved line on it to create the side of a butterfly;

- Unfold the craft paper, and lay it on the burlap to use as a template tracing around the outside;
- Remove the paper, and then draw a slightly smaller butterfly in the template and cut it out so when it is layered, it's just a bit smaller on top of the craft paper;
- Follow the same process, except with the craft paper;
- Now, you will glue the burlap onto the craft paper;
- And then glue the patterned paper on top of the burlap creating three layers of material to create a butterfly;
- Now, you will thread the wooden beads onto the craft wire leaving the ends longer to create antenna to stick out the top;
- Glue the beaded body onto the center of the butterfly;
- Now you will add a button onto the top corner on each butterfly wing as shown;
- Your butterfly is ready to display!


Notes
Make various sizes and add inside a shadow box to create a family of butterflies.
Recommended Products
As an Amazon Associate and member of other affiliate programs, I earn from qualifying purchases.
-
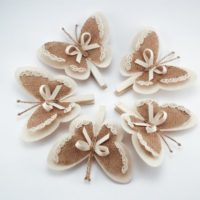 Set of 5 Clothes Pins with Butterfly Wings,
 -
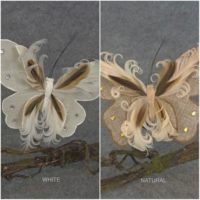 12pc, Artificial Butterflies, 7 inches wide, Burlap, Feathers, with clip, for wedding, floral, wholesale, per 12
 -
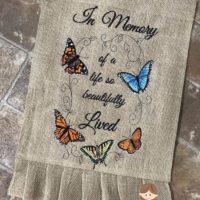 Burlap Memorial Garden Flag
 -
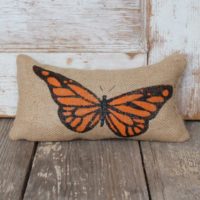 Butterfly - Burlap Doorstop - Door Stop
 -
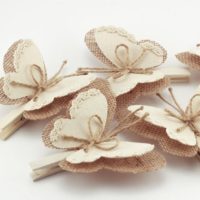 Set of 5 Butterfly Wings Clothes Pins,
 -
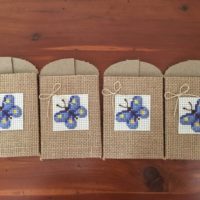 4 Cross Stiched Burlap Butterfly Envelopes


Leave a Reply