Lately, I’ve gotten some new items in my wardrobe, and they’re in colors that don’t match my existing handbags. At first, I was just going to order something online, but then I realized this would be a great chance to make my own!
I thought I would challenge myself to find a way to make a handbag without doing any sewing. I'm pleased to say that I managed it after a few experiments and was able to put together a video tutorial to show you how you can do the same with a few simple steps.

Jump to:
How to Make a Handbag the Easy Way
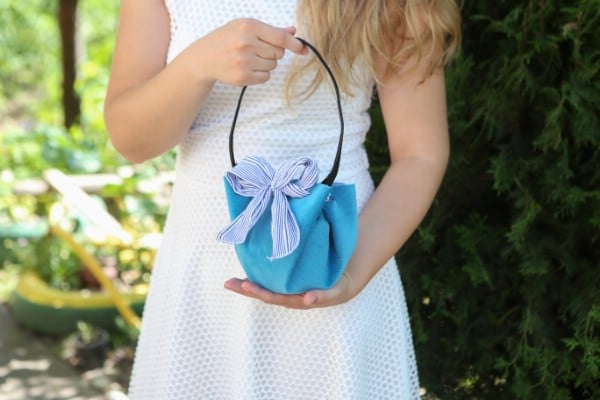
At first glance, this handbag doesn't appear as if it were made without sewing. You have to look at it pretty closely to see how it is held together. The result looks very finished and professional, but the process itself is a breeze.

How to Make a No-Sew Handbag With Simple Materials
You do not need a needle and thread for this project. You just need a pair of scissors, a pen, hot glue, and a glue gun in terms of tools.
For materials, pick out some leather or fabric from which to make your handbag. Then, you will need a scarf or cloth headband. While not required, I recommend that there be some kind of flexible wire inside, as is common with certain types of headbands. But if you cannot find this, that is okay too. What is most important is that it is adequately long for the project and that it complements the fabric you have chosen for the bag.
For the handle of the purse, you can use a thin belt. Lacking this, there are plenty of other materials which you could substitute.
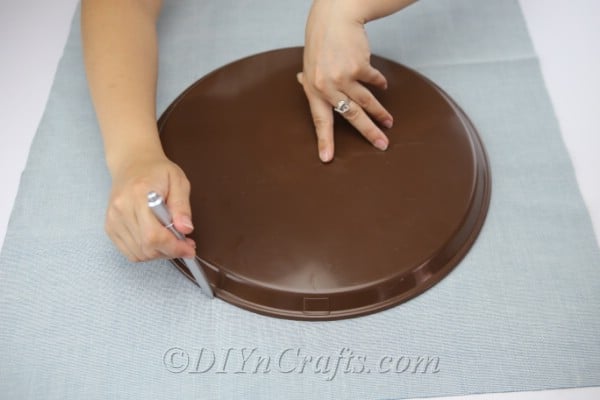
Finally, the first step of the project involves cutting a large circle of fabric. So you will need to create that circle in some way, which means you need something you can trace around, like a large circular platter.

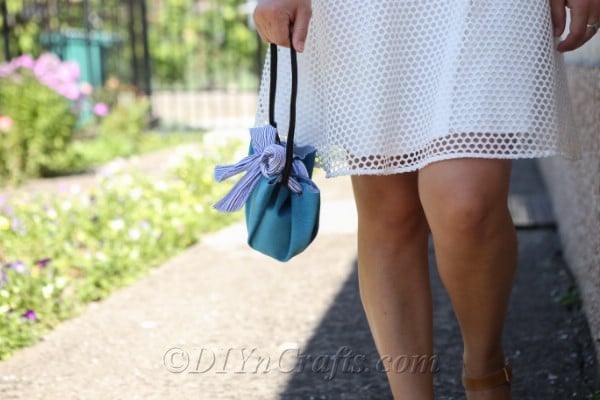
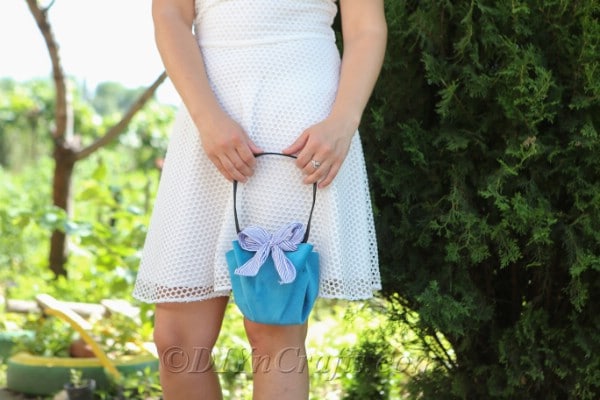
A No-Sew Handbag Makes a Cute, Chic Statement
You can make this now-sew handbag as large or small as you'd like. Since you can so easily customize it, you can make it to match any outfit, and you can use it for any purpose. A handcrafted handbag also can make a nice gift.

No-Sew Handbag Step-by-Step Video Tutorial
We are now ready to jump into our video tutorial on how to make a handbag without sewing. You can view the quick reference list of materials and tools needed below, along with written instructions to go with the video.

How to Make a Fashionable No-Sew Handbag
Did you know you can make a beautiful handbag without sewing a single stitch? Find out how to make a no-sew handbag now in a few easy steps.
Materials
- Leather or fabric
- Scarf or cloth headband, preferably with wire inside
- Thin belt
- Large circular object to trace around
Tools
- Pen
- Hot glue and glue gun
- Scissors
Instructions
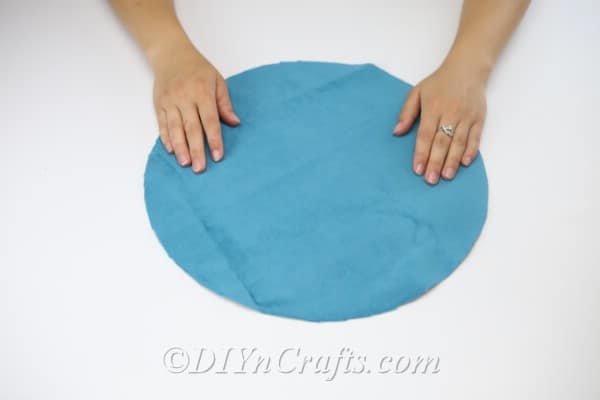
- Your first step is to lay your fabric out flat and place the large circular object you have selected on top of it. Use a pen to trace around the perimeter of the circular item so that you have a circle on your fabric.

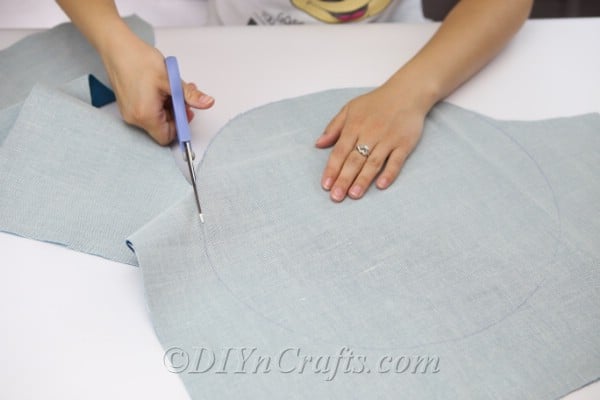
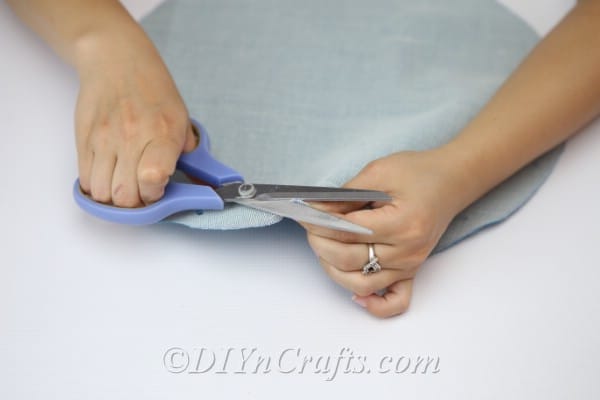
- Use your pair of scissors to cut out the circle from the fabric.
- Lay the circle of fabric out flat in front of you with the side you want to be on the outside of the handbag facing upward. For me, this is the blue side, so that is how I will refer to it from here on out, with the other side being the white side.
- Fold the circle in half. The white side will now be facing outward.
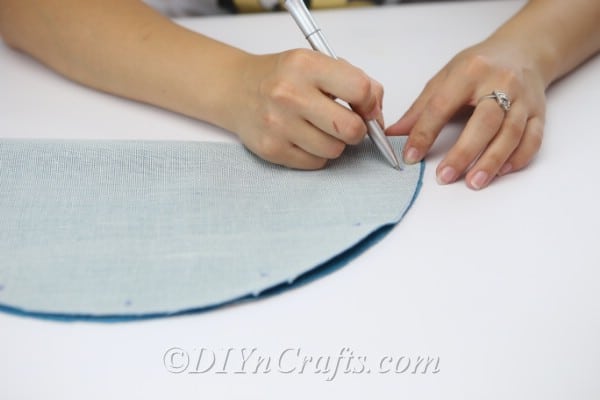
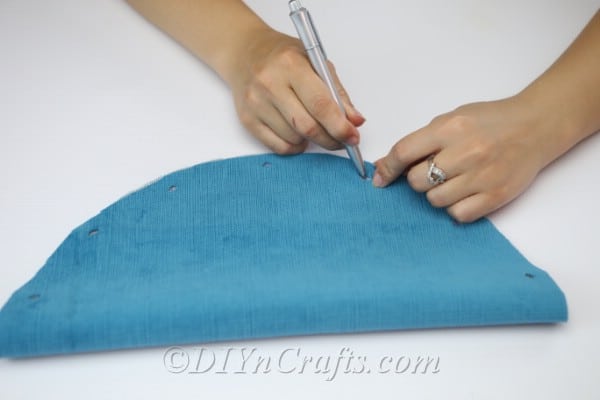
- Using a pen, mark some equidistant spots along the perimeter of the semi-circle. Note that these should only go along the curved edge. They should not be on the very edge. They should be positioned inward a little bit, maybe a few centimeters or so.
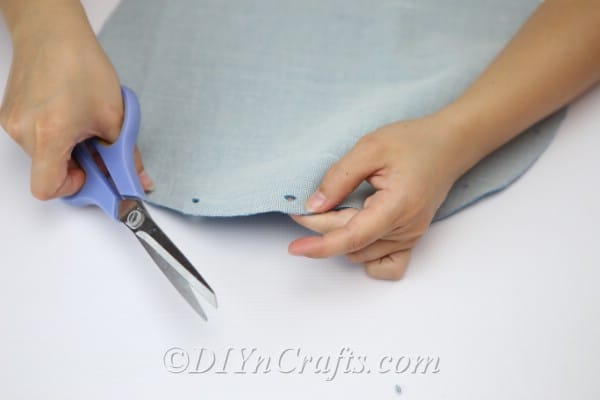
- Use a pair of scissors (or a hole puncher, if you have one!) to cut out little holes where you placed your marks.
- Now, you're going to fold the circle in half again, but you are going to do it the other way around so that the blue side is facing outward.
- Use your pen to mark through the holes that you cut. This will make a second matching set of marks on the other half of the circle where you did not create them before. Because you put the blue side on the outside this time, when you marked through the holes, you only marked the white side of the fabric. You will probably cut around the marks completely, but just in case you don't, this way you know that they are hidden.
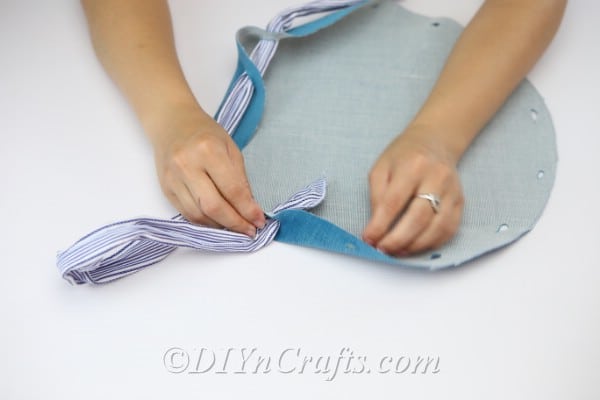
- Take the scarf or cloth headband, and weave it through the holes back and forth around the entire perimeter of the circle. Technically, these are stitches, but since we are not using needle and thread and sewing in the traditional sense, I still consider it to be a no-sew project.
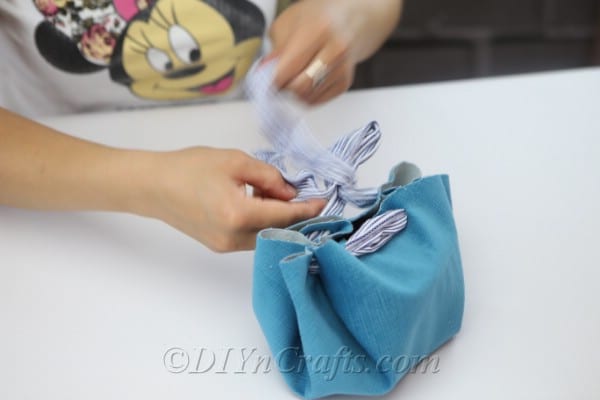
- When you have pulled the scarf through all of the holes, the two ends should emerge on the outside (blue side) of the fabric. You can then tug on them gently, and they should work like a drawstring, closing the bag. It is magical to see a flat circle suddenly transform into a usable handbag!
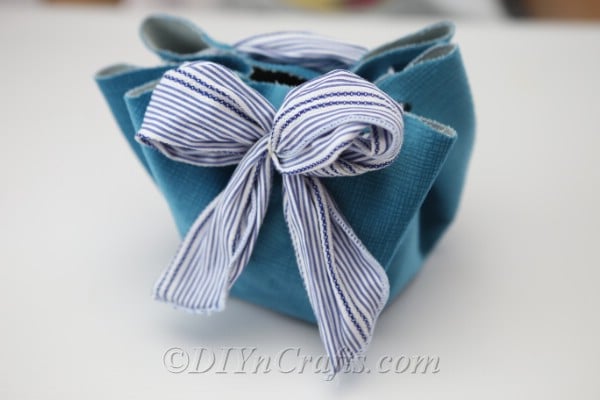
- You can tie the two ends of the ribbon into a cute bow to finish off the look of your bag. You can, of course, untie this bow if you need to get the bag wide open in the future, or pull it more tightly closed and retie it if necessary.
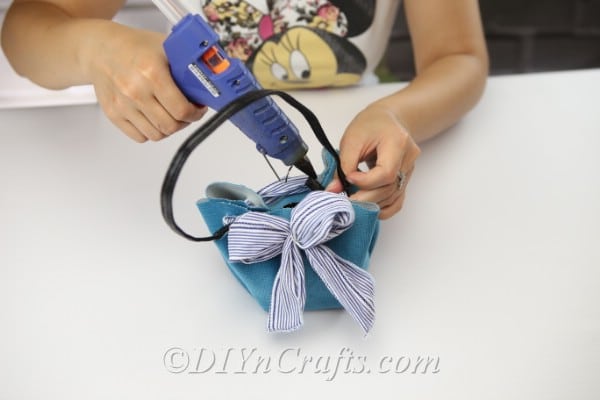
- Use hot-glue to attach the belt to the handbag to serve as its handle.
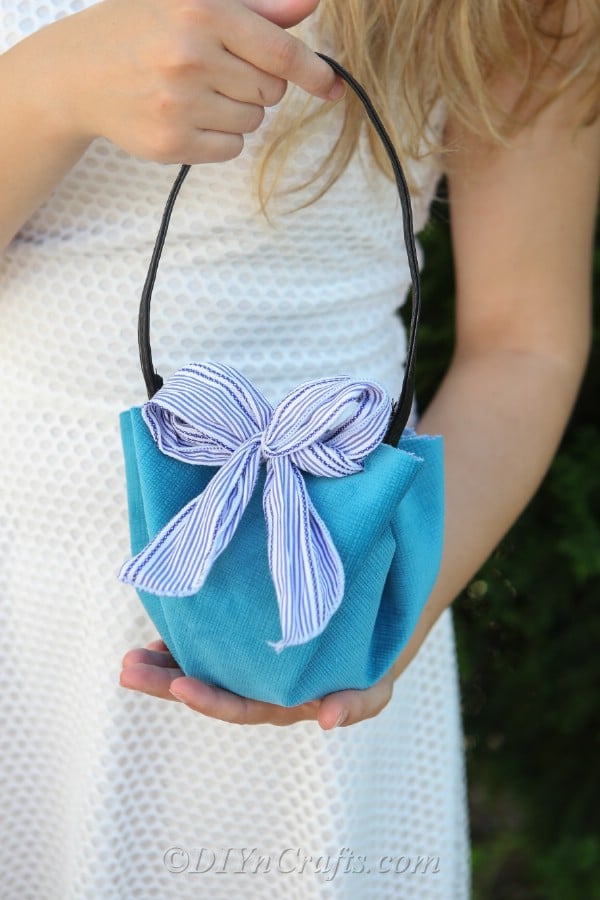
- All done! You are now ready to carry your lovely handcrafted bag with you everywhere you go! Once you have made one of these and discovered how easy it is, you may want to make a bunch more to match all of your favorite outfits.

What to Craft Next After You Make This Easy No-Sew Bag
Had a fun time with this no-sew project? Here is another project you are going to love: creating a different type of no-sew bag using an old T-shirt. You also might enjoy learning how to make a DIY lunch bag or pouch.
And if you really want to get busy with bag projects, try some of these 60 tote bag crafts with free patterns. You also may like making some of these 25 hand-sewn gifts with free patterns. Check back soon for more DIY fun!
Pin this project:


Margaret Bosnyak
I like your concept with the perky bow. I am thinking about trying this but instead of the ribbon there is a large selection of elastics which would then allow you to open it without undoing the bow.
You could use jewelery flower bow whatever takes your fancy
Melissa
These are just what II've needed!! I literally just discovered you, I'm thrilled! ? .. and subscribed. 🙂