I recently was working on creating a garden lamp shaped like a lighthouse, and I got to thinking that my home could really use some more nautical accents. I wanted to put up a new wreath for summertime, so I thought, “Why not put these two ideas together and create a maritime-themed wreath which is perfect for the summer season?”

Jump to:
How to Make Your Own Nautical Wreath
It is actually super easy to create a maritime wreath. You just need to stock up on the right supplies.

Materials You’ll Need to Make a Nautical Summer Wreath
There are a number of supplies you will need to have ready in order to make a nautical-themed wreath for summer. All of them, however, are inexpensive, and most should be easy to come by.
The only tools you will need are a pair of scissors, hot glue, and a glue gun. In terms of materials, you will need some rustic ribbon, thread, rope (some thin rope will work best) and beads along with some blue fabric (or you can substitute something like tissue paper if necessary).

You will need a foam pool cylinder or something equivalent. Inside of that, you will need to fit a hula-hoop. If you cannot find a hula-hoop, you may substitute some wire. The most important thing when picking these two supplies is to remember that the plastic or wire component needs to fit inside the foam cylinder.
Lastly, you will need a boat decoration, some shells, and some other maritime-themed decorative embellishments. You may be able to find some of the supplies at a local craft store. You can order any additional supplies that you do not find locally online. They should be inexpensive.

What to Do With a Nautical Wreath
After you finish crafting your maritime wreath, you can hang it on a wall or your door, or you can give it to somebody you know who likes nautical things. Although it's perfect for summertime, it is a decoration that you can proudly display throughout the year.

DIY Nautical Wreath Step-by-Step Video and Photo Tutorial
Now that we have had a chance to discuss the materials and tools you need to create a maritime wreath in detail, we can get started. Find a quick reference list of the necessary supplies below along with a set of written instructions to go with the step-by-step video tutorial.
How to Make an Elegant Nautical Summer Wreath
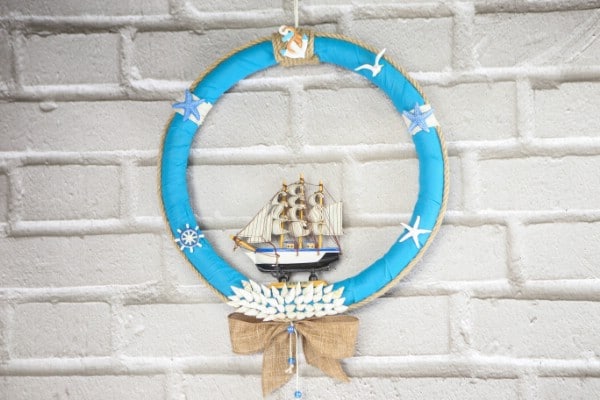
Looking for a beautiful and creative summer wreath idea? This DIY video tutorial will show you how you can make a gorgeous wreath with a nautical theme.
Materials
- Shells
- Boat decoration
- Hula-hoop or wire (either can work equally well)
- Foam pool cylinder
- Blue fabric
- Rope
- Thread
- Beads
- Rustic ribbon
- Decorative embellishments with a maritime or summery theme
Tools
- Hot glue and glue gun
- Scissors
Instructions
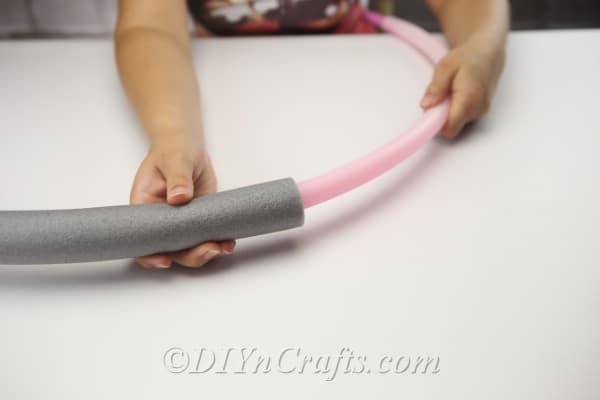
- We will start out by creating the wreath’s inner structure. To do this, I got a small child’s hula-hoop which conveniently I was able to pull open at one end and then re-attach into a hoop shape. If you do not have this, just use a regular hula-hoop and glue the ends back together after cutting them or simply create a loop out of wire (the wire option may be the easiest).
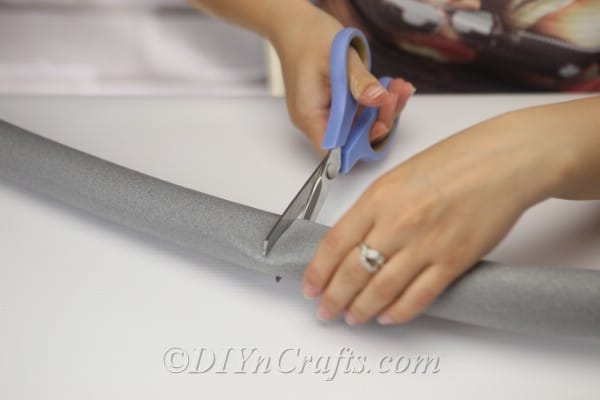
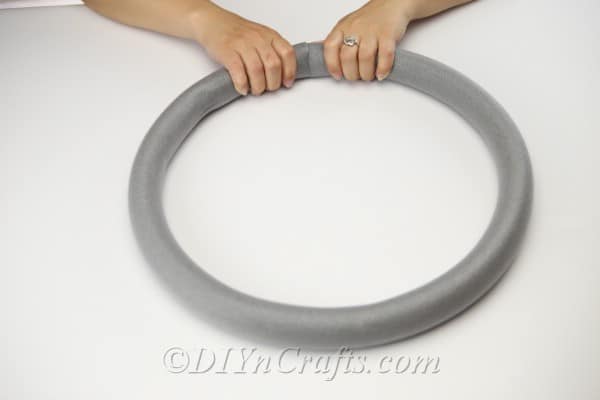
- Get the foam tube and stuff the hula-hoop or wire inside it. Once the ends are attached to create a circle, you shouldn’t need to glue the foam ends together. As long as the wire or interior plastic is connected, it will hold together fine. All of this is easiest to explain through the images and the video.
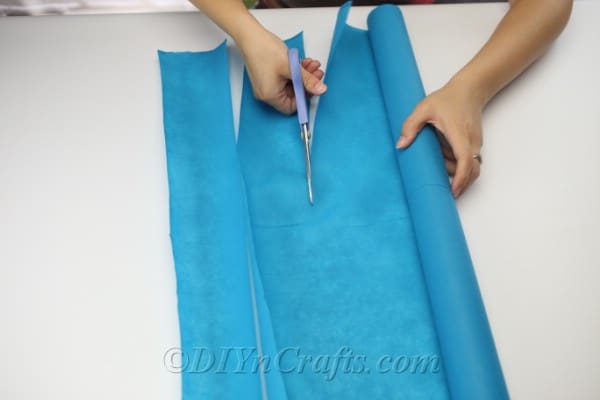
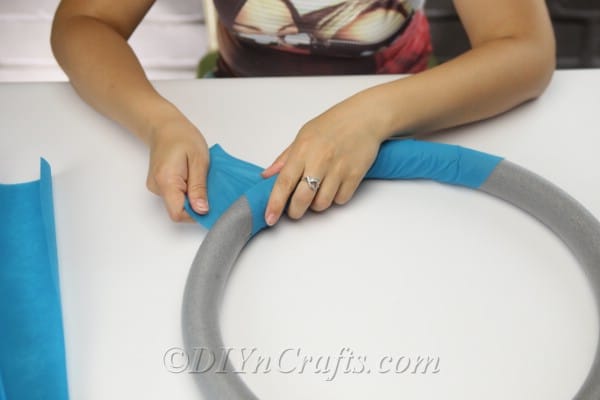
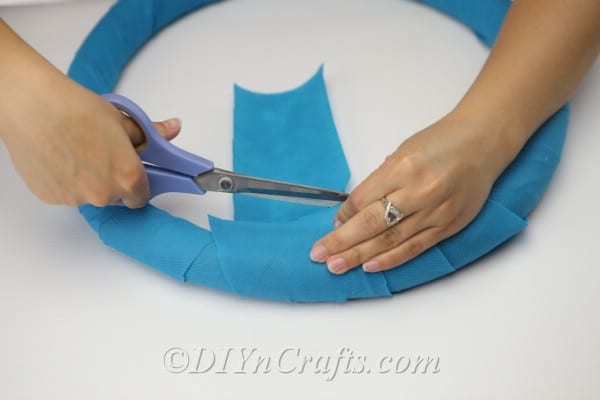
- The next thing we need to do is cover the wreath with fabric or paper in order to conceal the foam and make it look nice. Get your fabric or paper and use a pair of scissors to cut a few long strips of material. Wrap these around and around the foam tube until you have covered the entirety of the wreath. I went with a light blue color for this, but a navy blue or neutral color would also complement the project.
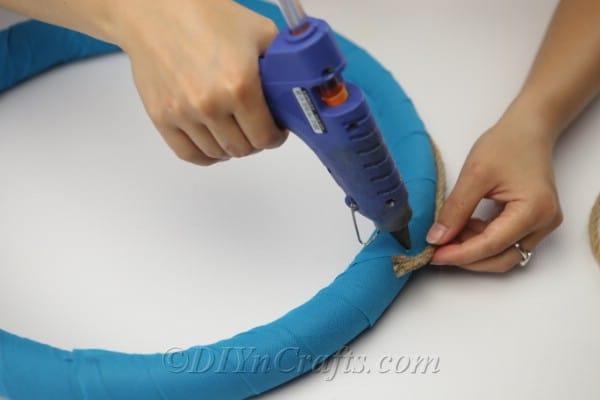
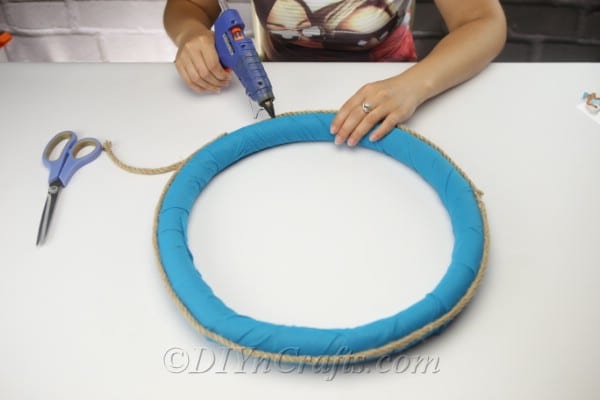
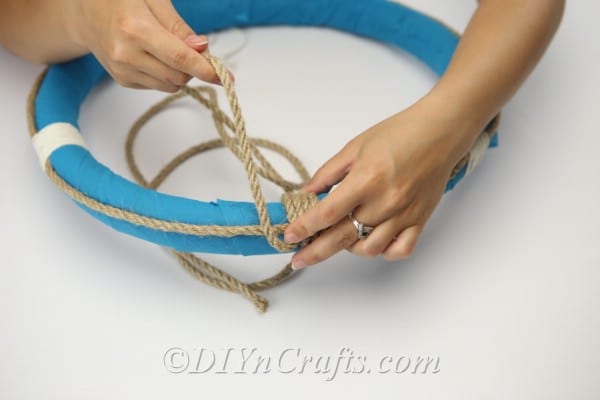
- Use the hot glue gun to attach rope around the outside of the wreath's perimeter.
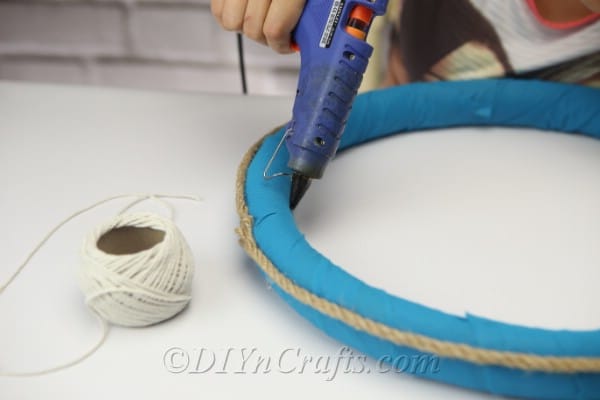
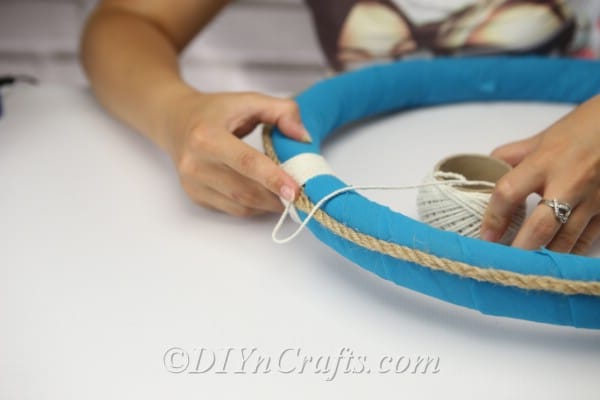
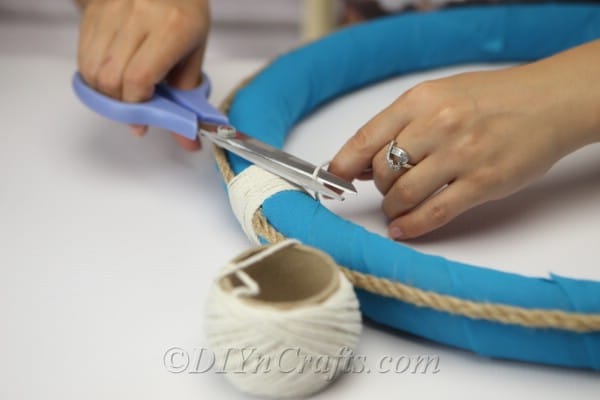
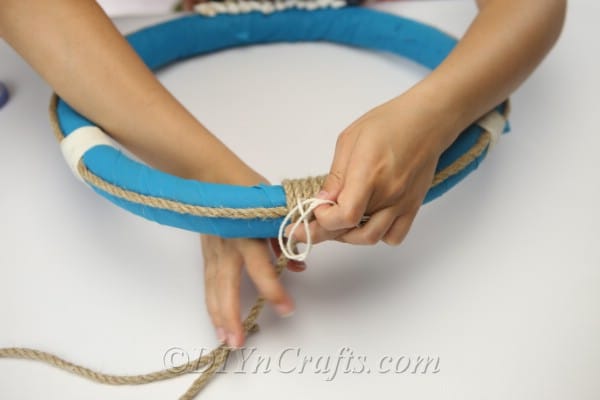
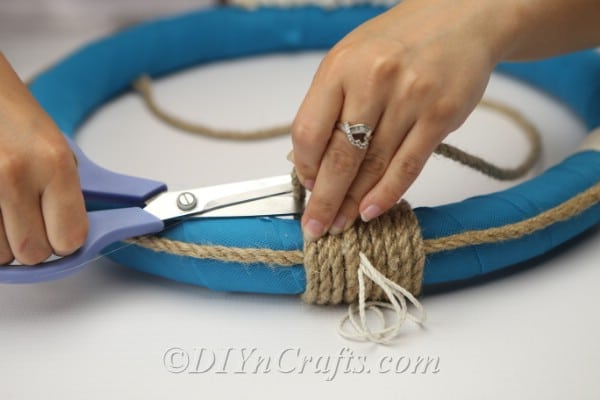
- Let’s hide where the ends of the rope join together. To do this, we will wrap white string around and around and around the wreath and glue it down. Take your time with this. You want the string to have a nice, neat appearance.
- Once you have done this once, do it again on the other side of your wreath. If you picture your wreath like a clock with the top of the wreath at 12 o ‘clock, the two sections where you have wrapped the string around should be around 4 o’clock and 8 o’clock.
- Turn the wreath upside-down from the previous orientation I described it in. So instead of being toward the bottom, the spots where you tied the string will be closer to the top.
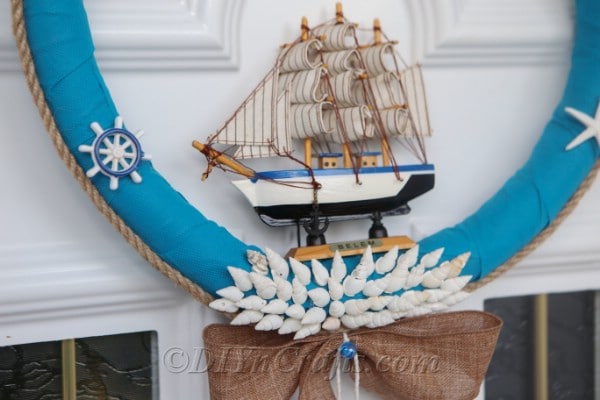
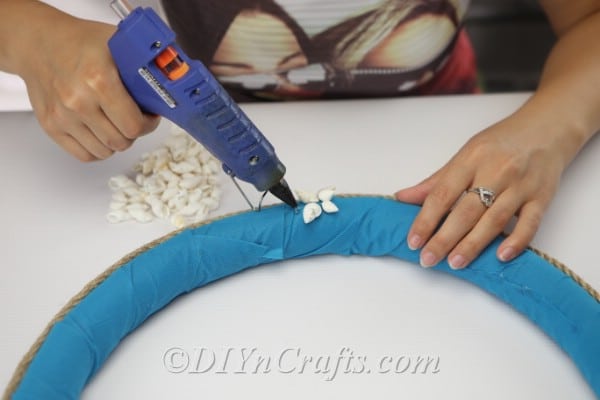
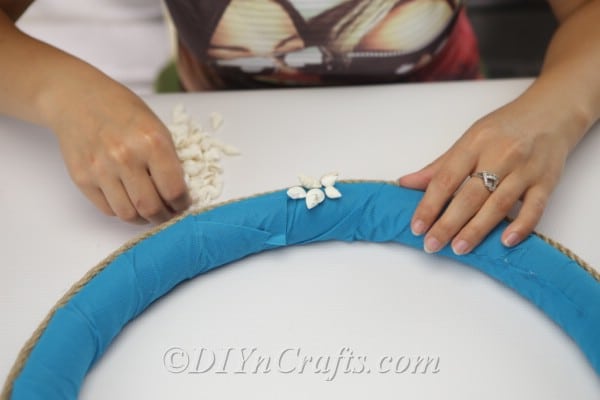
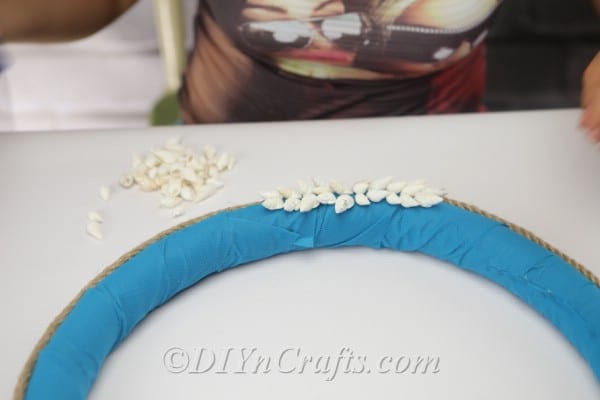
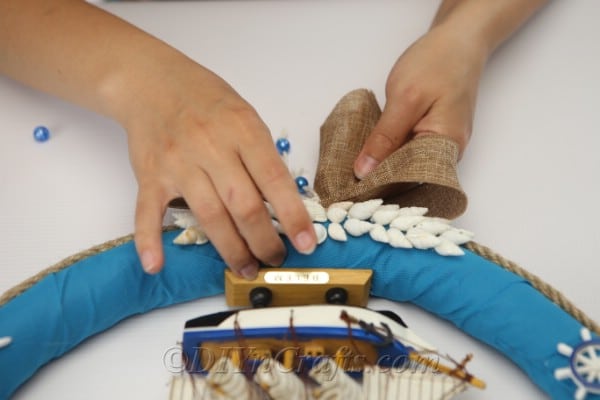
- Now go down to the bottom of the wreath (6 o’clock), and use hot glue to attach tiny shells. Go slowly and try to create a beautiful, orderly pattern with your shells.
- At the top of the wreath (12 o’clock), you are going to make a loop of string or twine and glue it on. This will be used to hang up your completed nautical wreath.
- To secure the string you’ll hang the wreath by in place, wrap some more rope around and around the hoop, and cut and glue it in place. After you have done this, the wreath should look kind of reminiscent of a life preserver.
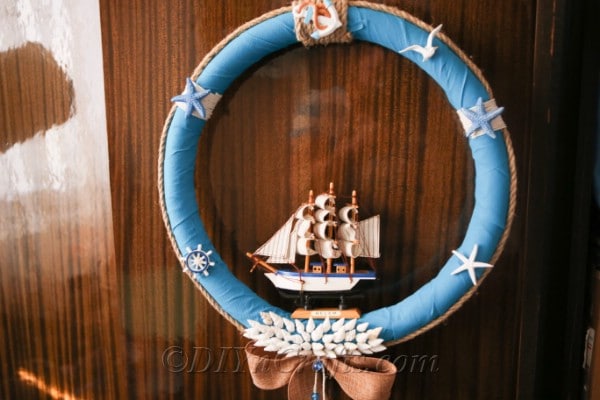
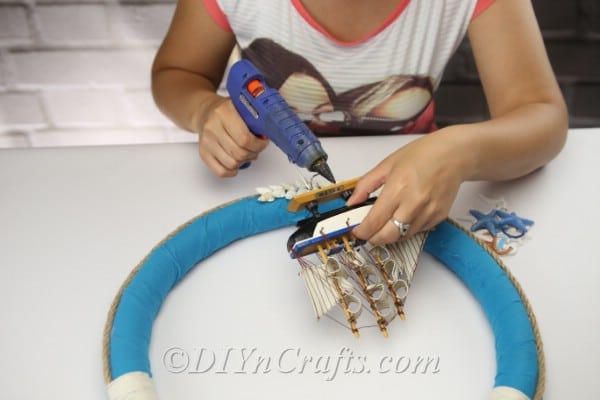
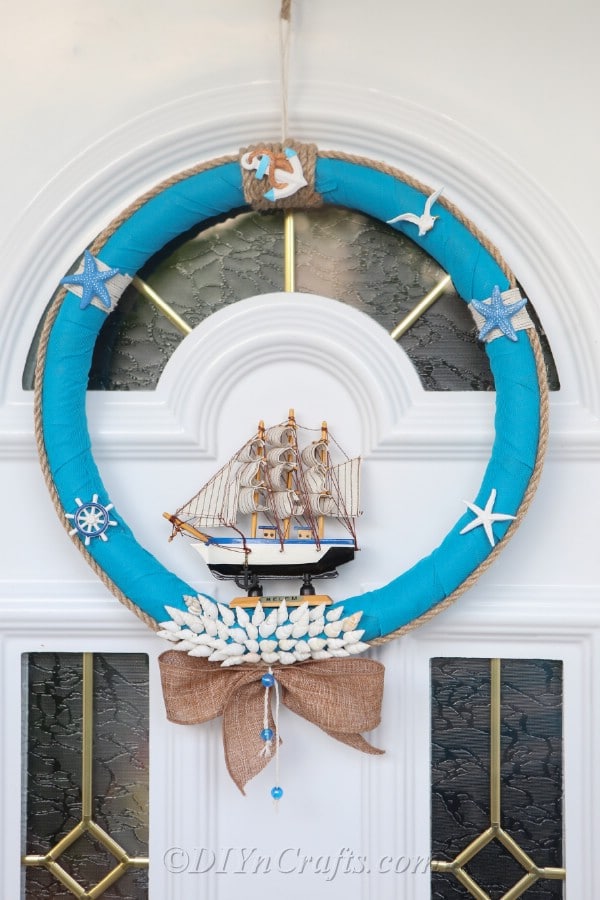
- Hot glue the ship ornament onto the wreath at the bottom just above the shells. You can see now that the shells look like foam on waves, which is fitting with the blue color of the wreath, which now represents the ocean.
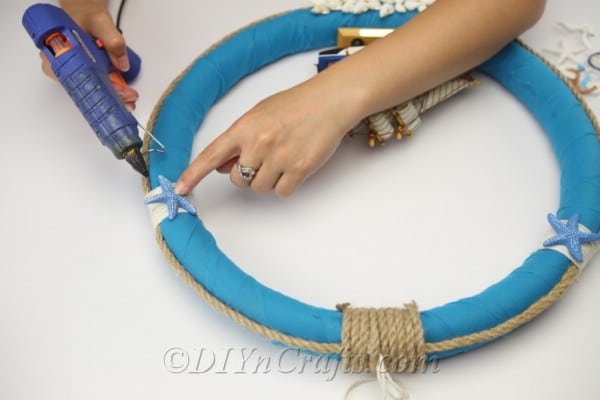
- If you have some additional maritime ornaments to attach to your wreath, you can go ahead and do so now. I had a starfish and a few other items which I attached to bring even more nautical style to my wreath.
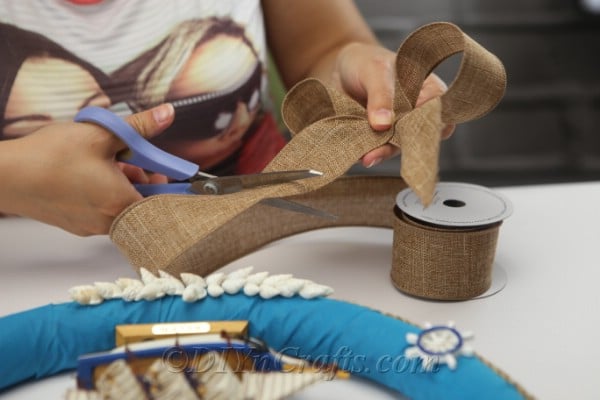
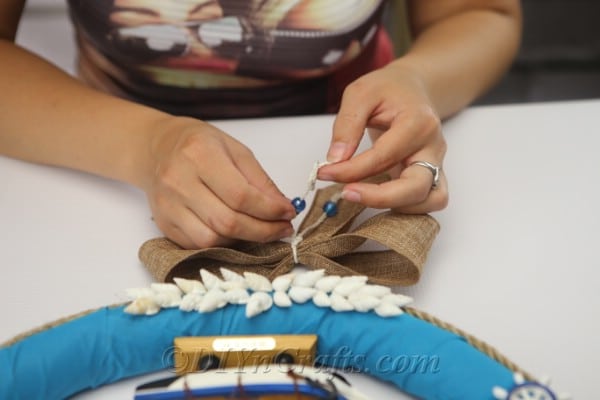
- Finally, you are going to attach a bow to the bottom of the wreath. Cut out some rustic ribbon and tie your bow, and then tie a string around the center of it and add some beads to the ends to embellish it. Then glue the entire thing onto the bottom of the wreath.
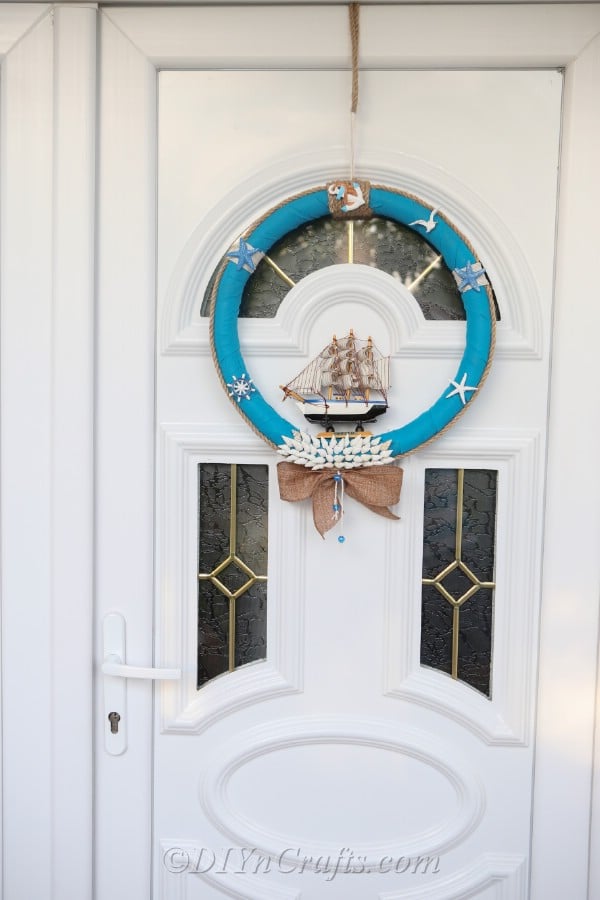
- Now your beautiful nautical DIY wreath is ready to display!
Recommended Products
As an Amazon Associate and member of other affiliate programs, I earn from qualifying purchases.
What to Make Next After Completing Your DIY Nautical Wreath
Did you have a blast making this beautiful maritime wreath? If you love the nautical flair that it brings to your wall or door, you may be wondering what similar projects you can try to carry that nautical theme even further.
To get you started, check out this list of 20 amazing DIY beach décor projects that you can try to bring maritime charm to your lawn and garden. Then, take a look at 20 beach-worthy projects you can make using seashells. After that, try making a DIY seashell picture frame. Oh—and if you are looking for other summer wreath ideas, give some of these 25 projects a try!
Pin this project

I hope you enjoyed this project and have fun with those I’ve recommended you try next, and that you check back again soon for more easy DIY video tutorials!






Leave a Reply