
I know I’ve shown you tons of ways to repurpose mason jars and turn them into organizers, candles and other decors. This time, I wanted to show you a really neat way that you can repurpose those mason jar lids.
If you have a few canning lids on hand, you can turn them into this gorgeous photo wreath that is perfect for showing off your favorite family photos. This one also makes a wonderful gift!

Jump to:
Where To Find Jar Lids For A Photo Wreath
If you are like me, you have tons of lids left over from mason jars that you have used on other projects. If you don’t have any lids, you can get them from the Dollar Store or Walmart. They’re pretty cheap, too.
I do recommend that if you are using mason jar canning lids, you use both parts of the lid for this, to give the wreath more depth. You can, however, use other lids if you want.
Just clean out your fridge and use any metal lids that you have in there. They don’t even have to all be the same size!

Choosing Pictures For Your DIY Photo Wreath
You can use any pictures that you want to show off your family. You will need to use smaller pictures, ones that fit into your lids, so if you have a picture that doesn’t fit I suggest you make sure that you don’t mind cutting it down to size.
Wallet size pictures work very well with this, and you could even use some snapshots that can be trimmed down.
How To Decorate Your DIY Photo Wreath
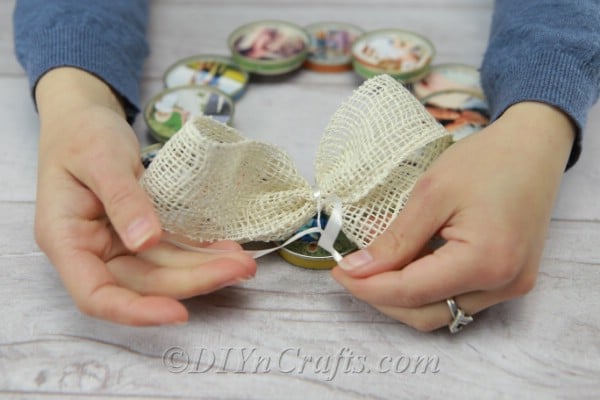
I am all about the rustic farmhouse look, so I used a rustic ribbon for my decoration. Bows are so easy to make and really do pull the wreath together.
Use some wired burlap to make a really simple bow by just twisting the burlap together and tying it off.

How To Repurpose Mason Jar Lids Into A Gorgeous Photo Wreath
For this craft, we’re going to turn otherwise useless lids into a beautiful wreath that displays all of your favorite photos. This can be hung anywhere in your home and it makes a wonderful gift for grandparents, an upcoming wedding, or any other special occasion.

How to Make a Gorgeous Photo Wreath from Lids

Make this gorgeous photo wreath for yourself or as a gift for someone special. The video tutorial shows you how to turn mason jar lids into a DIY photo wreath in just a few steps.
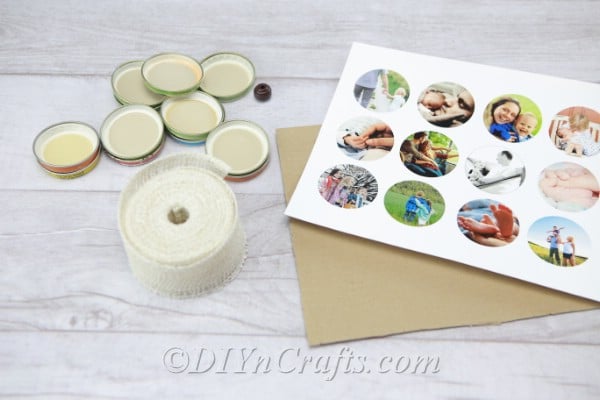
Materials
- 12 Lids
- 12 Pictures
- Rustic Ribbon for Decorating
- Wooden Button
- Cardboard
Tools
- Pencil
- Scissors
Instructions
 Before you actually start the project, you need to gather the pictures that you are going to use. You will likely need to trim these down so choose pictures that you don’t mind cutting.
- Measure your pictures to see how much you need to trim them in order to make them fit inside your jar lids. If you are using different sizes of lids, make sure that you measure one picture for each lid.
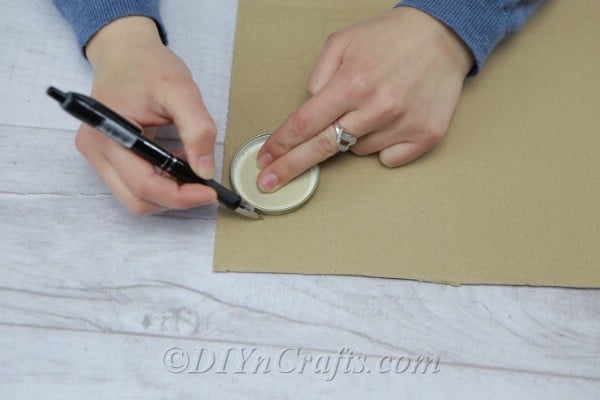
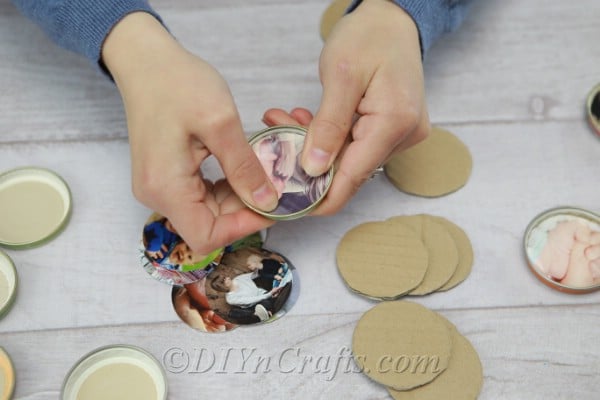
- You also need to trim the cardboard to fit into each lid so again, if you are using lids of different sizes, make sure you measure each one and trace around the cardboard.
- If all of your lids are the same size, you can trace one lid onto the cardboard and then cut it out. You can now use piece of cardboard as a guide for cutting out the remaining 11 cardboard circles.
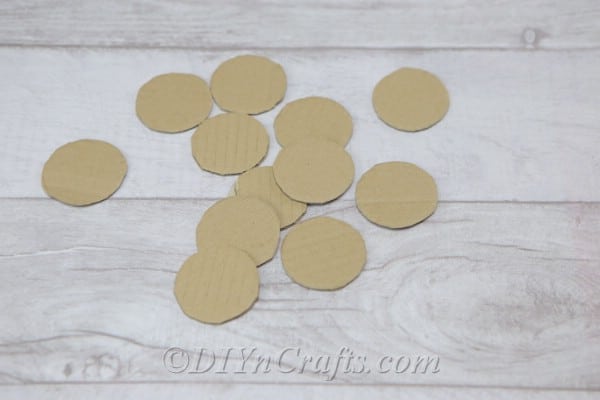
- You need a piece of cardboard in each lid. If they won’t stay in on their own, you can add a drop of hot glue to keep them in place.
- Now add a picture to each lid. Again, if needed, you can use a drop of hot glue to hold your pictures in place. Just make sure that you are only using a tiny drop as you do not want the glue to seep through to the front of your picture.
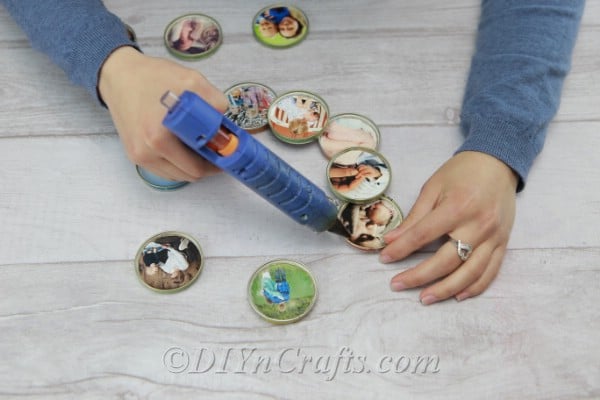
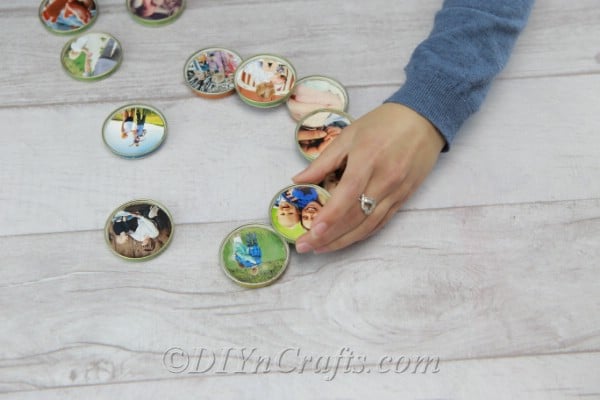
- Arrange your lids into a circle. You will start by placing 6 of your lids in a circle. You want to leave room in between the lids so that you have space to glue on another lid on the top between 2 lids.
- Basically, you will create a circle of 6 lids and then use your remaining 6 lids to go on top of those. You want to be sure that you are not blocking your pictures when you glue on the top lids.
- Now, add your rustic bow or flower or any other decoration that you want, and you can add twine or a small picture hanger on the back to make this easier to hang.
- When you are finished, your DIY repurposed lid photo wreath should look something like this:
 Before you actually start the project, you need to gather the pictures that you are going to use. You will likely need to trim these down so choose pictures that you don’t mind cutting.
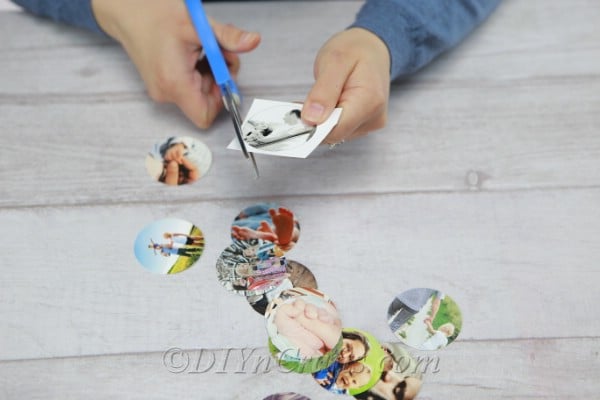


What Other Crafts Can You Make With Family Photographs?
I know that I have shown you some really cool ways to display your favorite photos. Recently, I shared a tutorial with you on how to make a glowing photo luminary.
That’s one of my favorite DIY photo crafts. You can also turn a photo into a bunny, and here is a wonderful list of 25 DIY photo crafts that you can use to decorate your entire home!

Pin this project:

What’s your favorite way to display pictures?


Starrcreative
This is beautiful! I was just thinking the other day about jar lids and what they could be used for and then you share this wonderful idea!
Diane
Hi! This is a great idea, I have so many lids, thank you for sharing! Where is the wooden button used? Thank you again! 🙂