
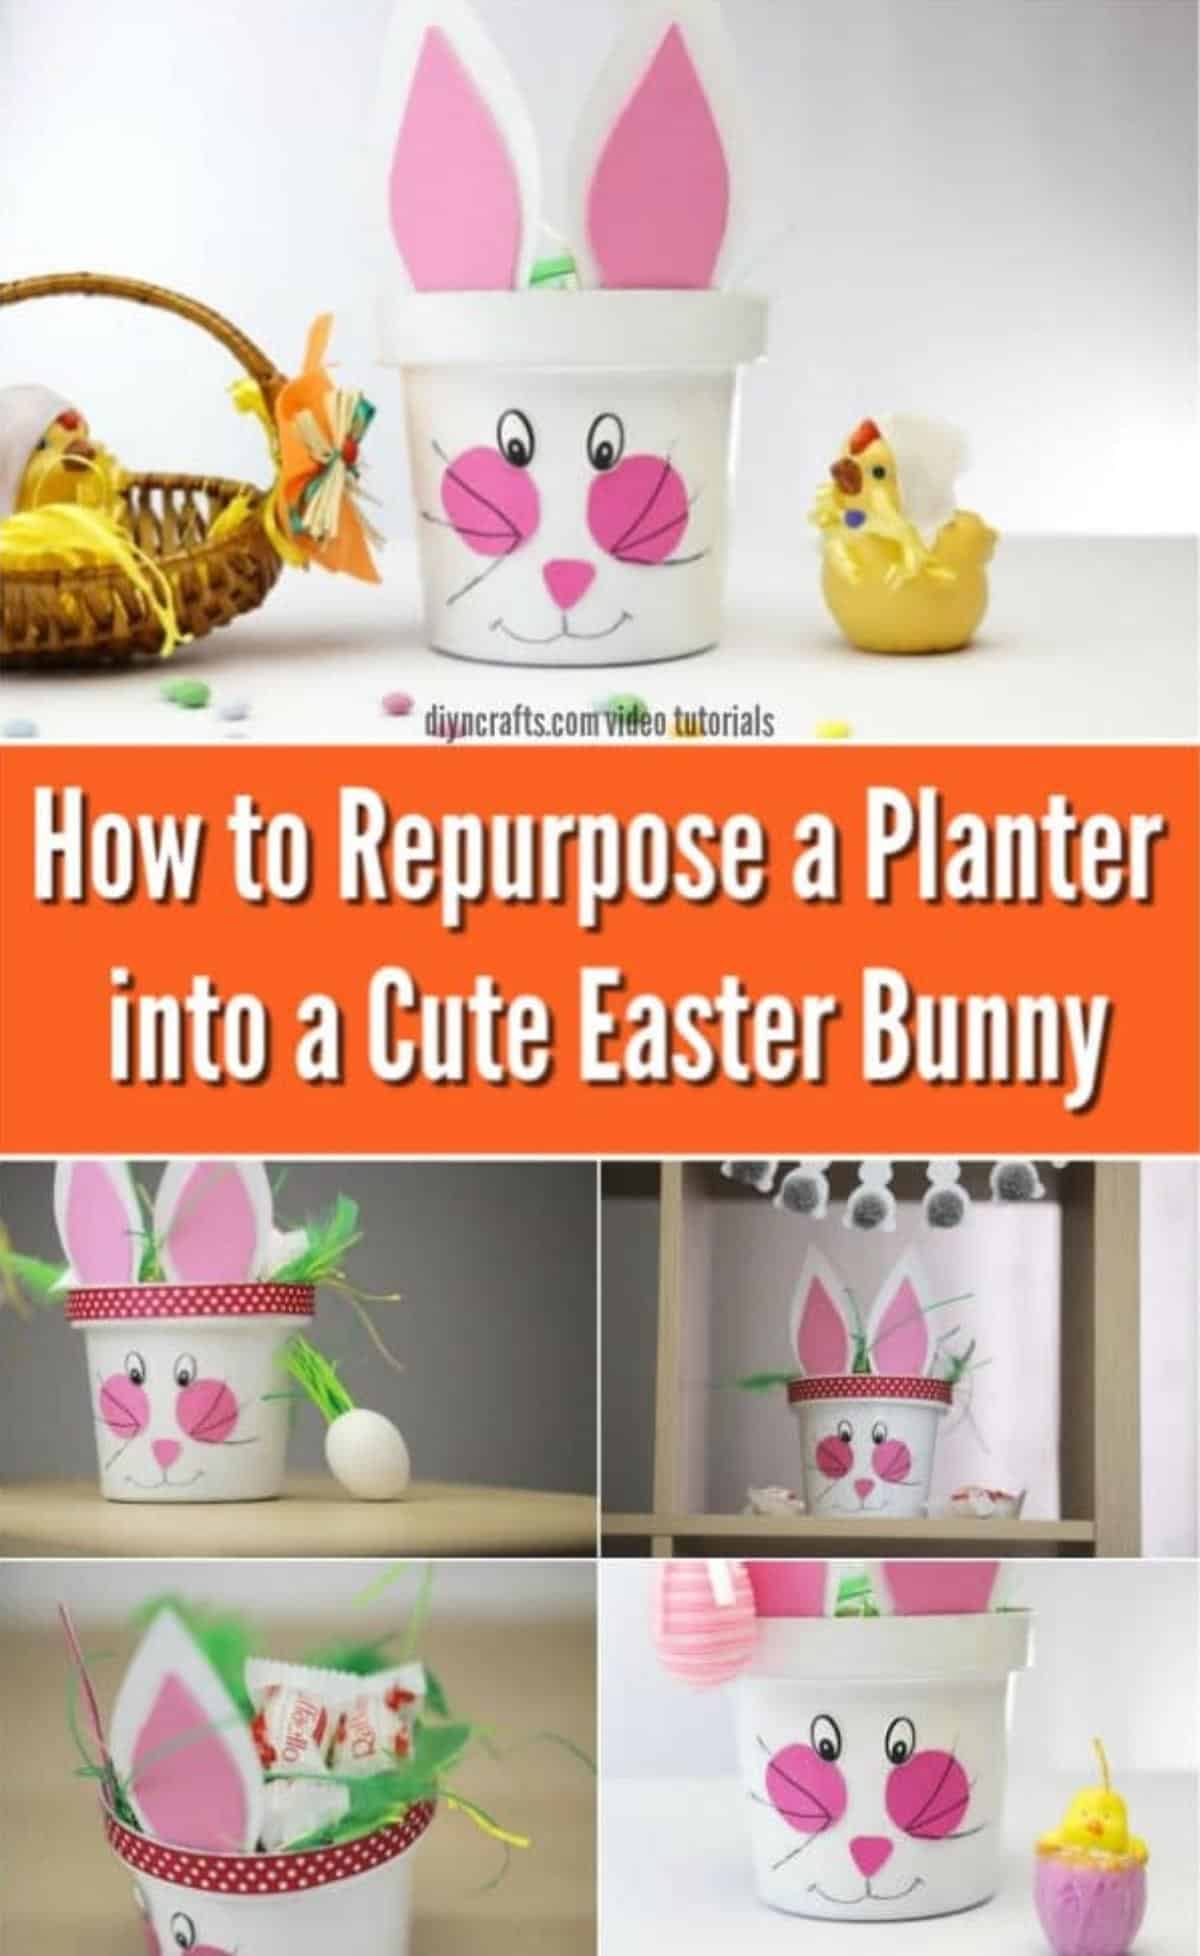
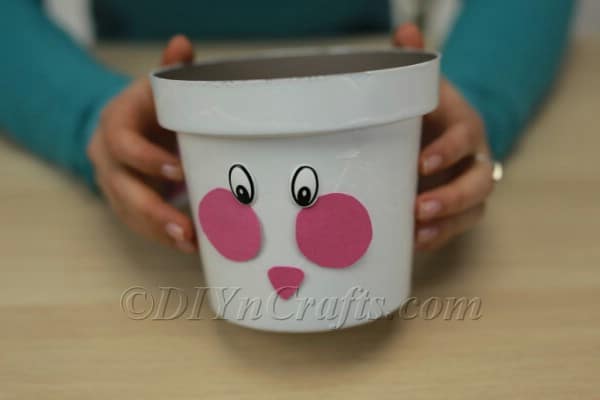
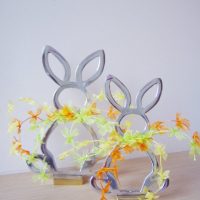
Easter is a celebration of many things, but one of them is new life and renewal. In that spirit, I decided this year to try turning a regular, boring planter into a cute Easter bunny planter! In this video tutorial, I show you how you can do it in a few easy steps.
You’ll need a few basic supplies for this DIY Easter bunny project, one of which is a white flower planter. If you do not have one but have one in a different color, you can paint it white before you start with the rest of the instructions you see in the video tutorial.
Just wait for it to dry completely before you begin.
There isn’t too much else that needs to be said to introduce this easy DIY Easter project, since it is super simple and straightforward! If you are ready to begin, read through all the materials and tools you need below.
Then, watch the video and follow along with the written directions.
Jump to:
Step-by-step tutorial with instructions:
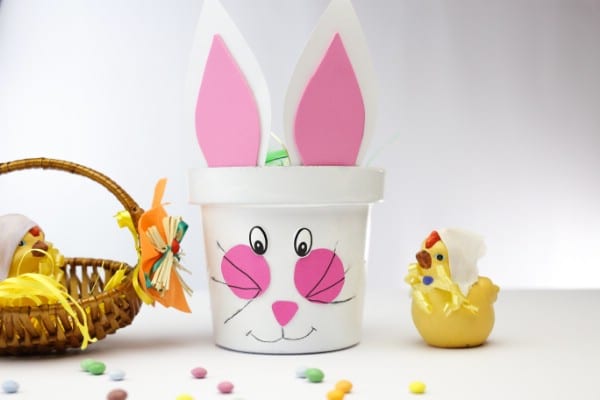
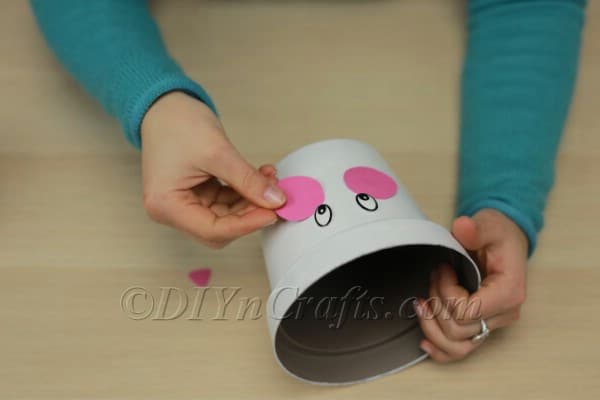
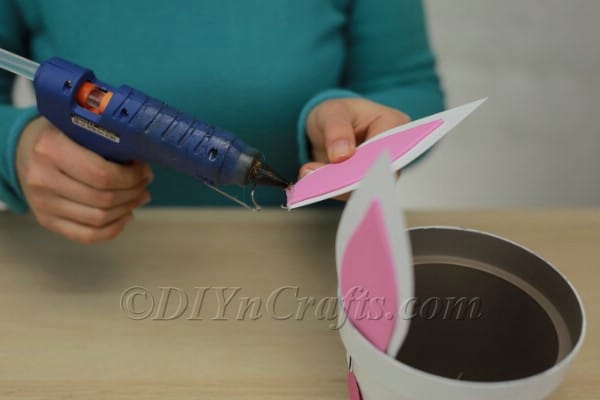
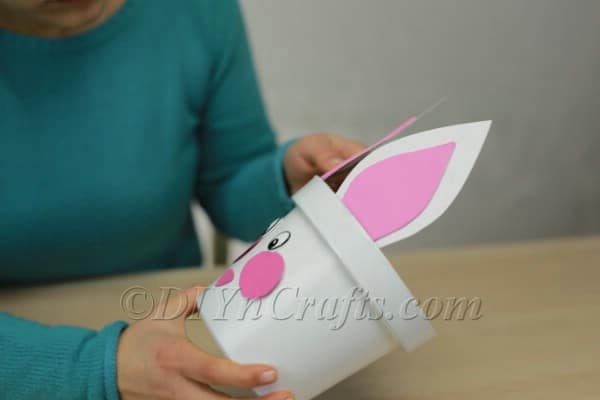
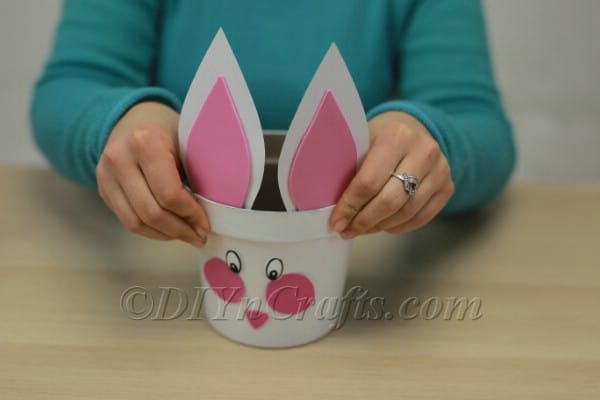
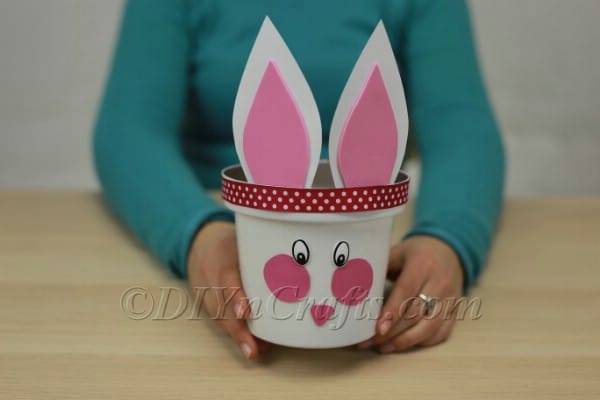
In our newest Easter craft video tutorial, we show you how you can transform an ordinary planter into one with a cute Easter bunny face. Watch now to find out how to make this Easter bunny planter in just a few easy steps. As an Amazon Associate and member of other affiliate programs, I earn from qualifying purchases.How to Repurpose a Planter into a Cute Easter Bunny
Materials
Tools
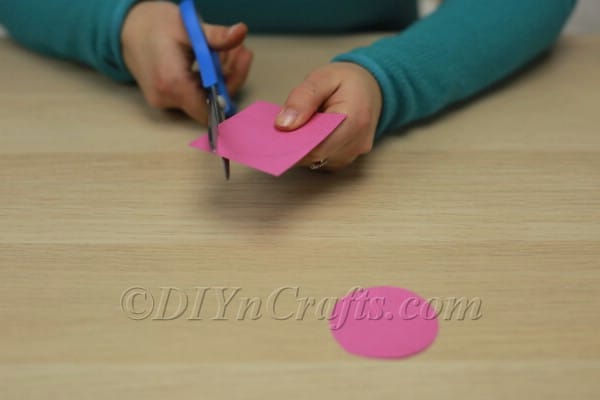
Instructions
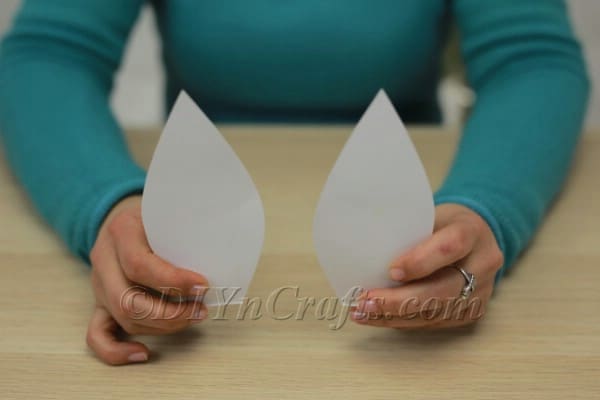
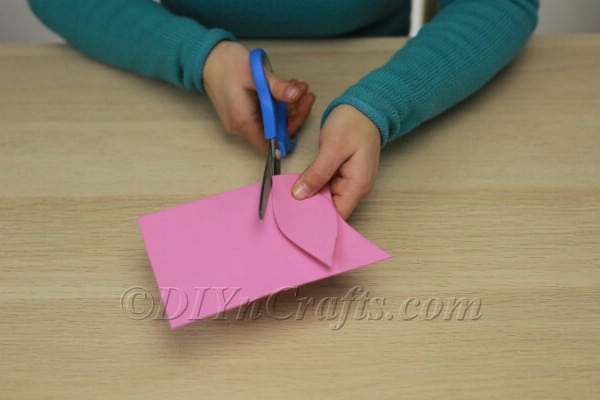
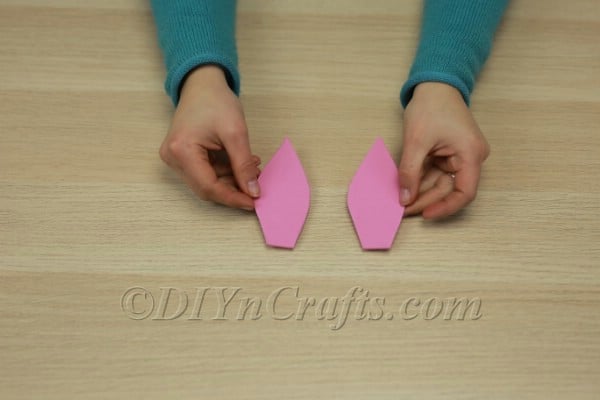
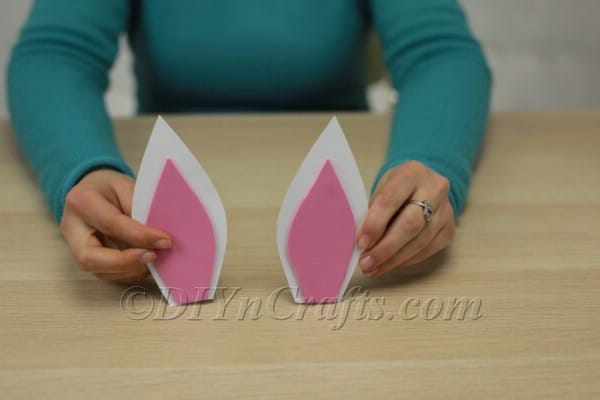
 To begin, you will need a white foam sheet, piece of cardstock, or piece of cardboard. Any of those materials works perfectly well. Just make sure that whatever you choose is reasonably rigid, since you’ll be making the bunny’s ears out of them, and you’ll need them to be able to stand upright.


Recommended Products
Enjoy Your Easter Bunny Planter Throughout the Year
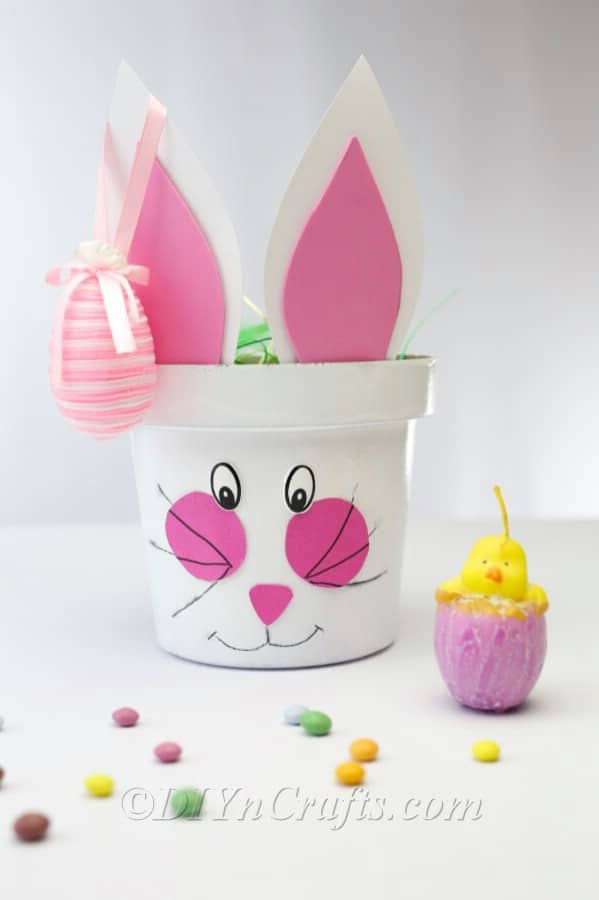
There are so many things you can do with your Easter bunny planter! One idea is to literally use it as a planter. Spring is the season for things to grow, and a cute bunny planter is the perfect place for that to happen!
Even though it’s a holiday-themed planter, bunnies never really go “out of season.” So you can enjoy your bunny planter year-round. Bunnies never stop being adorable and lovable.
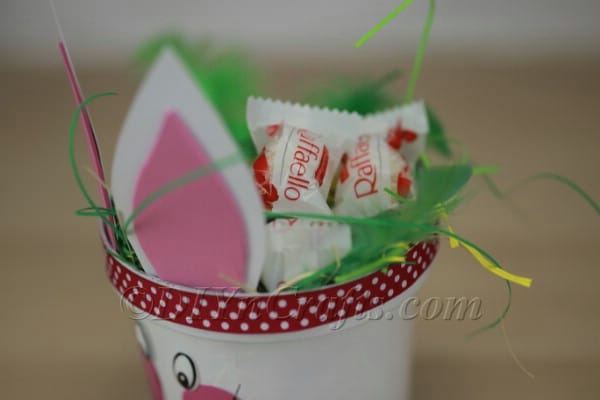
Another idea is to use the Easter bunny planter in place of a traditional Easter basket. While Easter baskets are always fun (check out how to make a DIY Easter basket), sometimes changing things up a little can be enjoyable, too.
Any child would be delighted to receive a cute Easter bunny planter like this, brimming with treats.
Easter Projects
If you had fun making this project, be sure and stick around, because there are plenty of other Easter DIY tutorials on our site! I will be sharing more with you over the upcoming weeks too, so bookmark DIYnCrafts and come back and visit again soon!


Leave a Reply