DIY & Crafts

Save money and have fun doing things yourself

  • Home
    • Furniture Makeovers
  • Repurpose
  • Crafts
    • Kids
    • Paper
    • Winter
  • Holidays
    • Valentine’s Day
    • Easter
    • Halloween
    • Christmas
  • Fashion
    • Sewing
    • Beauty
    • Hairstyles
  • Gifts
    • Baby Shower
    • Father’s Day
    • Mother’s Day
  • Homemade
  • Home
    • Lifehacks
    • Decorating
    • Organization
    • Parenting
    • Gardening
    • Health
  • Food
    • Recipes
  • Knitting & Crocheting

Home » Holidays » Easter » How to Make Adorable Painted Bunnies Out of Clothespins

How to Make Adorable Painted Bunnies Out of Clothespins

February 3, 2019 By Vanessa Beaty 2 Comments

It seems like just yesterday that I was working on winter holiday crafts, and now we are already well into the new year, and I am getting crafts ready to celebrate Easter.

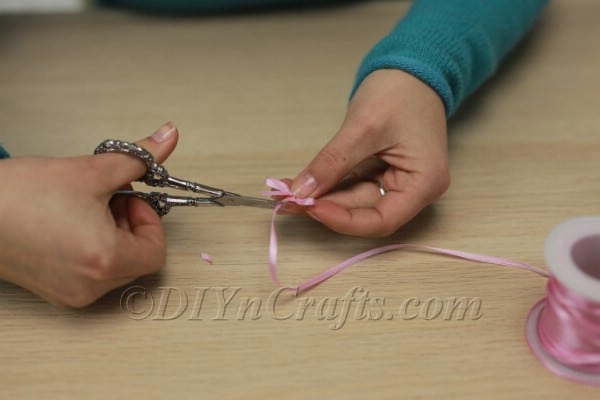
In my newest Easter craft tutorial video, I will be showing you how you can create the cute bunny rabbit to celebrate the holiday out of an ordinary clothespin and a few other simple supplies.

How to Make Adorable Painted Bunnies Out of ClothespinsThis tutorial is super easy, with only a few materials needed. The steps are straightforward, and the results are super adorable. You will notice that while I did mention hot glue and a glue gun under the tools you need, you could also get away with using wood glue instead.

This is a good option if you want to work on this project with young children who you do not want using hot glue.

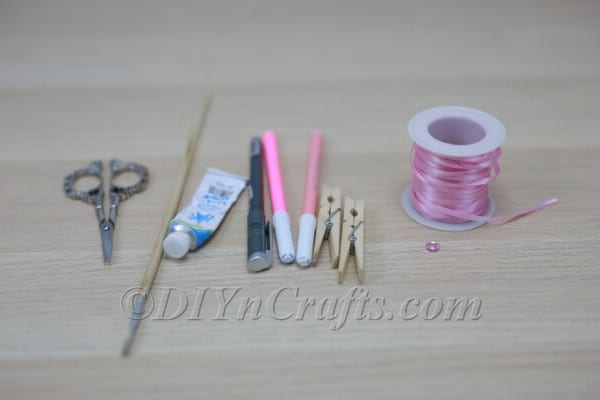
Below, you can view all the materials and tools required. Once you have them ready, you can follow the written instructions while watching the video tutorial to turn your clothespins into cute DIY Easter bunnies.

Step by step tutorial with instructions:

Yield: 1

How to Make Adorable Painted Bunnies Out of Clothespins

How to Make Adorable Painted Bunnies Out of Clothespins

Did you know that you can turn a clothespin into an Easter bunny with just a few simple supplies? In this new Easter crafting tutorial video from DIYnCrafts, you can find out how it’s done. Have fun creating these adorable bunnies!

Prep Time 5 minutes
Active Time 5 minutes
Total Time 10 minutes
Difficulty Easy

Materials

  • White paint
  • Clothespin
  • Faux pearl
  • Pink satin ribbon

Tools

  • Pink marker
  • Black pen
  • Scissors
  • Hot glue and glue gun

Instructions

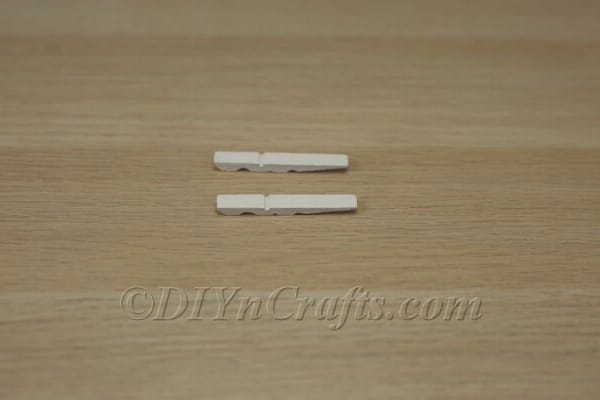
  1. The first thing you need to do is take your clothespin and break it in half by removing the wire mechanism which holds it together. You can set the wire mechanism aside (or throw it away) as you will not be needing it again.
  2. Paint both halves of the clothespin white. Make sure that you cover them completely without leaving any exposed wood. Once that is done, wait for them to dry completely before you proceed with the next step.
  3. Use hot glue to reattach the clothespin halves to each other. It will look just like it did before, minus the wire and painted white.
  4. Now it is time to draw on the bunny’s features using the pink marker and black pen. Start with the pink marker. Use the marker to draw pink triangles on the ends of the clothespins. These have just become the bunny’s ears.
  5. With the same pink marker, just a little bit below the first notch over the yrs., make two little circles, one on either side. Make sure that there will be enough room above them for the eyes. The pink circles will serve as the cheeks.
  6. Now, use the black pen to draw the eyes above the cheeks. Draw whiskers over the pink circles. You can also draw little hands and feet on your bunny.
  7. You will notice that there is still a notch in the middle of the face between the cheeks. Obviously, one does not want one's bunny to have a hole in the middle of its head. To cover it up, glue on the faux pearl (you can also use any other type of bead you want).
  8. Finish your handcrafted Easter Bunny by tying a pretty ribbon around its neck. You can go with any color you want. I chose pink, since it matches the ears. Note that the ribbon will have to be pretty thin, or it will obscure the bunny’s face. You can now stand up your Easter Bunny or clip it anywhere you like.

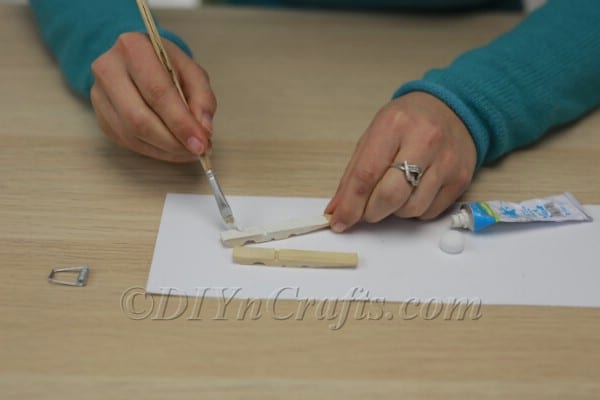
Recommended Products

As an Amazon Associate and member of other affiliate programs, I earn from qualifying purchases.

  • Easter Bunny Crayons
    Easter Bunny Crayons
  • Set of 7 felt hanging Easter decoration
    Set of 7 felt hanging Easter decoration
  • Make Your Own felt Easter Friends Garland Kit
    Make Your Own felt Easter Friends Garland Kit
  • Easter eggs ornaments
    Easter eggs ornaments
  • Rustic Easter Bunny
    Rustic Easter Bunny
  • Personalised Easter Bunny
    Personalised Easter Bunny
© Vanessa Beaty
Project Type: Upcycling / Category: Easter
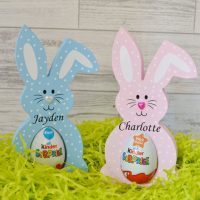
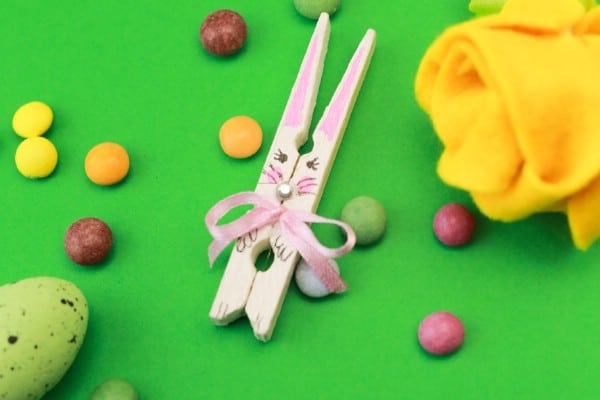
Enjoy Spreading Easter Cheer With Your Cute Clothespin Bunnies!


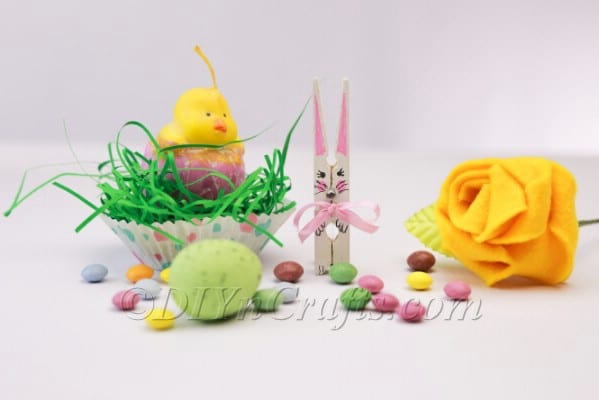
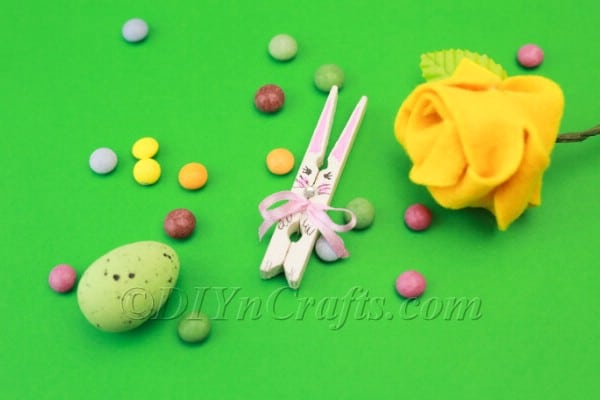
You have now learned how you can transform an ordinary, everyday clothespin into a cute Easter Bunny to celebrate the holiday. It is easy to make a bunch of these handcrafted Easter bunnies quickly, and they make great decor around the house and also work perfectly as cute gifts.

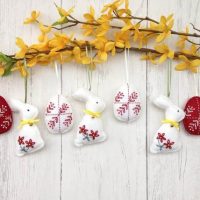
Make them part of an Easter display, as I did in the photos above, or just use them to brighten up a drab spot to celebrate springtime.

Easter Projects

How to Make a Cute Easter Bunny Candy Bottle {Video Tutorial}

How to Make a Cute Easter Bunny Candy Bottle {Video Tutorial}

100 Easy and Delicious Easter Treats and Desserts

100 Easy and Delicious Easter Treats and Desserts

36 Cute and Creative Homemade Easter Basket Ideas

36 Cute and Creative Homemade Easter Basket Ideas

25 Creative DIY Outdoor Easter Decorations That Fill Your Yard With Joy

25 Creative DIY Outdoor Easter Decorations That Fill Your Yard With Joy

105 DIY Easter Decorations You Can Make Yourself

105 DIY Easter Decorations You Can Make Yourself

58 Fun and Creative Easter Crafts for Kids and Toddlers

58 Fun and Creative Easter Crafts for Kids and Toddlers

Once you are all finished with this craft, be sure to check out some of the other fun and easy Easter projects I have posted on this site, such as how to make bunny ears out of straws and pipe cleaners.

Keep checking back over the weeks ahead, as I have a lot more simple Easter craft video tutorials planned.

154shares

Subscribe to Blog via Email

Enter your email address to subscribe to this blog and receive notifications of new posts by email.

Join 10,185 other subscribers

Comments

  1. Sharon Wilkinson says

    February 3, 2019 at 6:51 pm

    This looks like a great fun project, I just have one question. You said you can clip the bunny somewhere when you’re done. How can you clip it if you take the spring out?

    Reply
    • Vanessa Beaty says

      February 3, 2019 at 8:05 pm

      Yes valid point you can only glue somewhere 🙂

      Reply

Leave a Reply Cancel reply

Your email address will not be published.

This site uses Akismet to reduce spam. Learn how your comment data is processed.

Search

Subscribe to Blog via Email

Recent Projects

20 Tried and True Tips for Urban Gardening Success

18 Vegetables Plants Best For Starting as Indoor Seedlings

50 Drought-Tolerant Plants You’ll Hardly Ever Have to Water

Farmhouse Style Chipped Finish Side Table Restoration Tutorial

Pages

  • About Us
  • Be Featured
  • Contact Us
  • Email and Push Notification Subscriber Settings.
  • Privacy Policy
DIYnCrafts.com is a participant in the Amazon Services LLC Associates Program, an affiliate advertising program designed to provide a means for sites to earn advertising fees by advertising and linking to amazon.com, amazon.co.uk, amazon.ca and amazon.com.au.

Copyright © 2021 DIY and Craft Projects and Collections

154shares