
Repurposing items is a favorite project of mine, so this decorative clothespin tin can planter or organizer is a fun new craft. I loved taking an old coffee can, cleaning it up, and just adding a few craft items turned it into a beautiful addition to my countertop. Of course, there are many uses for this cute little upcycled tin can, and I know you are going to have a blast making them for your home!

Jump to:
- Clothespin Tin Can Planter or Organizer
- What Size Tin Can Do I Need?
- How do I Paint Clothespins?
- Do I Need to Line This Can?
- How Do You Smooth Edges on Tin Cans?
- What Can I Use This Organizer For?
- Supplies Needed
- How to Make a Clothespin Tin Can Planter or Organizer
- Materials
- Tools
- Instructions
- Notes
- Recommended Products
- Finished Project Gallery
Clothespin Tin Can Planter or Organizer
I'm pretty much the queen of repurposing. If you don't believe me, then go check out all of the great stuff I've shared in our repurposing crafts category. Go ahead, go look.
Now, I have shown you my expertise, so you will trust me when I say this is super easy, fun, and a great way to use up items you already have on hand. The best part? It's kid-friendly and functional! It's not just another craft to sit on a shelf, but one ou can put to use right away around your home.
Grab your old empty cans, some glue, and clothespins, and get to work making this fun organizer with your kids!

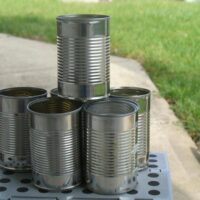
What Size Tin Can Do I Need?
While I used what was a 1 pound coffee can for this, but you can really use any tin can. Just know that the sizing difference will change how many clothespins you need and how much you can store in them.
If you are like me, and you also buy the #10 cans of fruit, beans, and such for cooking larger batches of food and save them for this project. We often batch cook larger meals to share in our community at church, and always have those empty cans for making bigger crafts.

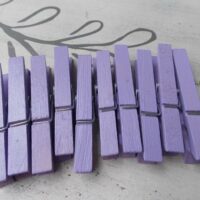
How do I Paint Clothespins?
For this craft, I glued the clothespins in place first. That meant I only had to paint one side and just used craft paint and a regular paintbrush. This is, however, only one way to paint clothespins when crafting.
Perhaps my favorite way to paint clothespins when I am using multiples is to spray paint them. It's a bit messier in some ways, but not in others. I just lay them out on newspaper outside, spray one side, let it dry, flip, and spray the other. The entire thing takes less than 5 minutes to paint, and a bit of time for drying.
You can also dip clothespins into a dye solution instead. I have dyed them and craft sticks in a bowl of Rit dye before and added a nice tint for different projects.

Do I Need to Line This Can?
If you want a smooth inside for this planter or organizer, you can definitely line it with cloth or burlap. For most of my projects, I don't find that to be necessary. It's really a personal preference.
If you decide to line this, I recommend placing fabric or burlap pattern side up and gluing into the can then letting it cover over the upper lip of the can. Do this before you glue the clothespins in place, and then let them cover the edges or seams.

How Do You Smooth Edges on Tin Cans?
If you are crafting with your kids, safety is always a must. When working with tin cans, the sharp edges from cutting off the top are always a concern. A few years ago, I invested in a better can opener that cuts the tops differently, leaving less ragged edging. I still, however, like to make sure the edges aren't sharp.
There are two methods I prefer to do this. (1) I like to use sandpaper and rub it over the top of the can to remove any bits of tin or sharpness. (2) You can use a bit of hot glue and simply add a layer of glue all around the top part of the can. This creates a buffer between your hands and the can, which keeps you and anyone picking it up safe from cuts.

What Can I Use This Organizer For?
It may be easier to tell you how you can't use this organizer! It's just so fun to add something like this to your desk, countertop, or shelves. Of course, it does have a purpose in my house to hold flowers, but that's not all! Below are a few of my favorite ways to use this new tin can project around the house.
- As a container to hide a grungy flower pot.
- Put flowers directly into this as a vase.
- Add kitchen utensils and sit them beside your stove or oven.
- Place on a desk with pens, pencils, or markers.
- Add to a bathroom counter for makeup brushes, hairbrushes, combs, or curling wands.
- Use at parties as a straw, napkin, or utensil holder on the buffet.

Supplies Needed
- Tin can
- Clothespins
- Rope
- Twine
- Craft paint
- Paintbrush
- Scissors
- Hot glue gun
- Glue sticks or glue rope

How to Make a Clothespin Tin Can Planter or Organizer
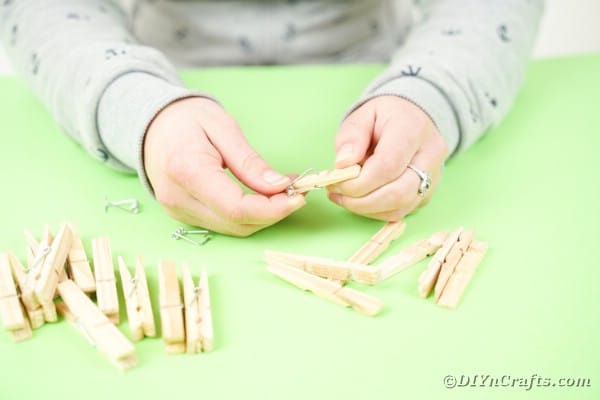
Start by separating the clothespins so they are two pieces and setting the wire clip aside.

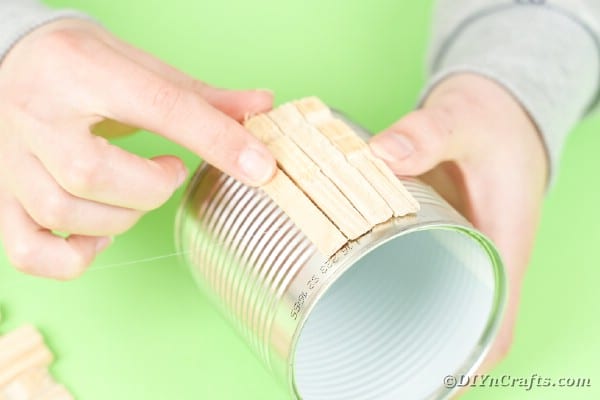
Now, you will glue the pieces onto your tin can, going around it and gluing them vertically until the can is completely covered.

Once the clothespins are in place, you will paint them your desired color. I used white.

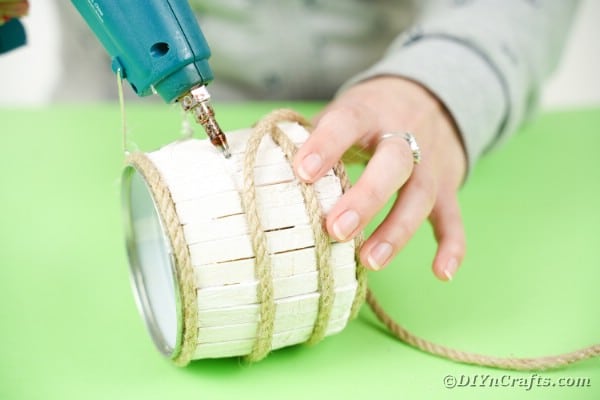
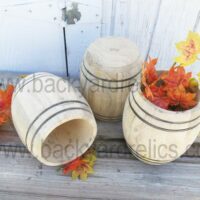
Next, you add the details that make it look more like a barrel. This is where I added a strip of rustic twine or rope around the top edge, bottom edge, and then two pieces around the center of the can.

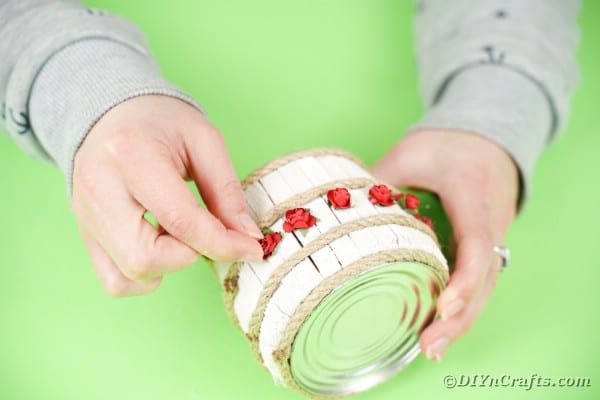
Add embellishments between the two center strips of rope. I glued on miniature red flowers.

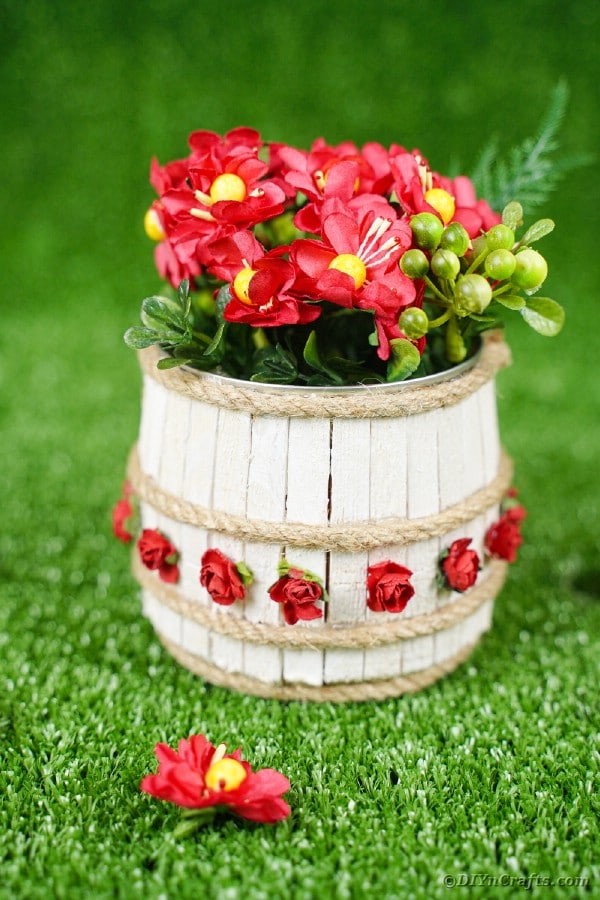
Now your can is done and ready to fill with pens, pencils, markers, or flowers.

I am obsessed, yes, obsessed with tin can projects. They are the perfect little upcycle idea to really turn trash into a treasure. One of my favorite projects is these tin can lanterns. So gorgeous and ideal for decorating. You can even use tuna cans to make these adorable tuna can lanterns! I absolutely love upcycle ideas like that!
If you need more ideas, this little burlap lace wrapped tin can is a perfect little decorative organizer that looks great on a shelf or desk. Of course, I love this list of ways to repurpose coffee cans for decor. Plus, you might also like this huge list of tin can home decor ideas. So many great ideas that are perfect for decorating while repurposing items!
Crafter's Tips:
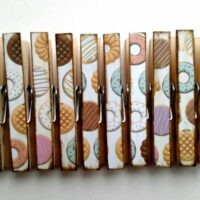
If you don't want to paint your clothespins but want to add some color, check out the number of decorated clothespins or painted clothespins available on Etsy. You can find tons of different colors or patterns to add to your tin can!
Decorative Clothespin Tin Can Planter or Organizer
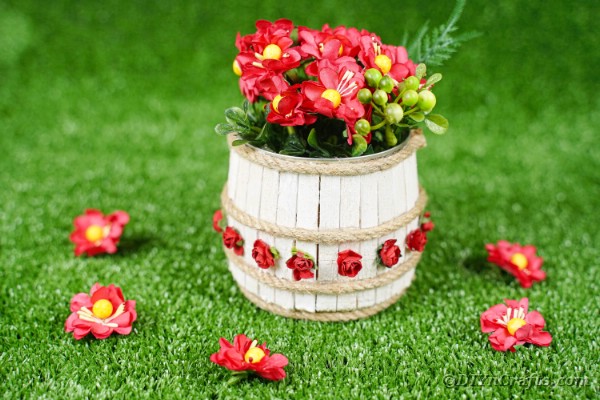
Cover that old coffee can and make this adorable clothespin tin can planter or organizer! It's a fun, easy, and functional craft to make with the kids!
Materials
Instructions
- Start by separating your clothespins so they are two pieces and the metal piece is removed (you can throw this away or save for another project);
- Now, glue the clothespin pieces vertically to the tin can gluing side by side until the whole can is covered;
- Once the clothespin pieces are in place, you can start painting them the color you prefer;
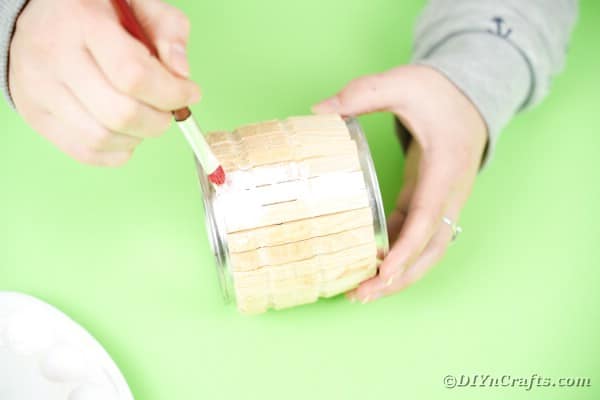
- Set the can aside to dry;
- Once the paint has dried, you will cut 4 lengths of rope to fit around the cans horizontally;
- Now, glue those pieces of rope around the can - 1 at the top, 1 at the bottom, and 2 in the middle about 1" apart;
- Add small artificial flowers (roses) between the two center ropes;
- Now your can is read to fill with flowers!

Notes
This project can be done on any sized can and with any color paint. Personalize it for your needs following the same basic steps.
Recommended Products
As an Amazon Associate and member of other affiliate programs, I earn from qualifying purchases.
Finished Project Gallery


Leave a Reply