A witch hat is one of the most iconic Halloween decorations you will ever make. This easy DIY witch hat decoration is a perfect project you can personalize to add fun to your Halloween mantle decorations this year. Add your choice of ribbons to this foam or cardboard hat to match the rest of your Halloween decor.
Kids can help you make this fun paper witch Halloween craft to go alongside this great witch hat!

Jump to:
- Witch Hat Halloween Decoration
- Can I Use Foam Pieces to Make this Witch Hat?
- What Color Ribbon is Best to Go Around the Witch Hat?
- Supplies for Making a Halloween Witch Hat
- How to Make a Witch Hat Halloween Decoration
- Video Tutorial:
- Step-by-Step Photo Tutorial:
- Materials
- Tools
- Instructions
- Recommended Products
Witch Hat Halloween Decoration
Witches are one of the scary Halloween figures that I always loved. While most are made to be spooky during Halloween, I preferred the nice witches and liked making witch hats or wearing fun wigs at Halloween to dress as a witch.
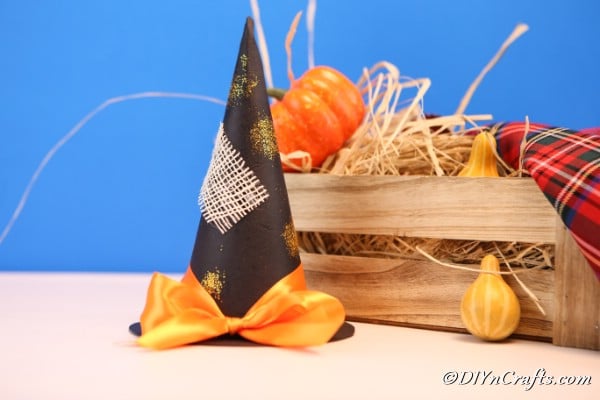
This craft is a great way to use up some scrap ribbon and material along with cardboard or foam pieces to create a rustic looking hat to display. I love seeing this sitting on the edge of my mantle, but it also works great on your Halloween buffet table, or even in the center of your dining room table.
This witch hat would look great on your mantle next to these wooden Halloween signs.

Can I Use Foam Pieces to Make this Witch Hat?
Yes! While I used a large piece of thick black cardboard, I know that foam pieces in black are often easier to find. It may not be as stiff, but you can cut and shape them into the cylinder for the hat.
Another idea is to use spray paint to coat your regular cardboard. Spray it black, then let it dry before cutting and shaping into this witch hat Halloween decoration.

What Color Ribbon is Best to Go Around the Witch Hat?
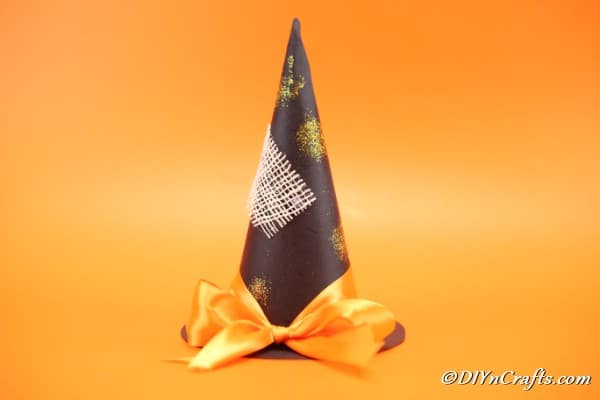
As you can see, I chose a nice big orange ribbon. I think orange is a classic fit for the witch hat, but you can use any color. Popular ribbon choices for this would be purple, green, white, silver, gold, or yellow.
Another idea would be to glue the grosgrain ribbon around the base of the hat for a close ribbon that isn't floppy. That would take up less space and make it easier to display in some areas of your home.

Supplies for Making a Halloween Witch Hat
- Black cardboard or foam piece
- Glue or Hair Spray
- Ribbon
- Glitter
- Gauze pad
- Scissors
- Ruler
- Stapler

How to Make a Witch Hat Halloween Decoration
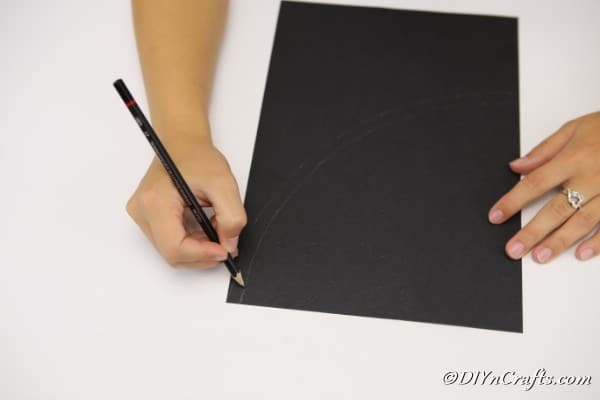
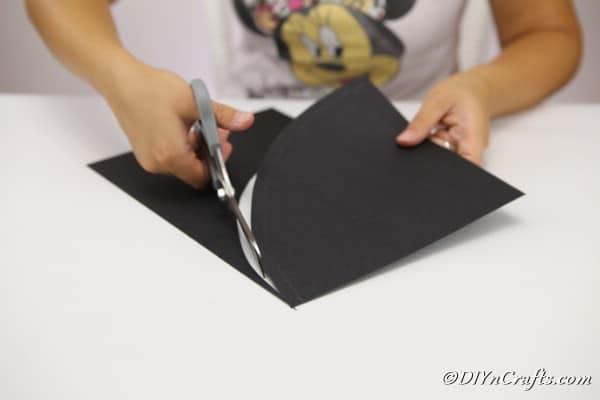
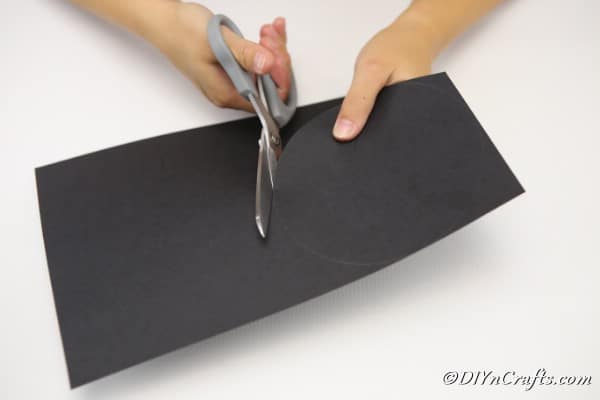
To make this witch hat, you will begin by drawing your hat on a cardboard piece. I measured from one corner to the other, creating an arc shape. You can use a round edge like a bowl to trace if you prefer.
I used regular copy paper and measured 21 cm on the shorter side of the sheet, then 21 cm on the other side creating a curve. You can use a pencil to connect one side to the other so it is easy to cut the cardboard into the desired shape.

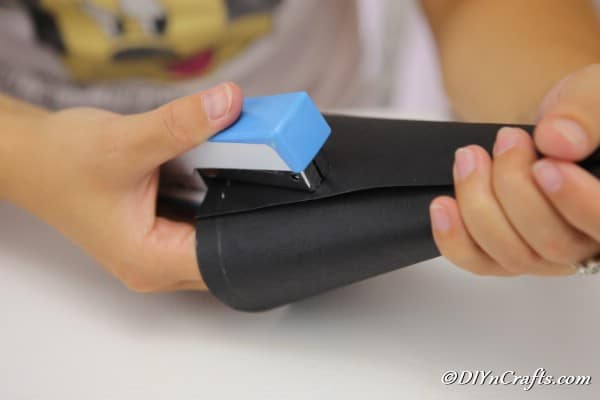
Once you have the cardboard cut, you will bring it together into a cylinder cone shape and staple the two sides together. I prefer using a stapler for this so it is secure immediately rather than waiting for the glue to hold. You can also use both glue and staples for extra stability.
Next, you will take a bowl that is about 3"-4" larger around the bottom of the hat and use it to trace a circle on the cardboard. Cut that circle out.

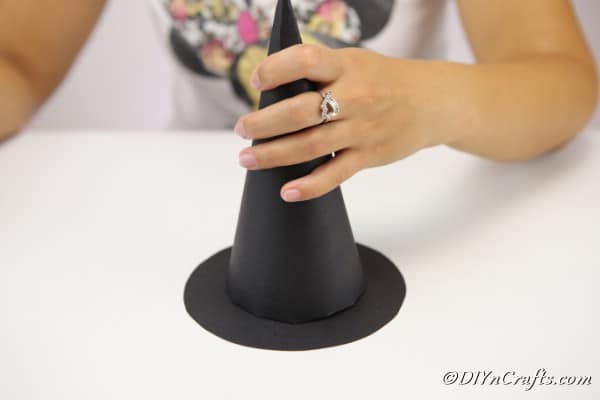
Once you have both pieces, you will glue the circle of cardboard to the bottom of your hat cone.
Allow this to dry completely before adding more decorations.
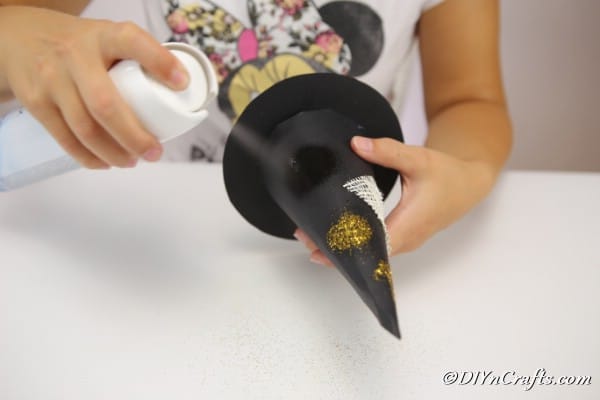
I used hair spray to secure glitter in patches around the cone of the hat. You could also use any regular glue if you prefer, or even a glitter spray.
Next, you will use the piece of gauze and pull it apart so it looks more frayed. Take a single layer of the gauze pad and glue it to the side of the witch hat.

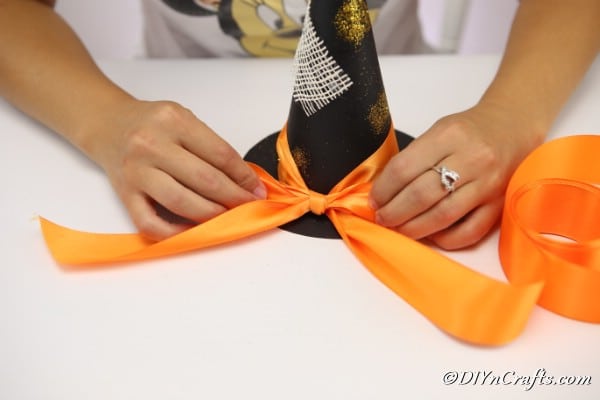
Once you have the cone of the hat decorated, you can then wrap a large ribbon around the base and tie as shown, or glue a grosgrain ribbon in place if you prefer.

Video Tutorial:
Step-by-Step Photo Tutorial:
DIY Witch Hat Halloween Decoration
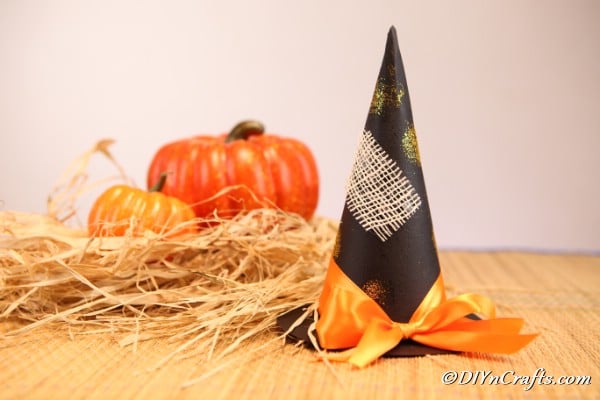
Grab your supplies to make this super fun witch hat Halloween decoration! Add this to your mantle, as part of your centerpiece, or on your candy table!
Materials
- Black cardboard or foam piece
- Glitter
- Ribbon
- Gauze pad
Tools
- Stapler
- Hot glue gun and glue
- Craft glue
- Hair Spray
- Ruler
Instructions
- Begin this witch hat decoration by drawing a curve on the piece of cardboard. You can use a ruler to measure this, or the base of a bowl and trace around the edge;
- I used regular copy paper and measured 21 cm on the shorter side of the sheet, then 21 cm on the other side creating a curve. You can use a pencil to connect one side to the other so it is easy to cut the cardboard into the desired shape;
- Next, you will bring the sides together to form a cone shape with the cardboard. Use a stapler to secure the sides together;
- Once you have your cone shape secure, you will use a bowl a bit larger than the base of the cylinder and cut another complete circle of the black cardboard. This is used as a base and brim for your hat;
- Your next step is to use a bowl slightly larger than the base of the cylinder, and trace around it on the cardboard. You will cut out that circle;
- It will be glued to the bottom of your witch hat cone to become the brim of the hate;
- Once the pieces are secure and glued together, you can start decorating;
- Spray hair spray on spots around the hat, and sprinkle gold glitter on top to secure. You can also paint glue onto the hat and sprinkle the glitter on top of the glue;
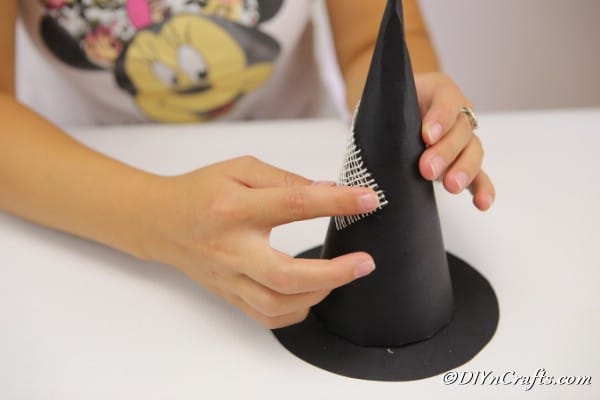
- Next, you will cut the gauze pad to the size you want and fray the edges. Use glue to secure this to the side of the hat;
- Your final step will be adding a large ribbon around the base of the hat as shown;
Recommended Products
As an Amazon Associate and member of other affiliate programs, I earn from qualifying purchases.






Leave a Reply