If you're looking for a creative way to add a unique decorative accent to your home, you should enjoy my new video tutorial, where I show you how you can create a lovely flower decoration using pages you take from an old book.

Jump to:
This craft is fun for any time of year, but it is also timely for Valentine's Day since flowers add a touch of romance to your décor. They also make for a lovely handcrafted gift idea.
The supplies you need for this Valentine’s Day craft are simple and cost-effective. You likely won’t need to buy a lot that you don’t already have.
You may even have some pages left over in the same volume you’ve been using for some of our other crafts using old book pages.
If you visit the link above, you’ll see that this isn’t the first flower craft using old book pages I have shared.
Looking through those tutorials, you will see that some paper flower crafts are designed to look as realistic as possible, while others are not.
This craft falls into the latter category. You will not mistake it at a glance for a real flower, but this makes it no less beautiful. Its large, dramatic shape is at once eye-catching, bold, and elegant.

Excited to get started? Find the materials and tools that you need to create this DIY paper flower below. I have also included a set of written instructions to accompany the video.
Step-by-Step Tutorial with Photos and Video
How to Make a Lovely Flower Decoration Out of an Old Book
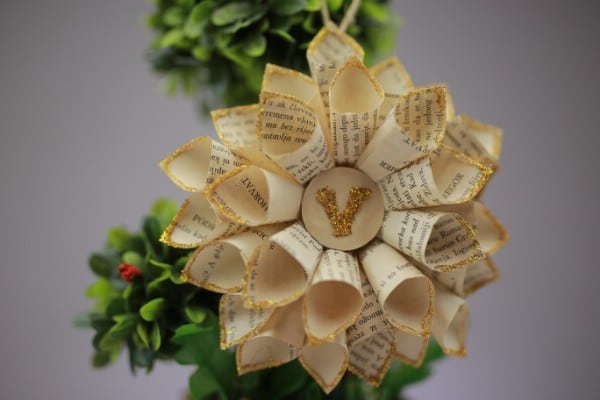
Wouldn’t it be lovely if flowers lasted forever? When you make one out of paper, it can! Here is how to turn the pages of an old, unwanted book into a delightful flower which will bloom for you eternally. Watch the video and create your own as you follow along!
Materials
- Old, unwanted book
- Twine
- Glitter
- Cardboard
- Star stencil to trace around
Tools
- Ruler
- Pen
- Scissors
- Hot glue and glue gun
Instructions
- First, you are going to need to cut a star shape out of paper, cardstock or cardboard. For this, it is very helpful to have a stencil of some sort to guide you. You can for example use one of those glow-in-the-dark stars which you can stick on your ceiling or walls. Use a pen or pencil to trace around its outlines, and then cut it out.
- If your intent is to hang the flower decoration rather than stand it up in a vase, make a little loop of twine to hang it by, and set that aside for the time being.
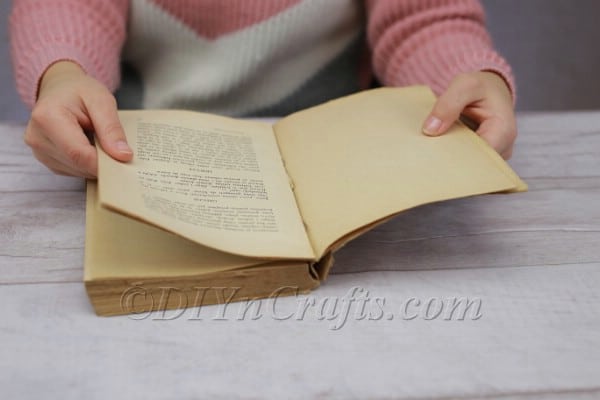
- Remove a number of pages from your old book. I suggest anywhere from 10 to 20 in all.
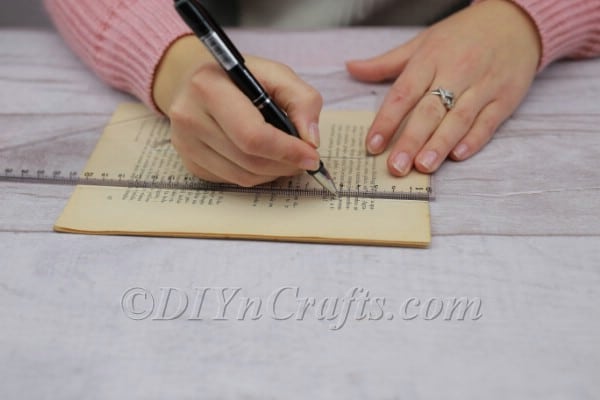
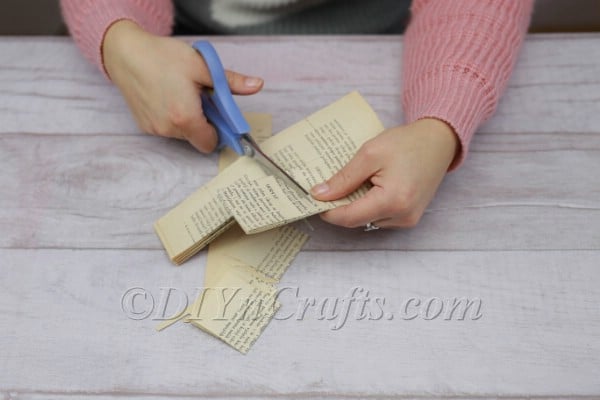
- Using a pair of scissors, cut up these pages into many small squares. The squares should all be the same size. The exact size is up to you, but for reference, I decided to make mine 5 x 5 cm. Remember to draw guidelines before you cut, so that you get nice straight lines.
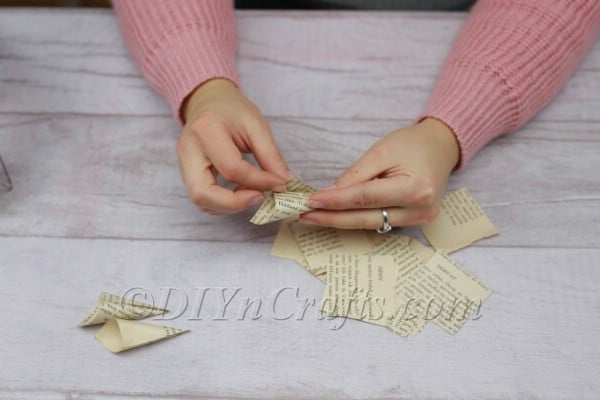
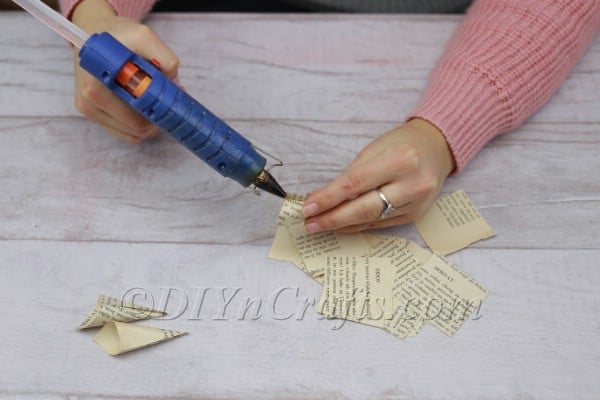
- Next, you need to take each of these little squares and roll them up to form little cone shapes. Each cone shape will become one of the flower’s petals.Make sure when you do this, that you do it in such a way that a point sticks out from the open end of each cone. As you work, use glue to hold these cone shapes together.
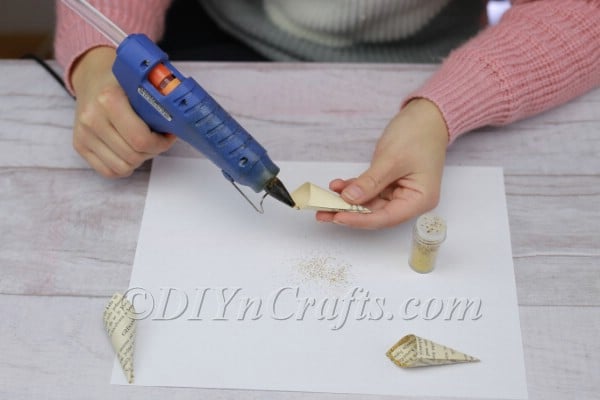
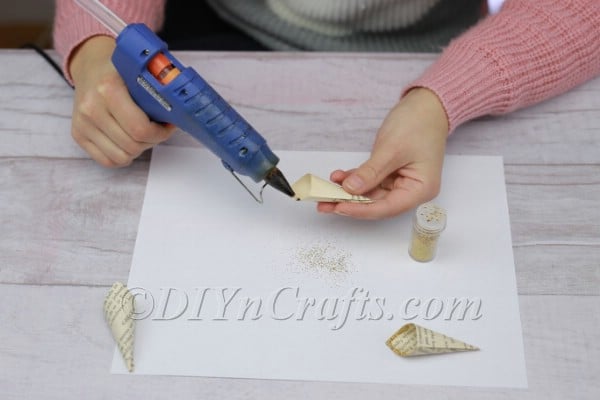
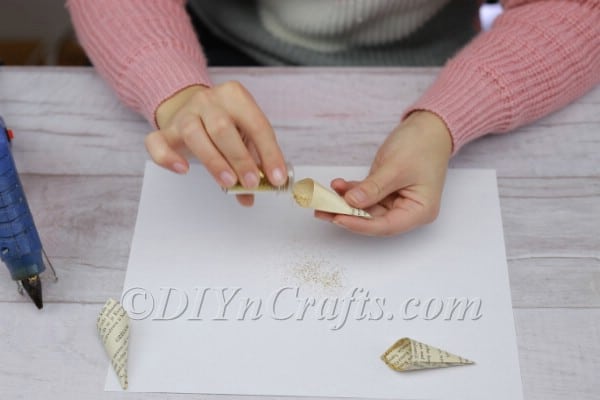
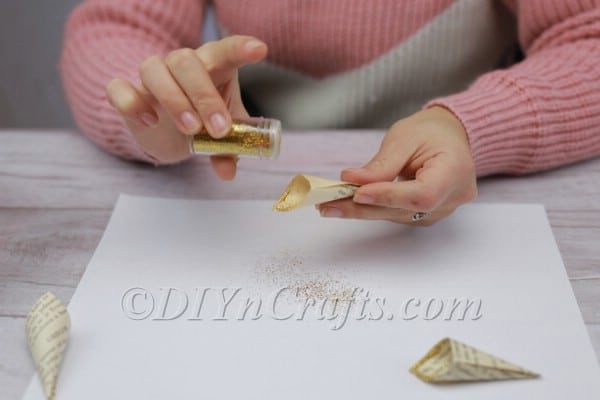
- Once we have created all of the cones we will need to create our flower, we are going to embellish them with glitter.Apply hot glue in a line around the inner edge of each cone, and then immediately sprinkle glitter on before the glue has a chance to dry.This should result in glittery borders on each of the petals.
When you have finished, here is what all of your cones/petals should look like.
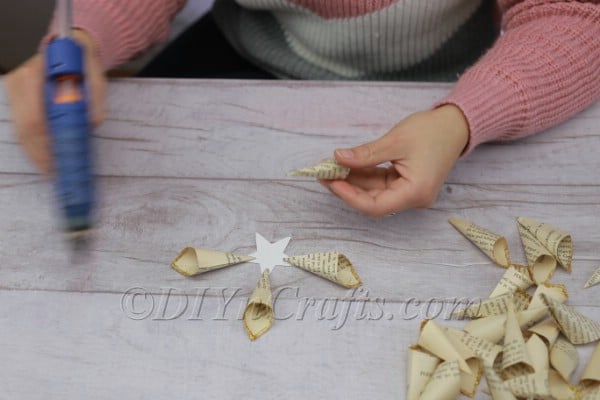
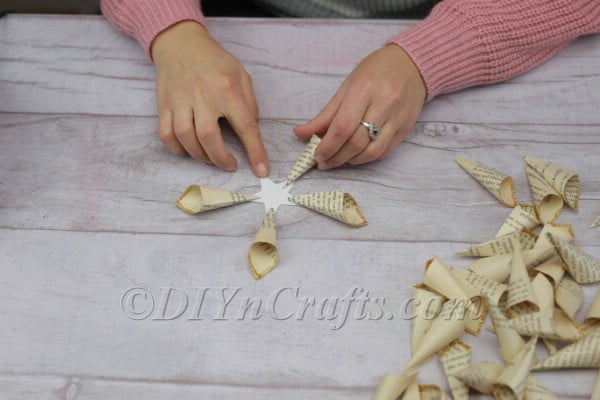
- Now comes the exciting part where you get to combine all of the flower petals to create a full blossom.Remember that star that you cut out at the start of the craft? It is time to grab that.This star is going to help guide you in your efforts to evenly place the petals. Get your hot glue gun and attach one of the petals to each of the points of the star.
- Once you have those first five petals in place, you can start placing the other petals in between them to fill out the flower. You should end up with a pentagonal blossom.
- After you have finished filling out the first layer of the flower, you can create a second layer of petals above that one.
It should now look like this:
- You now can make the centerpiece for the flower. To do this, cut out a small circle of cardboard measured to fit. Then, paste a circle of book page to the top of it so that it blends in with the rest of the flower.
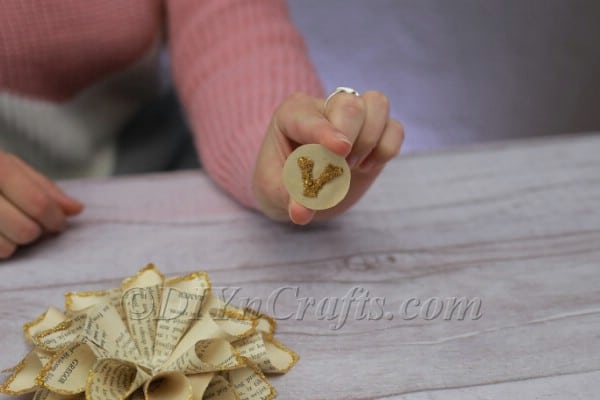
- Draw or write whatever you want in the middle of the centerpiece (this is optional). I wrote the letter “V.” If you make a whole bunch of these, each with a different letter, you could spell out a word, i.e. “Valentine.”
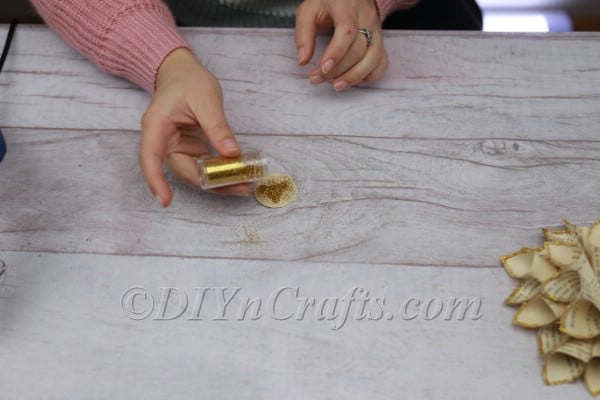
- After you have written or drawn what you want in the center of the circle, you can apply some hot glue, and then pour on some glitter.
- You can now mount the centerpiece with glue, completing your flower decoration.
There are many ways you can display your flower ornament. In these photos, I have elected to put it in a container with some greenery.
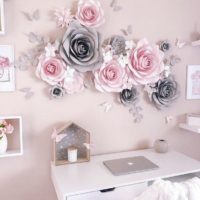
- Another idea would be to attach a series of these to a wall to spell out a word.
Notes
You can use any color of glitter you like. I went with gold because it blends in with the old pages and has a very subtle effect. While it had some sparkle, it does not remove from the understated elegance of the craft. You could try different colors for different effects.
Recommended Products
My favorite Etsy paper flowers. (Affiliate links)
Video Tutorial:
Enjoy Your Everlasting Paper Flower
Now you have a beautiful paper flower ornament which is perfect for any purpose! You could create these as DIY wall décor, you could place just one in a vase or flowerpot, or you could make a whole bouquet of them.
Keep them for yourself, or give them to loved ones or friends. They even could make good presents toppers.
Whatever you decide to do with them, they will bring beauty and joy to all who see them. If you enjoyed this craft, make sure you take a look at some of my other recent video tutorials.




 When you have finished, here is what all of your cones/petals should look like.
 It should now look like this:


 There are many ways you can display your flower ornament. In these photos, I have elected to put it in a container with some greenery.



Anonymous
Nice- Good Job
I Like
JasoN
This is cute. I will make one this valentine. You post is well detailed. Great article
Maria Isabel
Preciosa como quedan las flores, Gracias!!!!