

Starting seeds indoors is a great way to improve the yield, health, and success of a garden. Not only will you wind up with a larger variety of plants, but you’ll also have better control of how your plant is grown from seed to harvest You can save a ton of money, too. After all, a packet of a hundred seeds, on average, can cost just a few dollars, while a six-pack of seedlings will often run you twice that amount.
 That’s not to say that seed starting is necessarily easy, though. There are several pitfalls that you can encounter on your journey, particularly if you are new to the chore. That's why we are sharing some of the most common seed-starting mistakes people make, and just how you can avoid them for a better harvest.
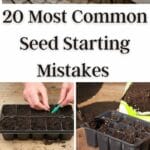
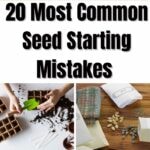
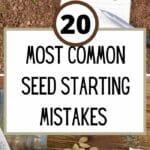
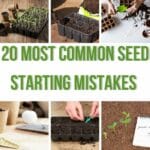
20 Most Common Seed Starting Mistakes
When starting seeds indoors, you may have struggled with things in the past, but this year, you will learn from others' mistakes so you don't make the same. There are several great plants to start as indoor seedlings. Make the most of them this year by using these hacks for success.
1. Starting Too Many Seeds
It’s very easy to get carried away with how many seeds you decide to start.
After all, those glossy seed catalogs are so inviting, with all their colorful pictures of the amazing varieties of plants out there. Before you know it, you’ve ordered fifteen types of tomatoes, seven types of lettuce, and a bunch of plants that you’ve never even eaten before!
Although it’s an admirable goal to want to grow enough food to feed your entire family, unfortunately, you’re not going to be able to do everything at once. You need to start small and practice some restraint.
Start small and have a list of what you want to grow and how much - and make sure you stick to that list once you start shopping! You may also benefit from these tips for preventing leggy seedlings.
2. Keeping Things Too Cold
Make sure your germination station is as warm as possible - seeds need temperatures of around 70 to 80 degrees to germinate. You need to make sure your soil is favorable to support these temperatures and aid in the growth of your seedlings.
This is particularly important for warm-weather plants like tomatoes, eggplant, and peppers. Some herbs and cold crops, like lettuce, peas, and broccoli, might not require supplemental heat, but these other plants definitely do.
There are several ways you can provide supplemental heat. The best way is to use a heat mat, which will help the soil stay warm. You can even set these up on timers so you don’t necessarily need to be home to control your heat.
Too much heat can be detrimental, too, though - so make sure your soil temperatures are warmer than 95 degrees. This can sterilize your seeds and nothing will grow. Temperature is one of the main reasons seeds don't germinate.
No heat mat? No problem. Your seeds just may take a bit longer to germinate. You can use warm water when you water the soil or place your seeds in a warm location, like on top of a refrigerator, to hasten their germination, too.
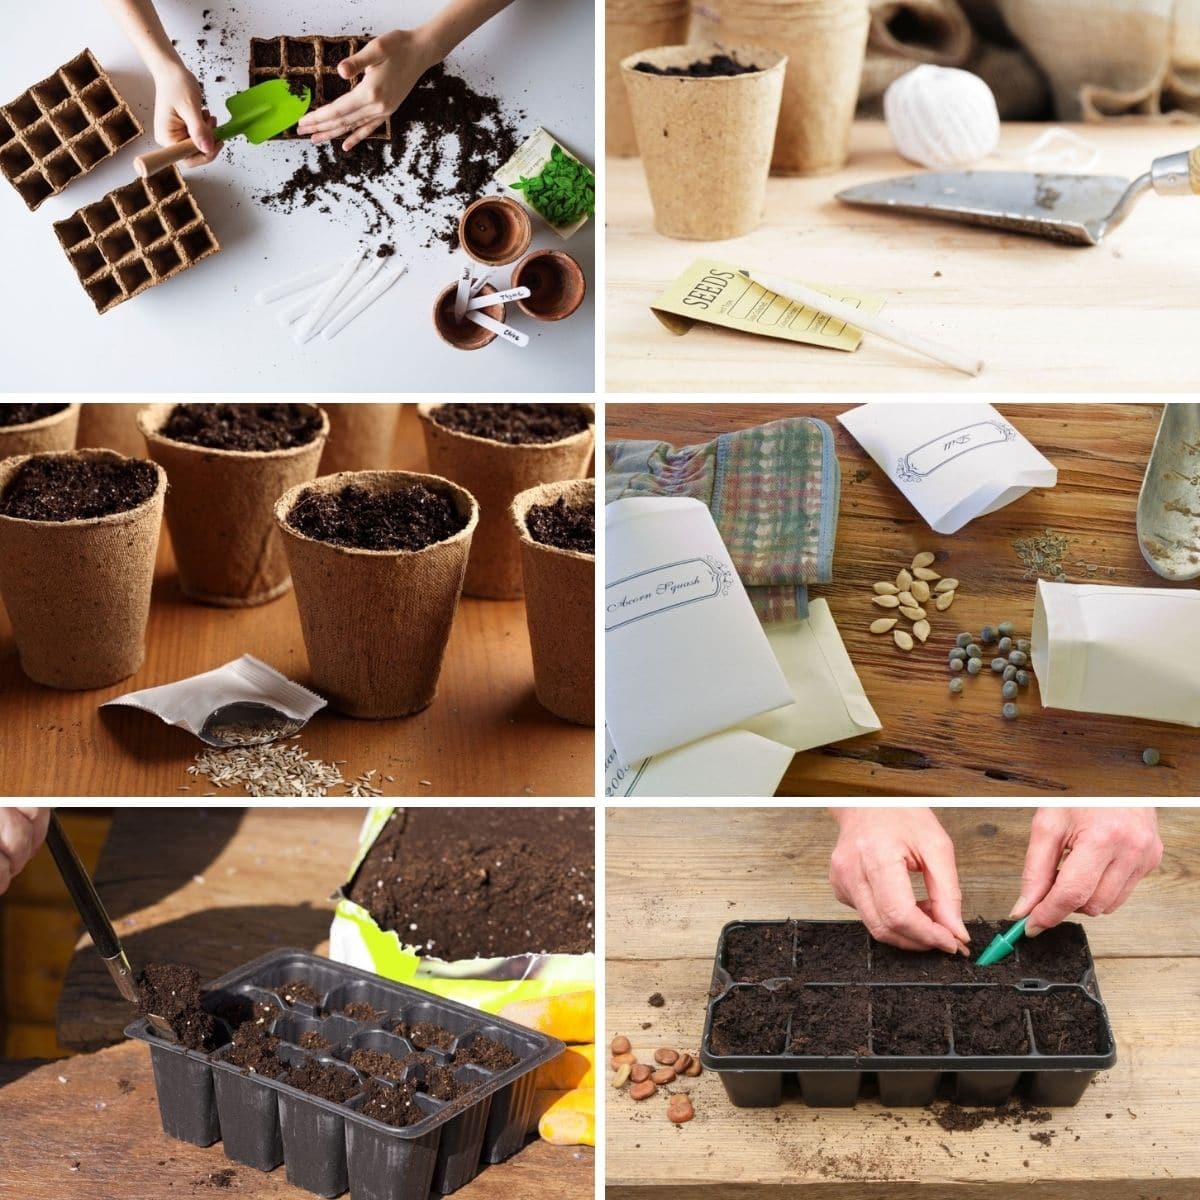
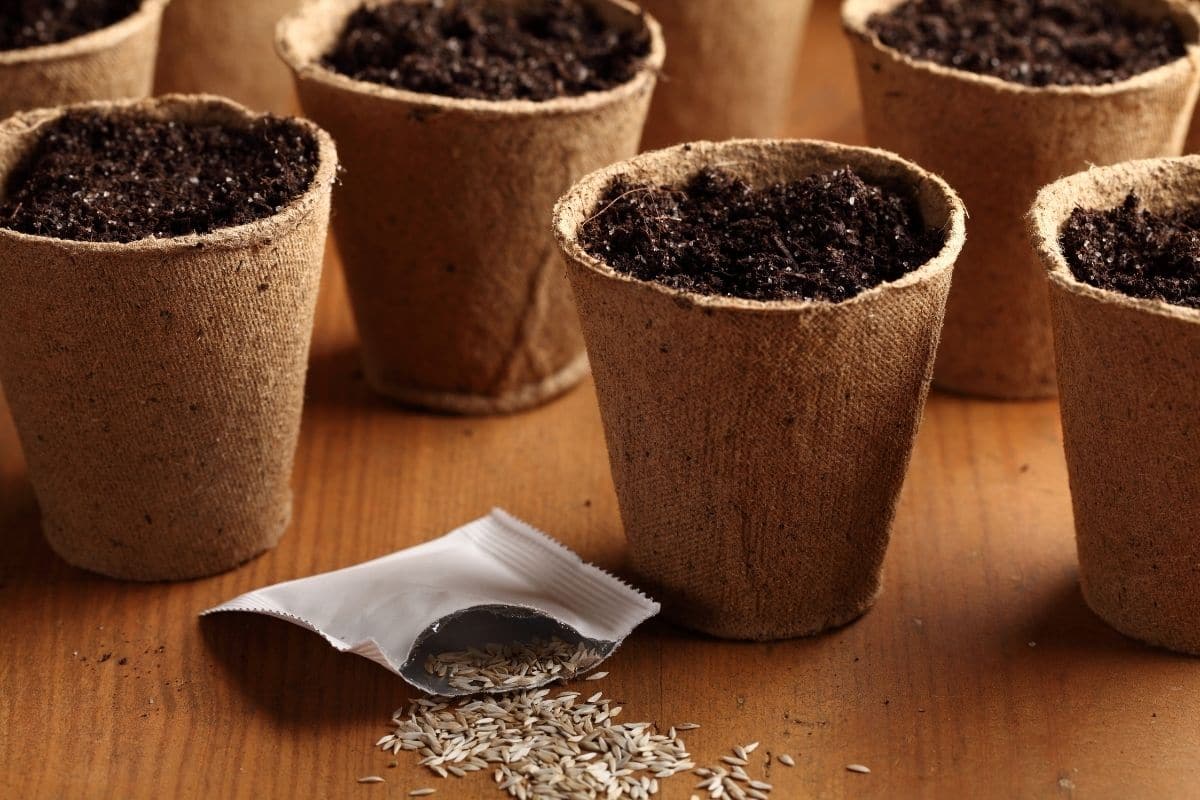
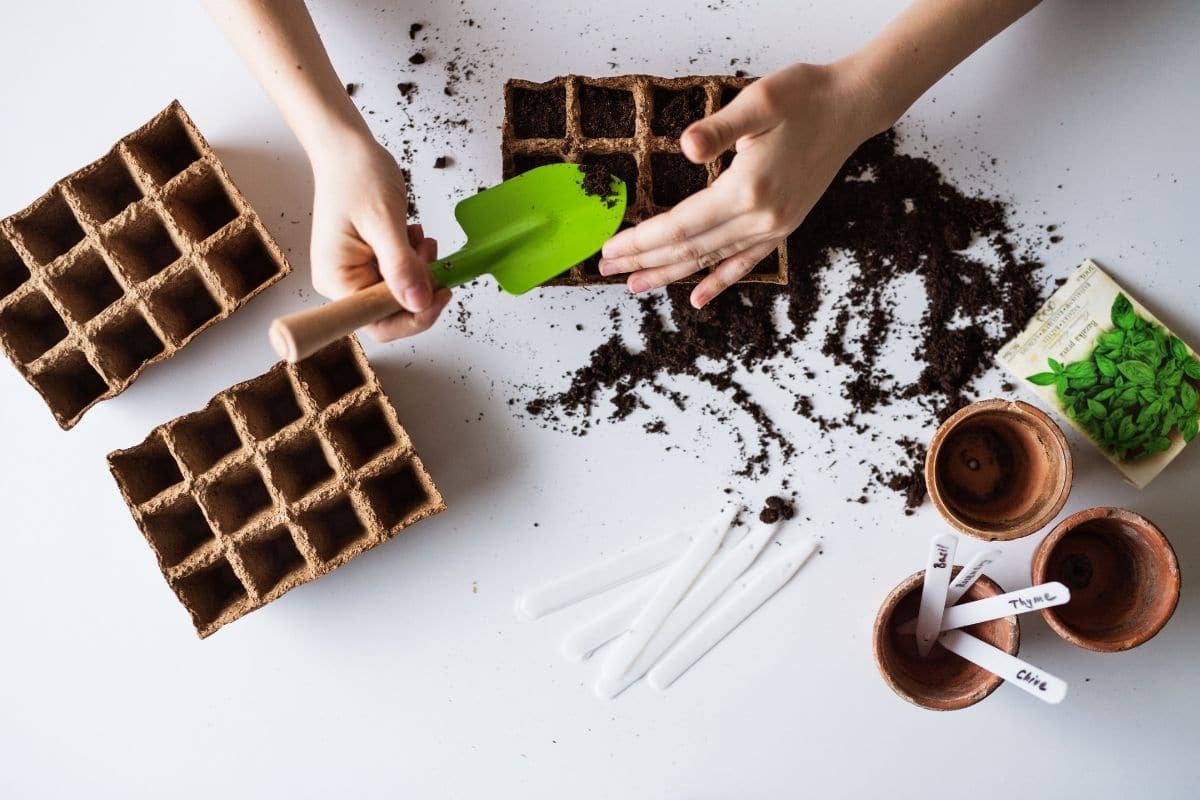
3. Using Any Old Potting Medium
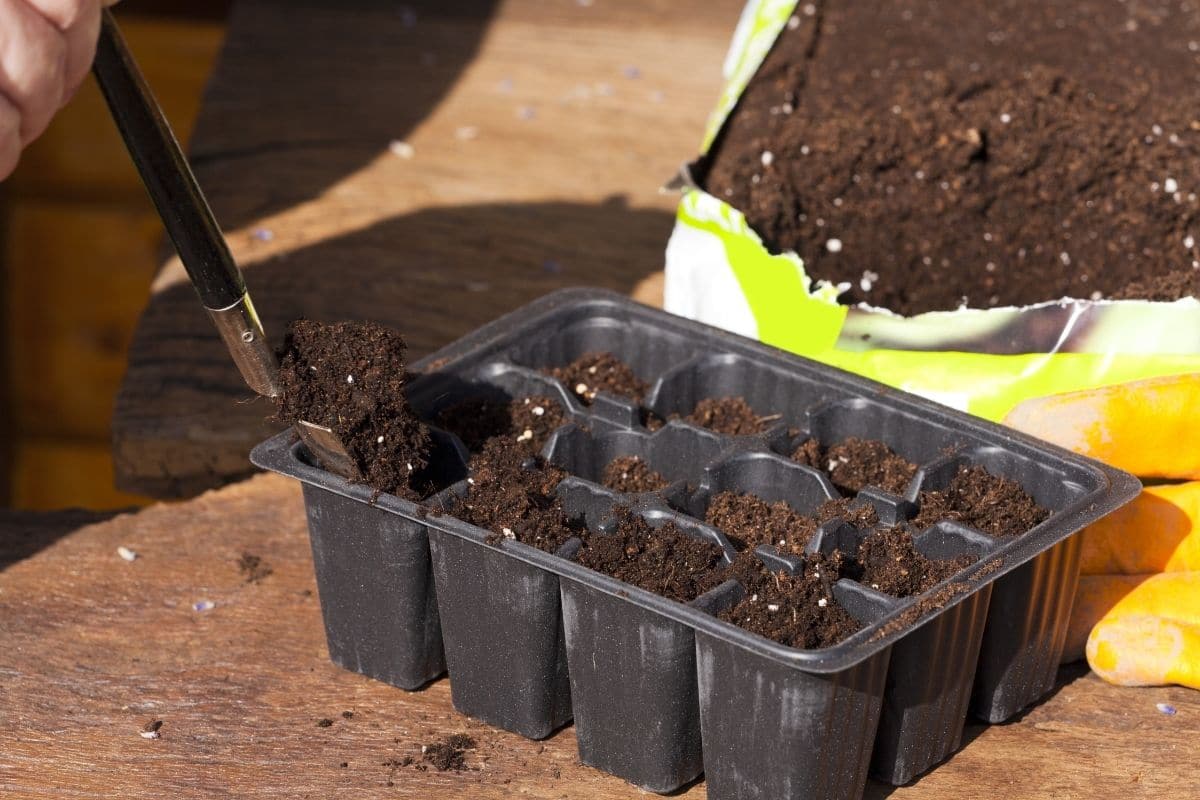
Don’t use soil from the ground outside to start your seeds! You need to use fresh soil to start your seeds, and not just any old potting soil will work, either.
You need soil that is specifically designed for seed starting. This will offer the appropriate nutrients and drainage abilities that are necessary for developing seedlings. Your seeds need these conditions to germinate. Soil from the garden can contaminate your seeds with diseases, insects, and other pathogens, too.
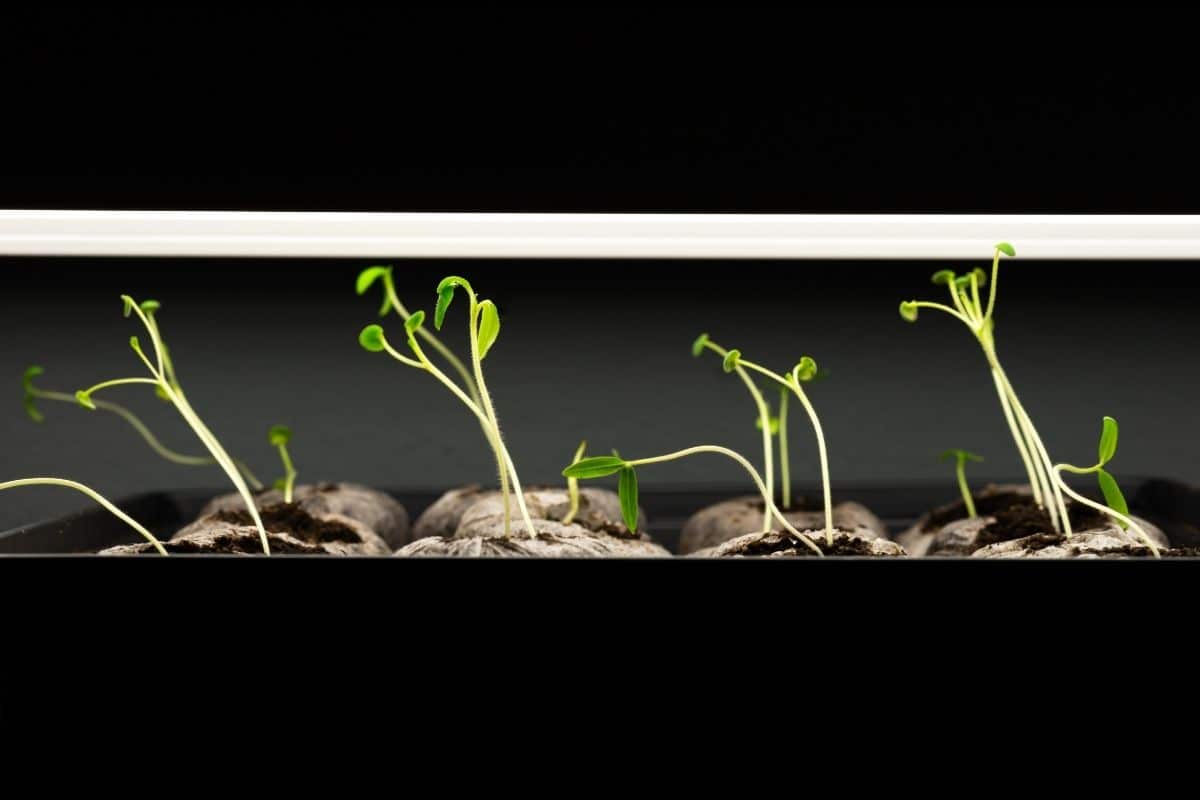
4. Not Providing Enough Light
Plants need light - and while most seeds germinate without the help of supplemental light, they’re going to need light once their green tops begin to poke out above the soil line.
Now, you can place your seeds in a sunny windowsill and hope that will be enough to do the trick. Unfortunately, what happens when you do this is that these seedlings will often stretch toward the window as they try to access more light. This can cause your seedlings’ stems to become weak and “leggy.”
At least 12 hours of light is necessary - but ideally, 14. Don’t give more than 16 hours of light, though, as plants do need some dark time, too. Use a timer and a set of grow lights, which is one of the easiest ways to give your plants the light that they need.
5. Not Providing Adequate Amounts of Water
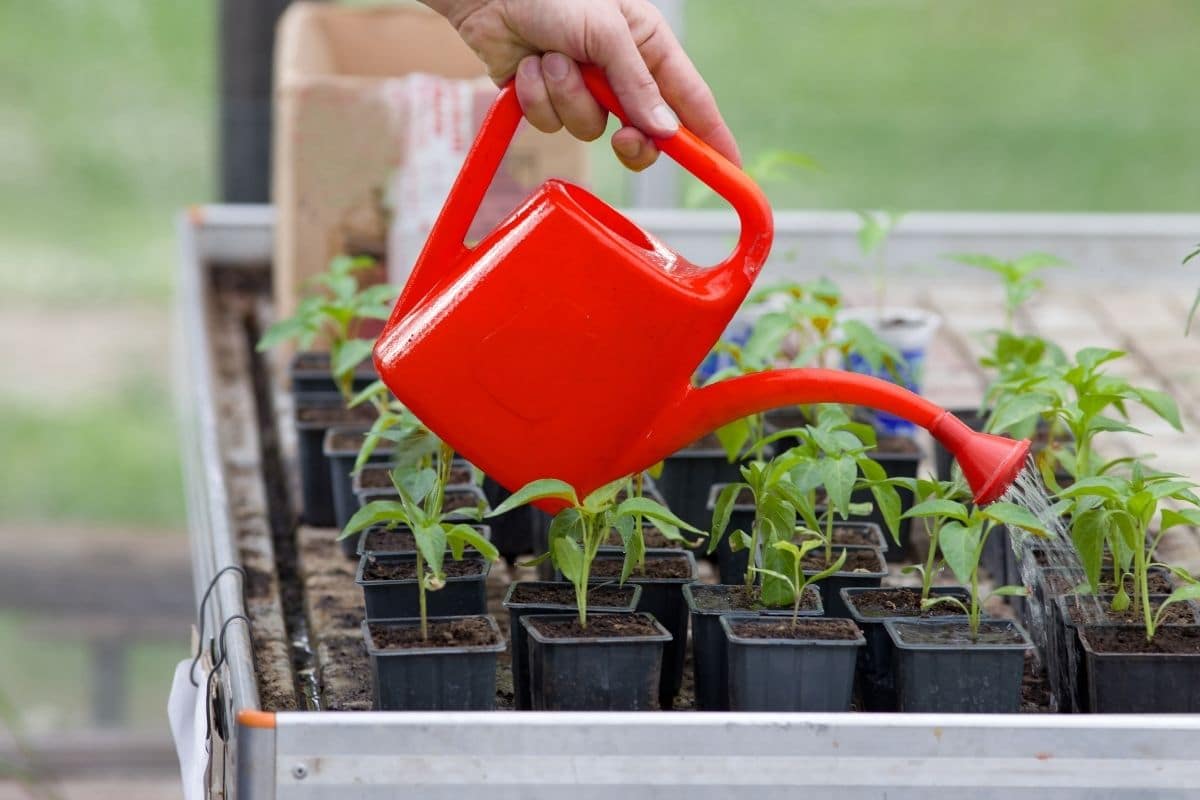
There is such a thing as both too little and too much water when it comes to caring for your seedlings. Watering too much is a more common culprit for early seedling or seed death than is watering too little.
Too much water presents several problems, including damping-off disease, which can cause your plants to die suddenly, and fungal rot.
Keep your soil adequately moist and try to stick to a schedule. Let the soil mix become slightly dry before you water. When you are watering, watch for the water to start to drip out from beneath the seed tray. You’ll know the water has permeated all the way through.
6. Starting Seeds Too Early
Again, it’s easy to get caught up with the excitement of growing your own garden. While it’s perfectly fine - and even recommended! - to start planning your garden in the middle of the winter, don’t start your seeds in December.
You'll want to pay close attention to the conditions preferred by each individual plant. Take note of when each plant needs to be started based on the projected last frost date. Although some plants can go outside earlier - like broccoli and cabbage - others, like tomatoes and eggplant, are going to need to wait before they can go outside.
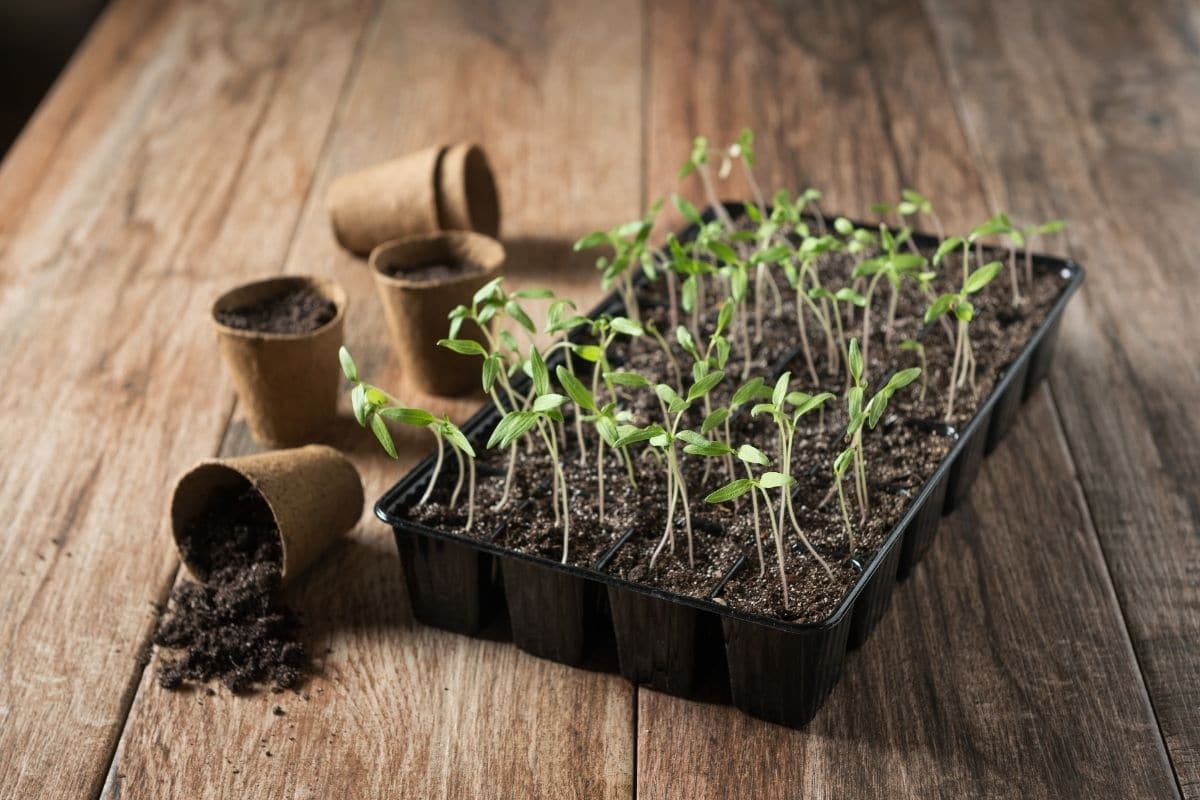
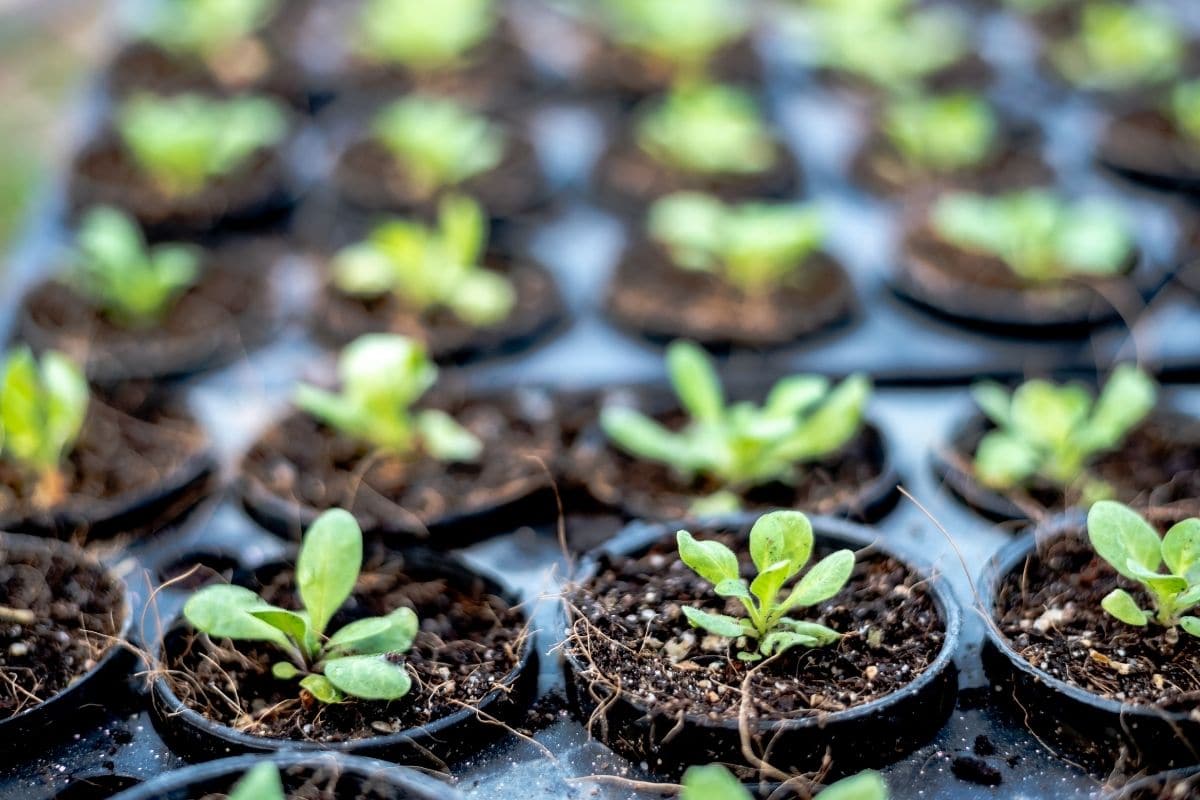
7. Failing to Thin Your Seedlings
Yes, it can be tough to kill off those seedlings you worked so hard to germinate! However, you don’t want a ton of seedlings in one tray, as it can make it more difficult for your plants to survive and grow in a healthy way. They will eventually start to compete for water, nutrients, and air, and will become root bound with each other - meaning you’ll really have your work cut out for you when it comes time to transplant!
Only allow one seedling per cell. You can do this by selecting the strongest plant and then cutting the weaker seedling off at the soil line. Don’t pull it, as it can kill the rest of the plant. This is so vital and one of the biggest mistakes people make right along with not hardening off seedlings before planting.
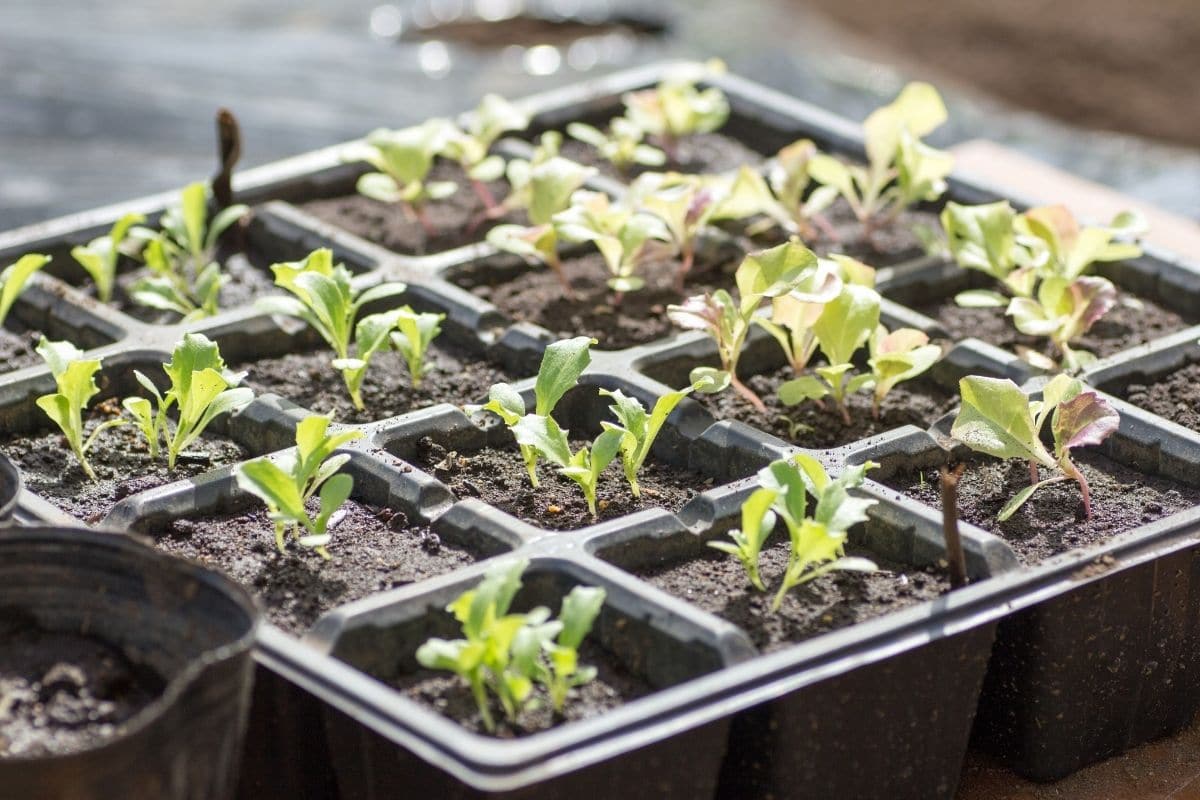
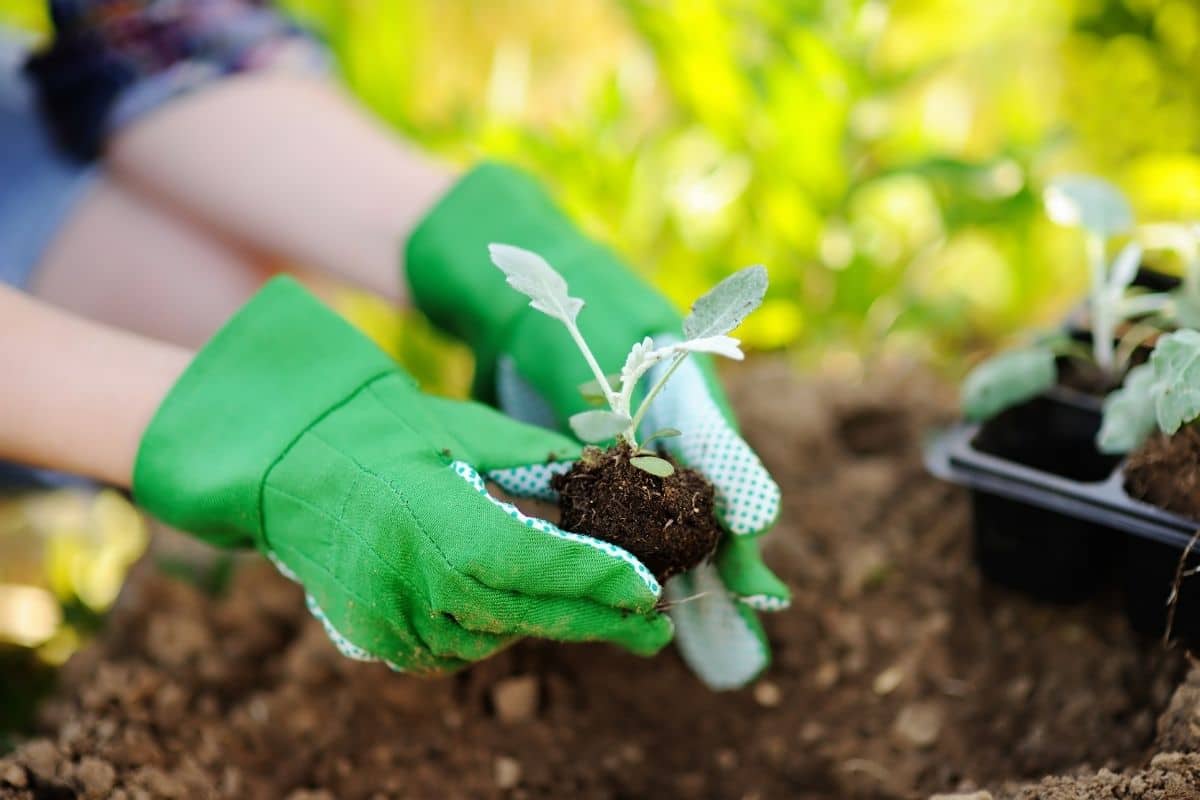
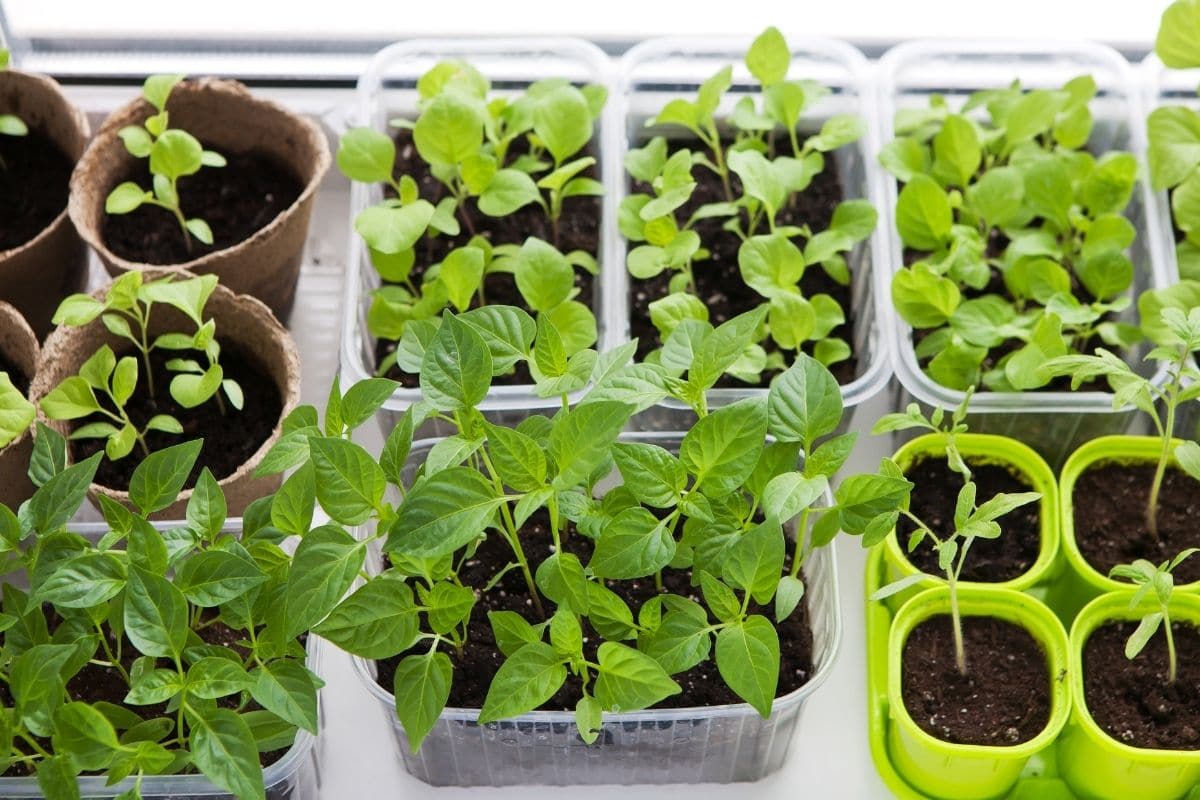
8. Not Repotting Your Seedlings
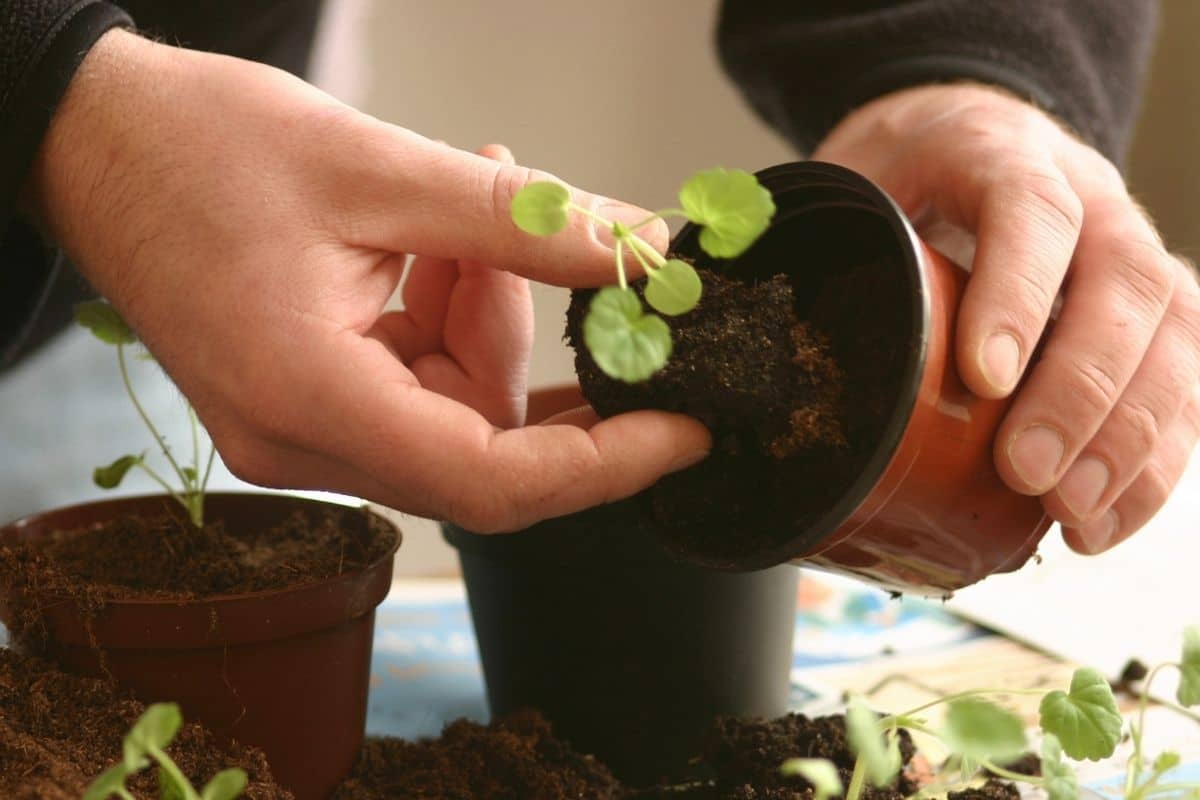
Don’t leave your seedlings to their own devices! They will become rootbound. Instead, you need to report them once they sprout. Give each seedling its own cell, ideally repotting it into a container that is two to three items the original size.
9. Not Bothering to Fix Leggy Seedlings

So your seedlings get leggy and you think, “oh well - better luck next year!” and give up on your trays altogether.
It doesn't have to be that way. If you notice your seedlings looking a bit rough, all you need to do is repot them. You can just repot them in soil, burying them up to the first true set of leaves. This will help them re-establish their roots.
10. Failing to Harden Off Your Seedlings
You’ve spent so much time caring for and nurturing your fragile seedlings - it’s only understandable that you’re chomping at the bit to get them outside! However, try not to make the mistake of moving your seedlings as soon as the weather warms.
You need to harden them off over time. This will help your plants develop the defenses they need to weather everything the great outdoors may throw at them, from wind to water and intense sunlight.
Begin the process slowly, taking up too two weeks to fully harden off your plants. Put them outside for just an hour at first, then bring them back inside. Add an hour each day until, eventually, your plants can spend the entire day outside.
11. Starting Seeds Too Late
We already mentioned how detrimental it can be to start seeds too early - but it’s equally damning if you start them too late. You need to pay close attention to the recommendations of your USDA gardening zone so that you don’t end up transplanting seedlings into the garden in July. In most places, you just don’t have enough time in the growing season to do so.
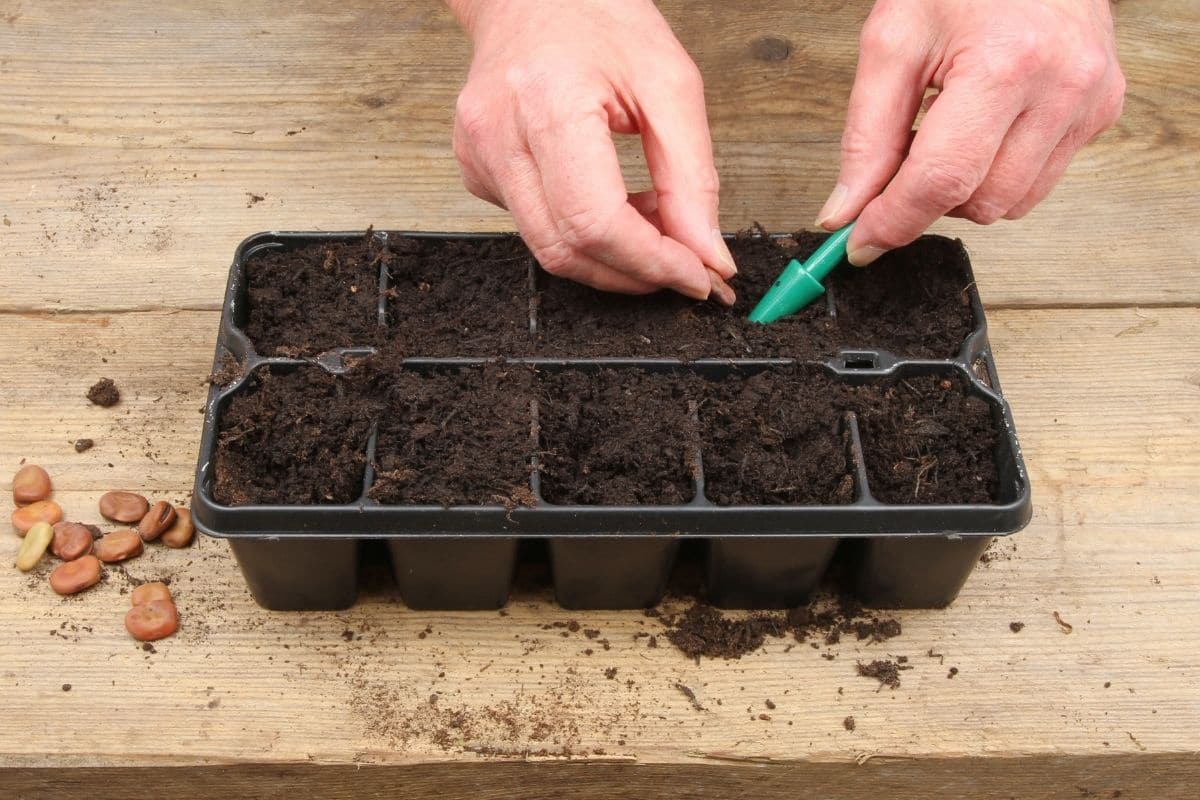
12. Planting Too Deep...or Not Deep Enough
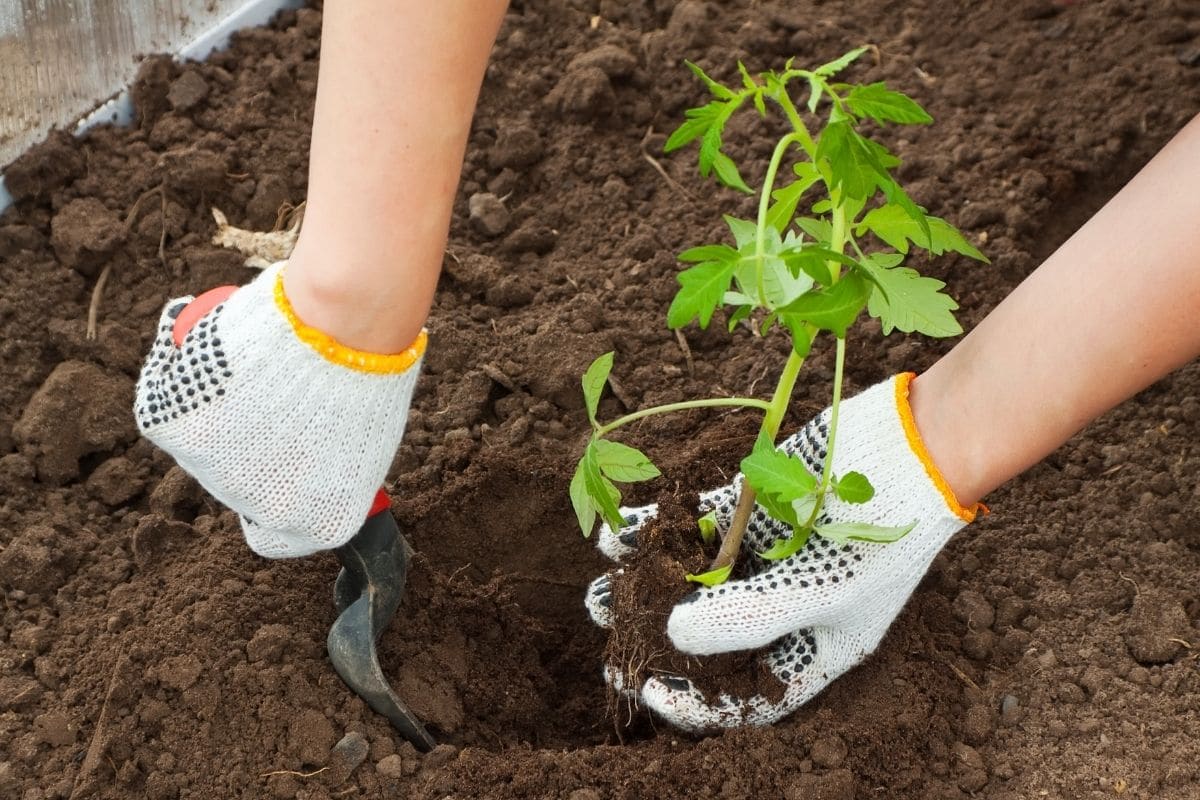
Read the seed packet carefully before you plant - it will tell you everything you need to know to start your seeds. One of the most important pieces of information is how deep you should sow your seeds.
A general rule of thumb you can follow is to plant your seed about two times as deep as the size of the seed. Seeds that are large will need to be planted deep, while seeds that are small, like carrots, should be planted shallowly.
Planting too deeply will prevent your seeds from accessing the light, water, and nutrients they need. Planting too shallowly, though, can cause your plants to develop poor roots or to fail to germinate at all.
If you are going the inexpensive route, you'll also want to check out these great items to upcycle for planting seedlings. Tons of ideas that make it easy to customize the depth of planting needed.
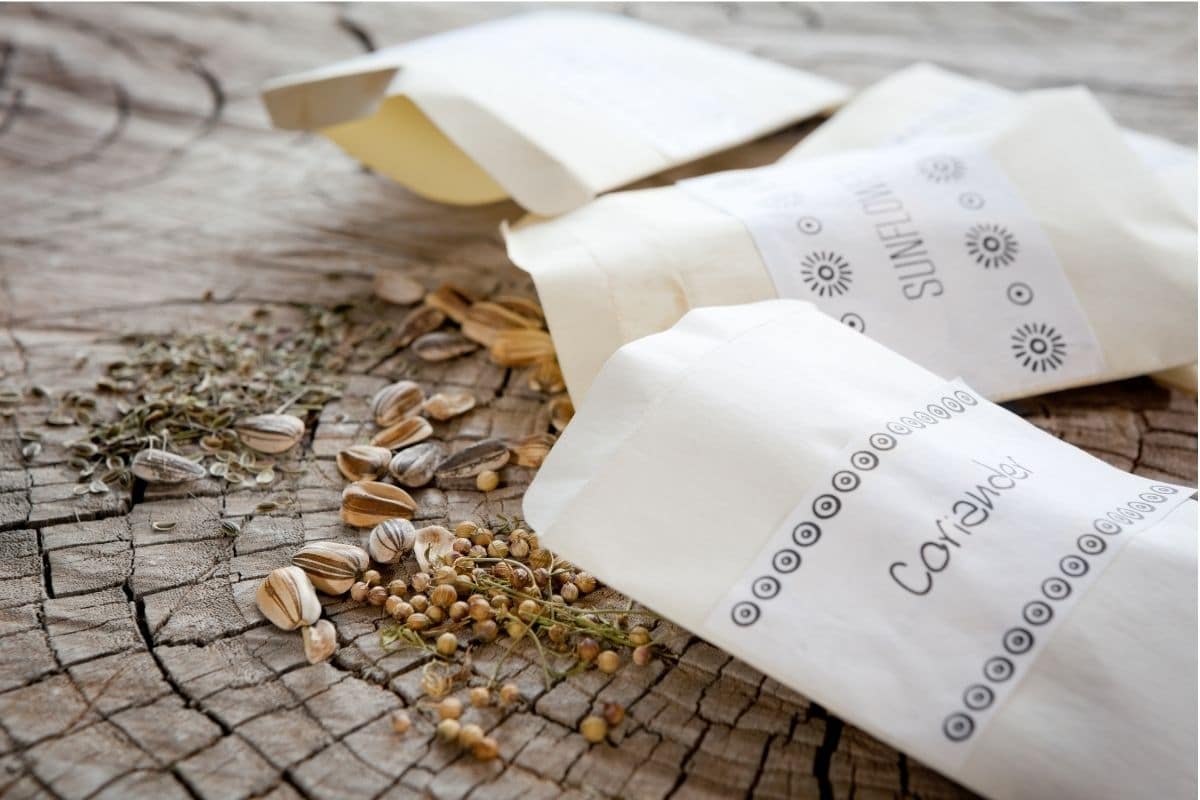
13. Not Reading Seed Packages
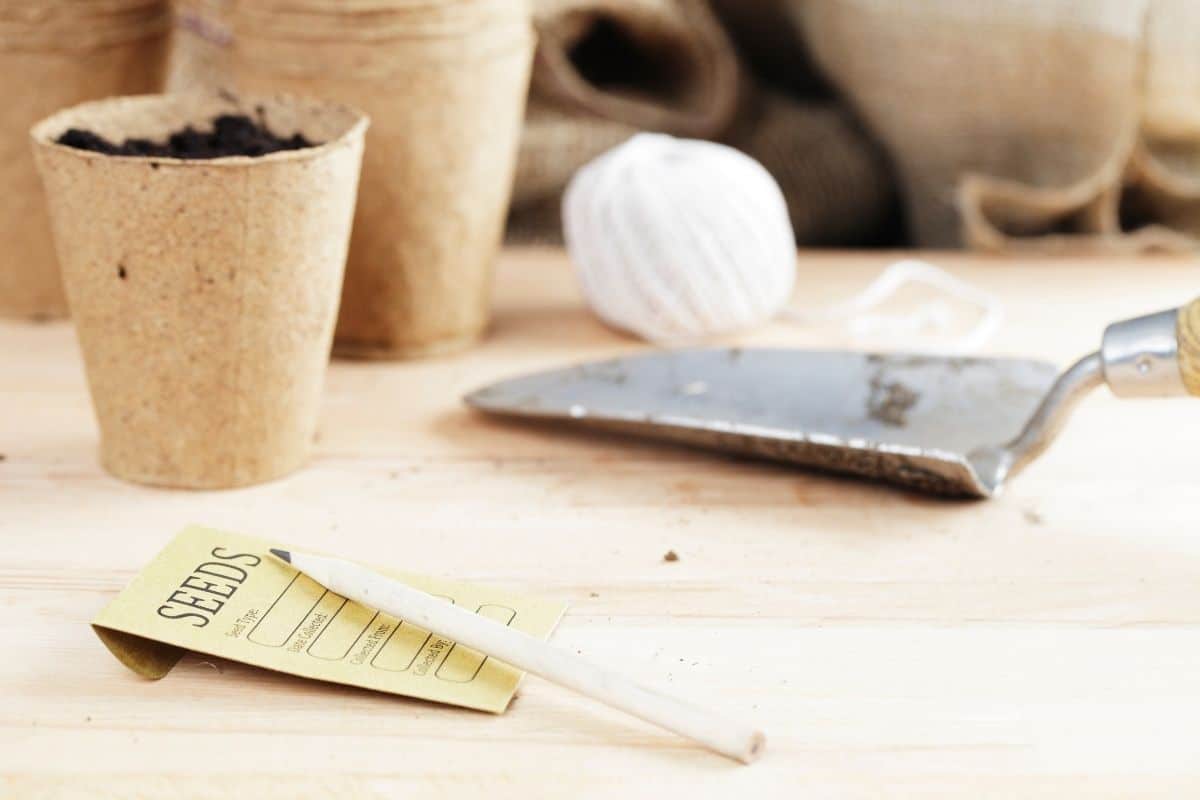
Before you plant a single seed, make sure you take the time to read the instructions on the seed package. It will tell you how deep to sow, the ideal spacing, the germination rate and time, and more. Even if you’ve grown this type of plant before, know that there can be variations between seed companies and cultivars.
14. Incorrect Fertilization
When your seeds first sprout, they don’t need fertilizer at all. Not only does the seed have everything the seedling needs for the first few weeks of light, but if seedlings are fertilized too early, it could kill them. Plus, the seed starting soil mixture you are using probably has all the nutrients your plants need, too.
After A few weeks, though, you will need to fertilize. Use a natural, mild fertilizer after the first few sets of true leaves appear.
15. Not Labeling Your Trays
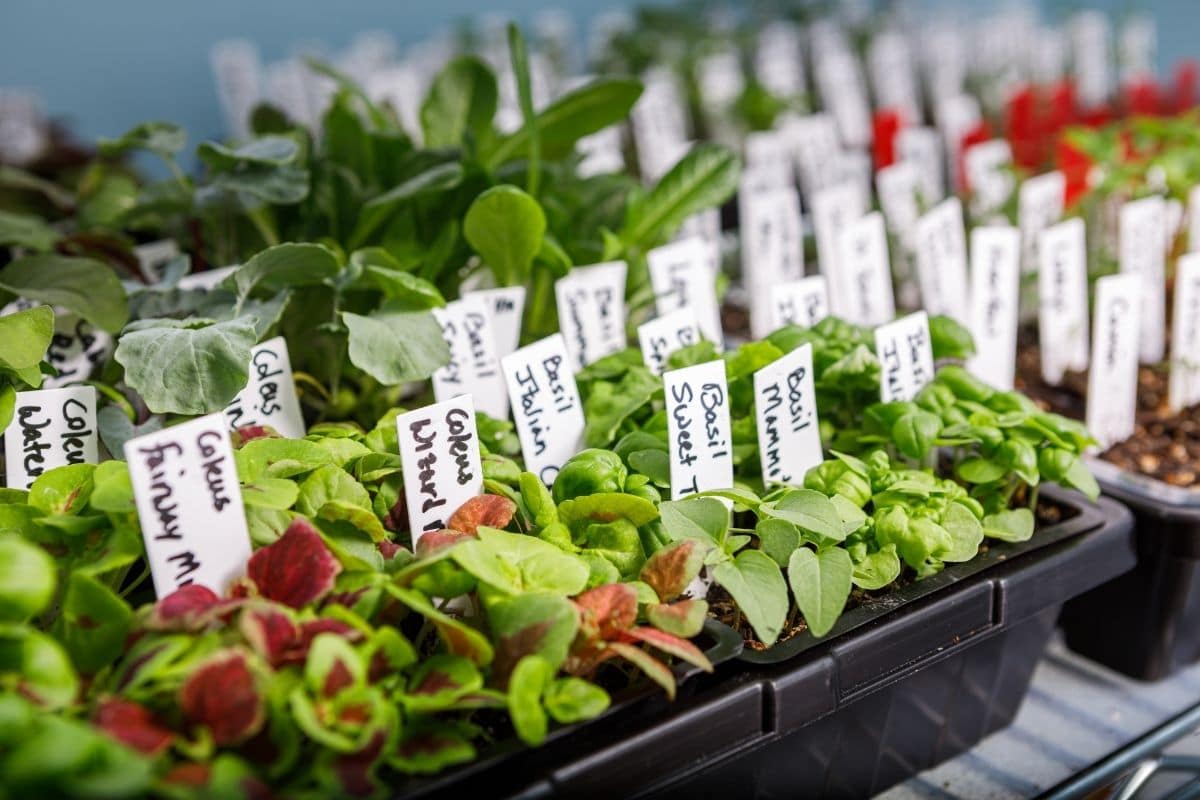
Make sure you label your trays when you plant. Sure, you might think you’ll remember the difference between all your plants now - but once they all start germinating, you’re going to have a hard time remembering which seed is which.
16. Starting All Your Seeds Indoors
There are some seeds that really don’t need to be started indoors. For example, some plants have fragile roots that don’t withstand transplanting very well.
These include things like cucumbers, squashes, and pumpkins. Most root vegetables should not be started from seed, either (like carrots and parsnips). Sow these directly in the garden. In most places, the growing season is plenty long enough where you should be able to get in a decent crop.
17. Putting Your Lights at the Wrong Height
If you’re using supplemental lights to nourish your plants with the sunlight they need, that's awesome - it’s a great first step! However, you also need to make sure your plants are spaced appropriately from the lights. If you use LED lights, they won’t get very hot. That means you're good to go, even if the plants touch the bulbs every now and then as they grow.
However, some grow lights emit more heat and are hot to the touch. Your plants will burn as they grow into the bulbs. Make sure you can easily adjust your lights, if necessary, as your plants grow.
18. Not Keeping Good Records
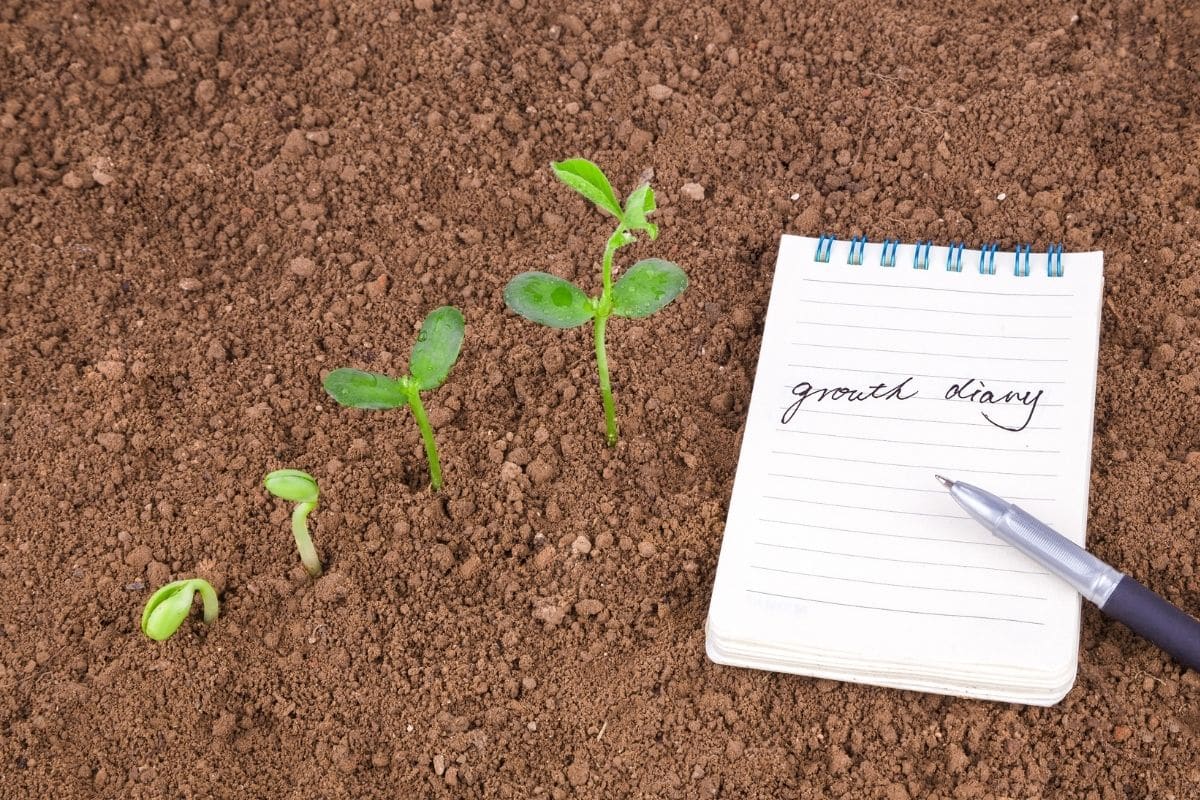
Gardening is all about trial and error. Over time, you’ll learn what works best for you. The best way to keep track of your mistakes and things you want to do differently for next year is to keep detailed notes. Then, each seed starting season, you can use your notes to guide you on what to start, when, and how.
19. Planting Old Seeds
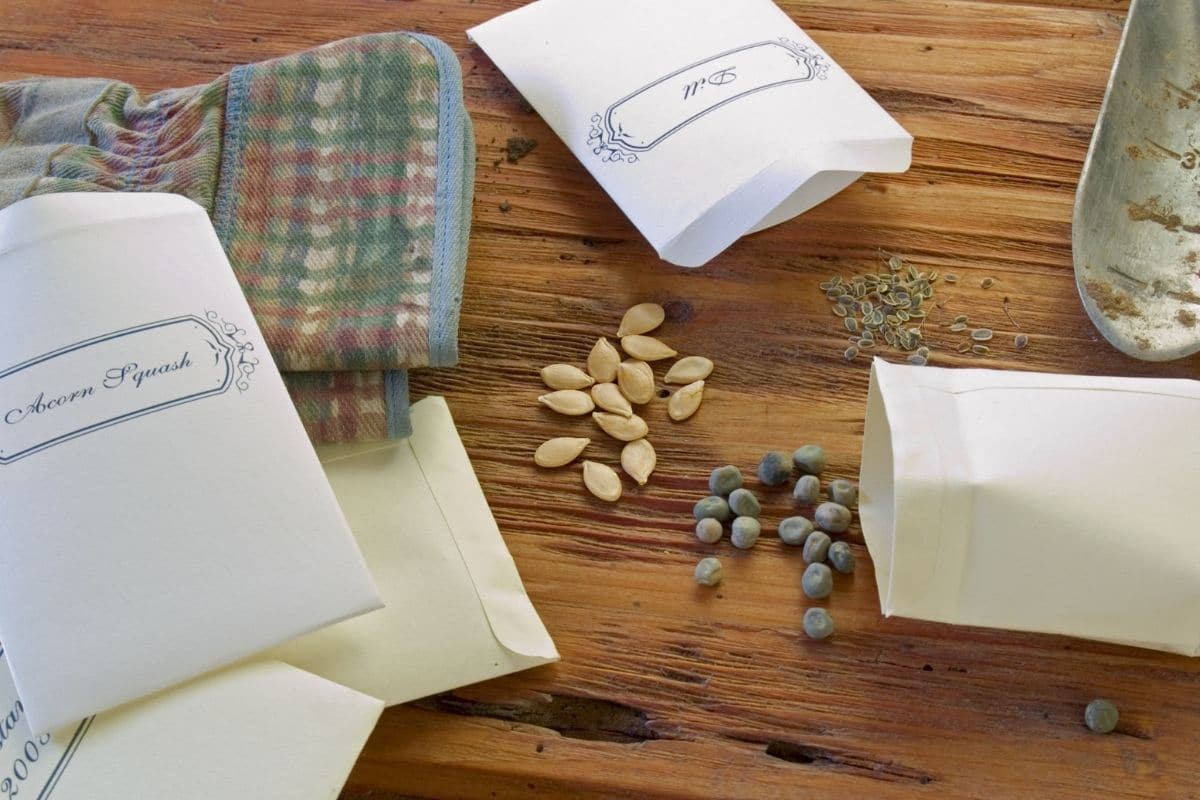
Check the dates on your seed packages. Old seeds will germinate at lower rates and may have less vitality and strength as your plants grow. You can usually save seeds for one or two growing seasons, but beyond that, you may want to discard them.
20. Giving Up Too Early
If your first year of starting your own seeds doesn’t go as planned, don’t give up! As mentioned earlier, just keep good notes and try again next year. Gardening isn’t always easy, but it’s always worth it.
Avoid these common seed starting mistakes - or at least learn from your mistakes if you make them! - and you’ll be on the road to gardening glory.


Leave a Reply