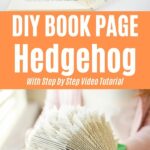

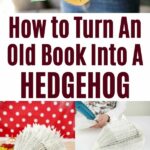


This absolutely precious little old book hedgehog craft is so fun to make! Why decorate with a hedgehog, you ask? Because it's so fun and cute! This project is all about folding paper into a shape that looks like a hedgehog. With a few simple accent pieces, an ordinary book suddenly turns into a cute little woodland creature you will love.

Jump to:
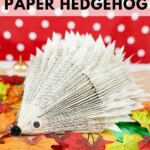
Old Book Hedgehog Craft
We have quite a little menagerie of animals around our home. While we have two indoor cats, we also have squirrels, bunnies, birds, and a few groundhogs around the outside of our home that we feed routinely. In the past, I even had a wild hedgehog that would roam around our neighborhood. They are absolutely adorable little creatures, so a perfect little craft to add to my list of animals and creatures to recreate in paper.
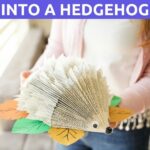
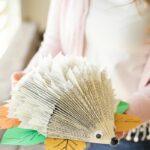
This is just one of those super fun projects that makes you feel happy. While I will share a few ways you can display this below, I really do love it just because. Why wouldn't you want a little paper hedgehog hanging out on a shelf in your home?

Can I Make This Using Just Paper?
While you can create a similar project using just paper, it will be a bit more difficult to manage. The ease of this project is that the paper is already connected to one side. This makes it a simple process of folding pages rather than folding and then gluing them individually together.
Ultimately, the best way to use different types of paper to create your hedgehog is to connect your chosen paper to one side. Stacking the pages together, then hot gluing on one edge and letting it sit until hardened, is one method that could work for this hedgehog craft.

What Ways Can I Decorate My Paper Hedgehog?
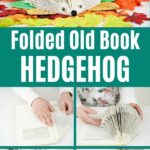
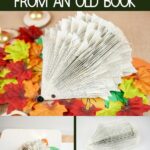
I love taking simple books and turning them into something rustic and unique. For this craft, I kept things pretty simple overall. I added a few paper leaves on the bottom, but there are other ways to have fun with the hedgehog and create a new look. As with all of my projects here, I highly encourage using your imagination to get creative with different styles, accents, and embellishments. Below are a few fun ways to make yours look unique.
- Use different colors of paper for the hedgehog spikes you glue in after creating the creature.
- Paint stripes onto the book pages to look more like a regular hedgehog.
- Add glue along the edges of the folds and then sprinkle on glitter for sparkle.
- Attach a length of twine or ribbon to the top and hang the hedgehog from the ceiling.

How Can I Display This Hedgehog Craft?
You may be a bit curious about how to use this. What purpose does a book turned into a little creature serve? Well, not only does it bring a smile because it is cute, it can be a great decoration for a few different things.
I love the idea of adding this to a shelf in a baby nursery or child's room that is decorated with a woodland creature. It really fits that theme and looks adorable on a shelf.
Another way to use this would be as a centerpiece for a baby shower or kids' birthday party that has an animal theme. Imagine poking a sign down into the center of the hedgehog to stand above with a name, birthday greeting, or monogram! How adorable would that be for a special baby shower decoration?
I personally added this to an upper shelf in my office on a bookcase. I love displaying my favorite books on shelves, and this went perfectly next to my collection of children's fairy tales and fiction. It just adds to the character of the bookcase and makes me smile every time I see it sitting there.

Supplies Needed
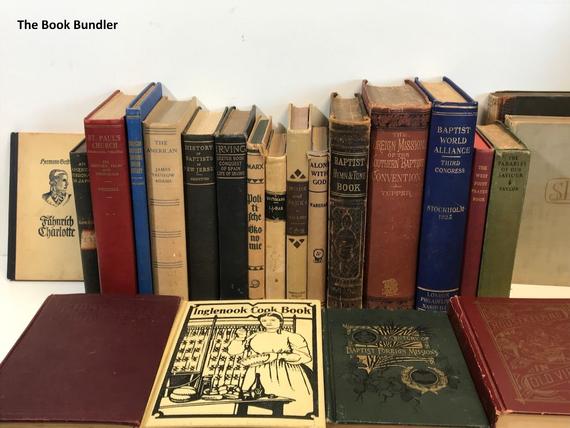
- Old book
- 2 shades of green paper
- Gold paper
- Orange paper
- Googly eyes
- Black pom pom
- Scissors
- Craft glue

How to Make an Old Book Page Hedgehog
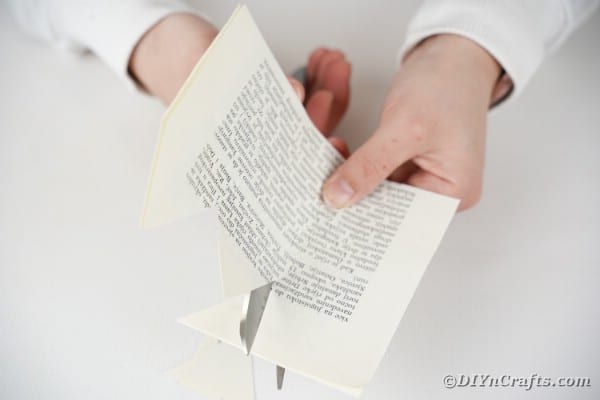
Remove the cover from an old book. Tear 4-5 pages from the book and set aside.
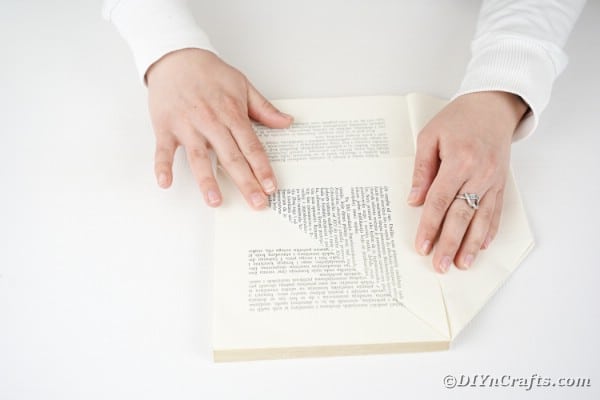
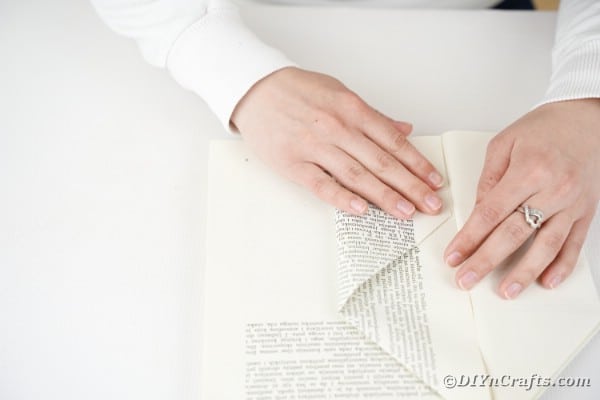
Fold the book page down and inward at an angle.

Now, fold the rest of the page over vertically inward.

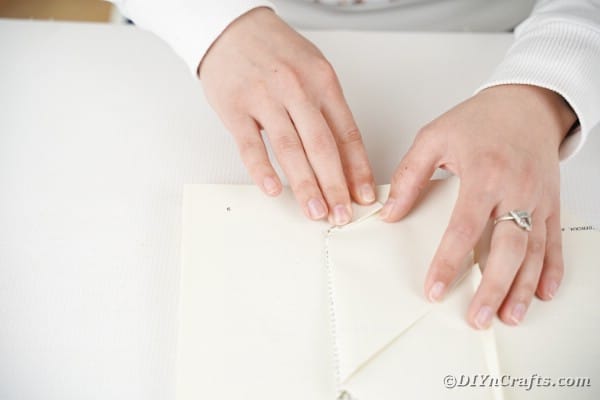
At the bottom edge of the page, fold a small corner down.

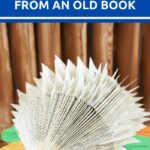
This will create one end longer and pointier than the other - the longer end will be the face end of the hedgehog.

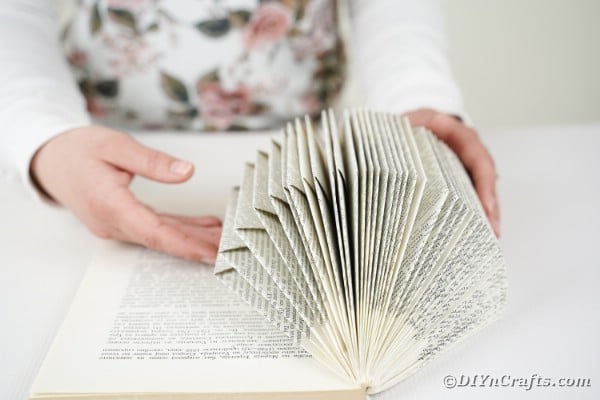
Continue this process until the book has completely been folded or you are happy with the size of the hedgehog.

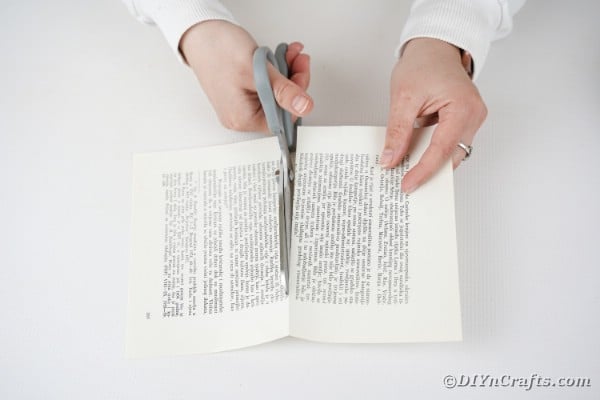
If you wish to use only part of the book, simply use a craft knife to trim off the back excess pages from the book.

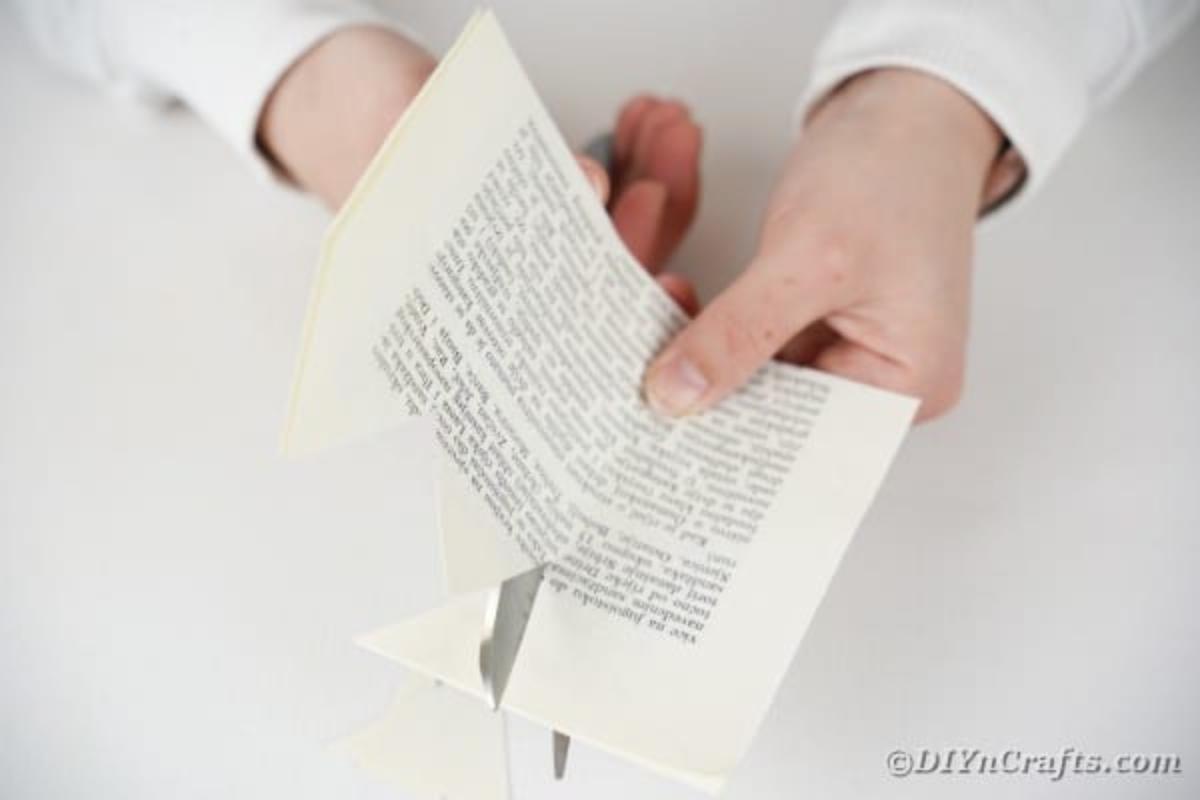
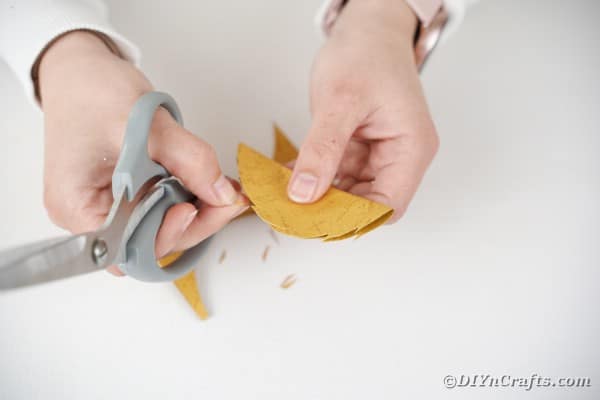
Next, take 4-5 book loose pages from a book or colored paper and fold them in half.

Unfold the pages and cut them in half.

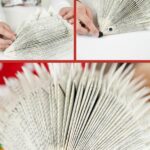
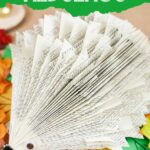
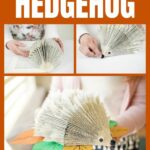
Now, stack the halves together and trim one end into spikes.
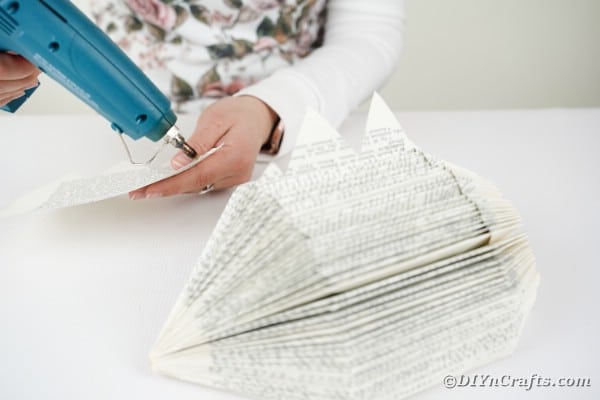
For every few folds of the hedgehog, glue a half page with spikes facing upward in between folds.

Do this as many times as you wish, but I suggest every 3-4 pages.

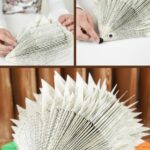
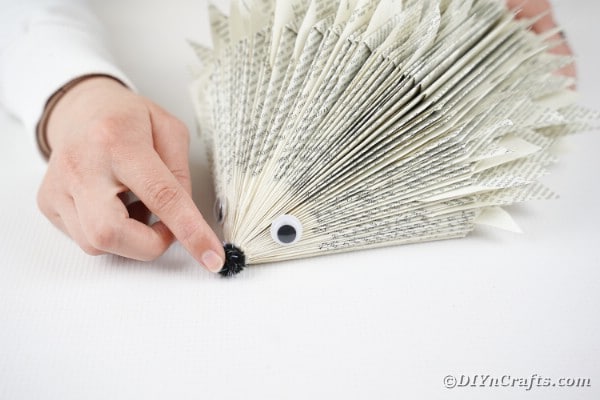
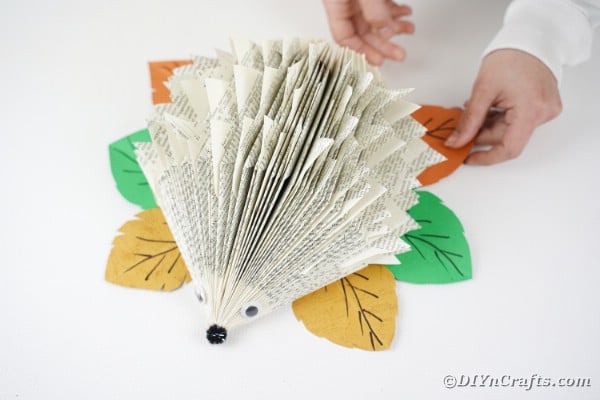
Now, you will attach eyes and a nose to the pointy end of the hedgehog.

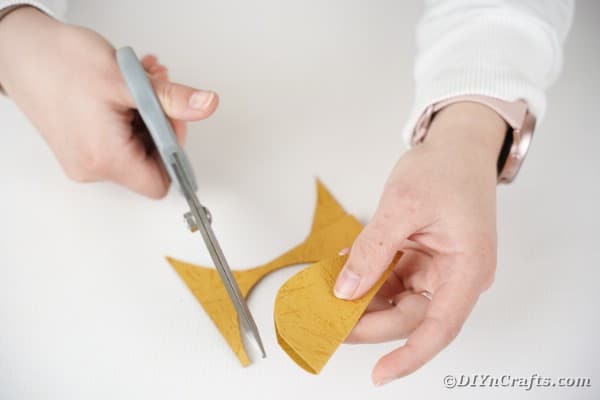
If you want to add the leaves around the bottom, as shown, you will cut out small squares or rectangles of colored paper.
Draw or freehand cut out a leaf shape.

Cut little lines around the edges to make the leaf look more natural with fringe.

Use a marker to draw a few little lines on the leaves so they look more life-like.

Glue the leaves to the bottom of the outside pages of the hedgehog.

Now, you can display your hedgehog on a shelf or as a centerpiece.


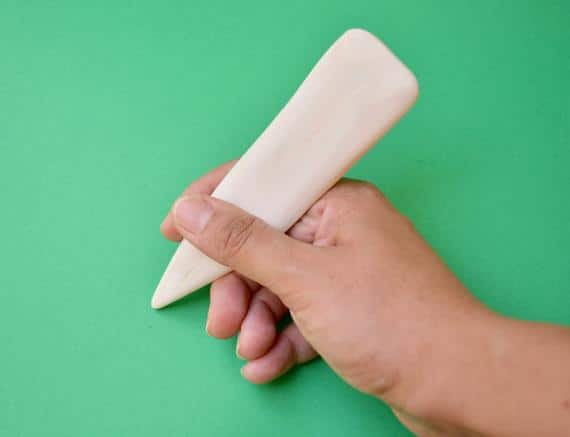
Crafter's Tip
If you get tired of trying to make sharp even folds, invest in a paper folding tool. These are similar in shape to a knife, but have no sharp edges. I can't say how handy these are with paper crafts.
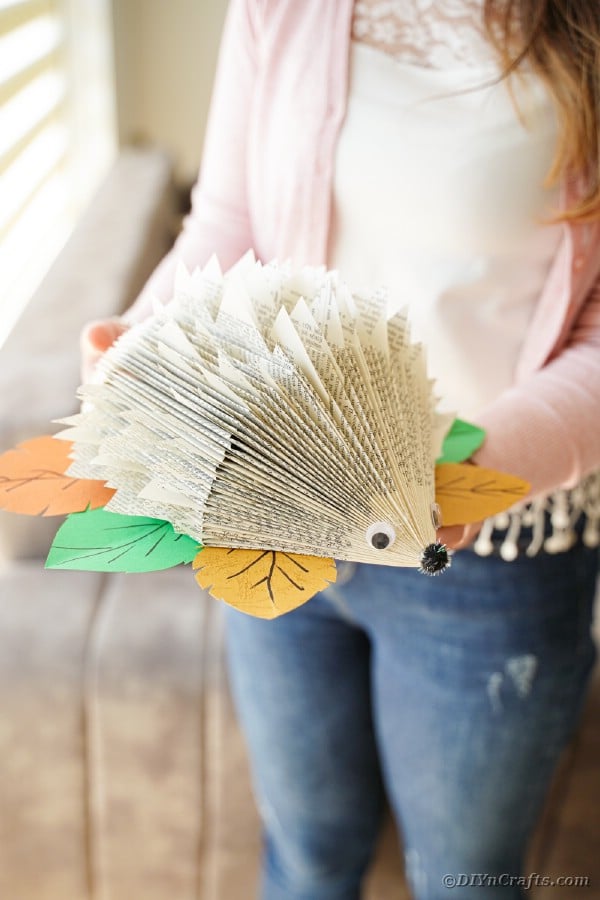
Adorable Old Book Hedgehog Craft
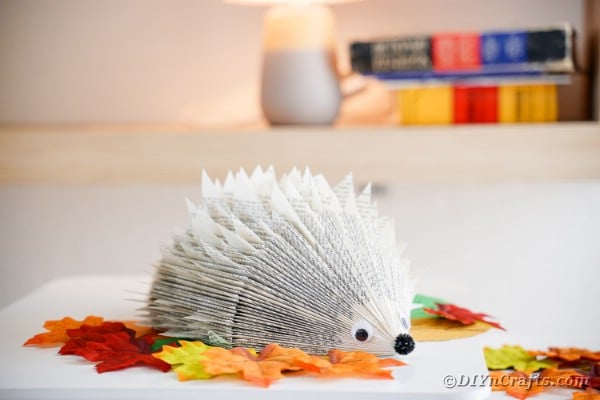
This step by step tutorial is a perfect paper craft that is fast and easy. Make an adorable old book paper hedgehog craft with just a few supplies as an ideal baby room decoration!
Tools
Instructions
- Remove the cover from an old book and tear 5 pages out then set them aside;
- On the first page of the book, fold down the top of the page at an angle inward;

- Now fold the rest of the page over vertically to reach the edge of the book;
- Fold a small corner of the bottom over to make a sharp edge;
- Continue this process until the entire book has been folded;
- Now, fold and cut those loose pages in half.;
- Stack the loose pages together, then cut spike shapes on the top side of the pages;
- Glue these loose pages spike side up every 4-5 pages on the hedgehog;
- Glue googly eyes and a pom pom nose to the longer pointy end of the folded book;
- Trace and cut out leaf shapes from the colored paper;
- Cut the edges so they are jagged like a real leaf;
- Unfold and use a marker to draw lines on them if desired;
- Glue the leaves to the bottom of the hedgehog;
- Now you can display as a centerpiece or in a child's room.

Notes
Add different colored paper additions for more personality on your paper hedgehog.
Recommended Products
As an Amazon Associate and member of other affiliate programs, I earn from qualifying purchases.
Finished Project Gallery


Dreamer
cute 😍🦔
B.Jay
I have made these paper crafts, with folded magazines, back in the 60’s and wish I could make them again but don’t remember how.
What I made were robed choir members. and it made such a nice display.
Could you by chance tell/show me how to do it?
Lori
How many pages were in the book you used?
Elaine Agee
I made one into a mouse instead of hedgehog...it turned out cute too...I forgot to take pic of it...I used 130 pages of the book...the rest of the pages I used in my junk journals. Saw the comment on the choir angels...I just made a christmas tree with the book and use pipe cleaners and a small styrofoam ball for head with yarn hair or small ornaments