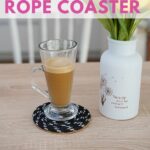


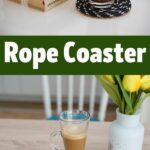
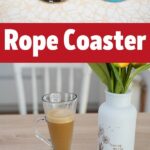


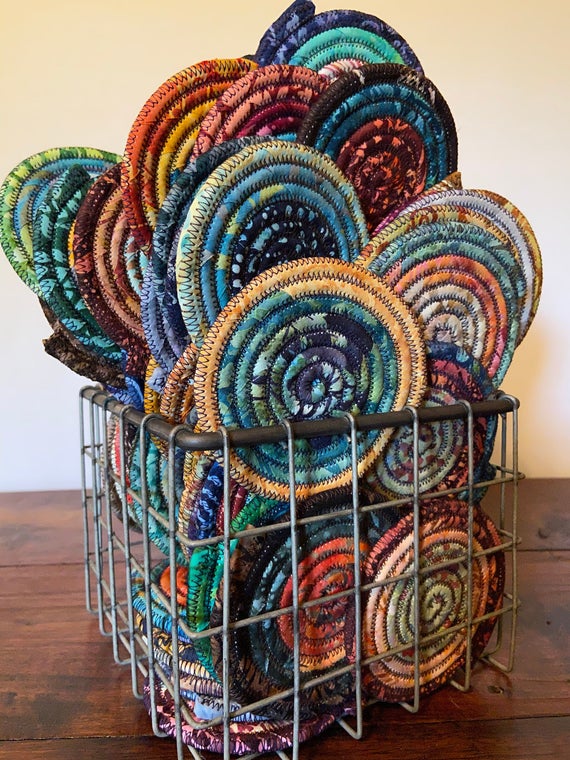
For years, I have noticed these cute little rope coasters in stores. I never bought them because they just weren't in the budget, but now I know I can make my own using this rope coaster tutorial. Seriously, if you want to make a shockingly easy craft - this is the one to begin your crafting journey. This coaster has a great rustic feel but works fantastic for keeping your tables free from water stains. I love that it can be made in so many different colors and sizes!

Jump to:
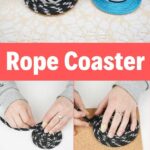
Rope Coaster Tutorial
Sometimes, I just need to make something easy and fun. You know the days. It's when you feel crafty, but not super creative. So, this idea for making a DIY coaster is one that had been lingering in my mind for a long time. It finally came together to create a perfect little addition to my tables.
While you may already have a set of coasters in your living room or office, none are going to be as nice as these homemade ones. Of course, a huge bonus to these is the fact that they are so easy to customize to the colors and size you need. Because they are so easy, I have made these in multiple colors for different holidays and seasons.

Want more ideas for projects to do with your kids? Check out this huge list of DIY refrigerator magnets. I love the ideas for updating different items to make them useful in the kitchen. Of course, another easy project would be making something off this list of easy DIY pot holders and oven mitts.
How to Make These Rope Coaster Seasonal
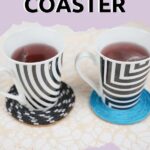
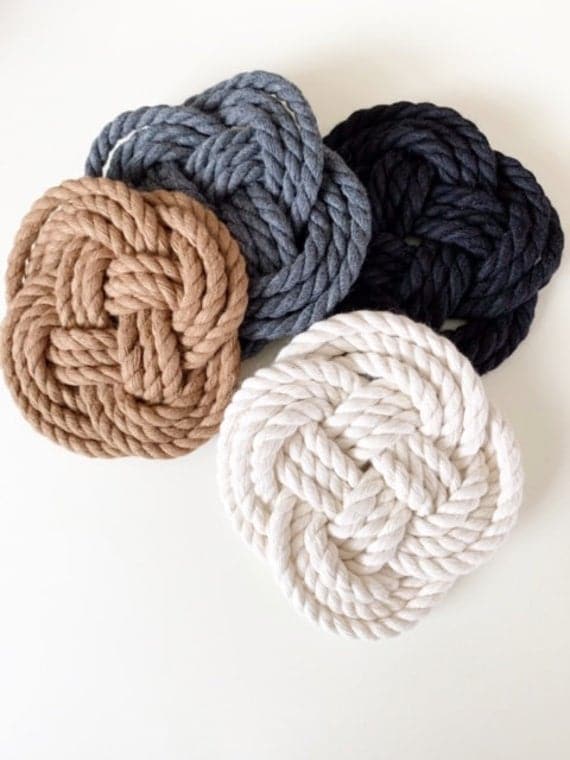
One of my favorite things about this project is that there is no right or wrong color or size of rope for these coasters. That means I can customize them to work for any home decor theme, season, or holiday.
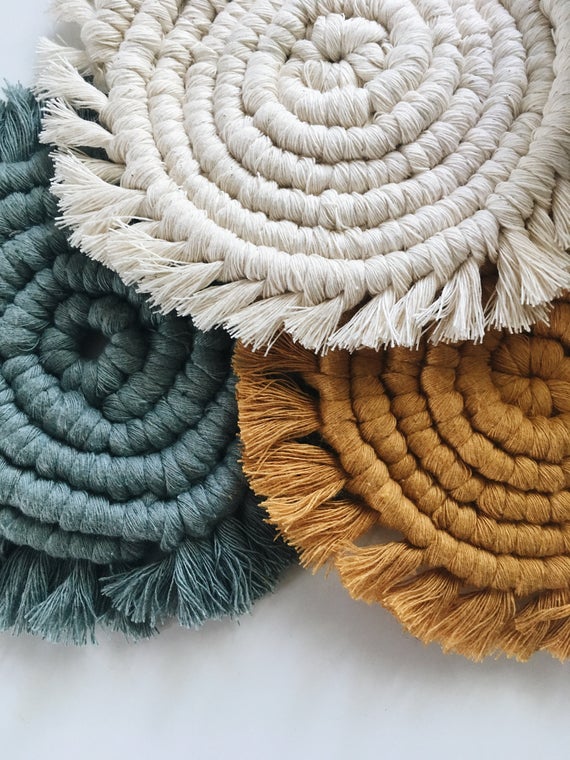
If you want to make this easy to change out with the seasons, you can add just a few little details or differences. Even simply flipping them over so one side has additions for a season. There are tons of options! Below are some of my favorite ideas for customizing coasters to fit your decor needs.
- Switch out the colors of the rope to create different seasonal themes
- Sprinkle glitter over the top and cover with Mod Podge to seal
- Add dried flowers to the top and coat with Mod Podge to seal
- Place in a round mold and add seasonally appropriate embellishments, then top with epoxy
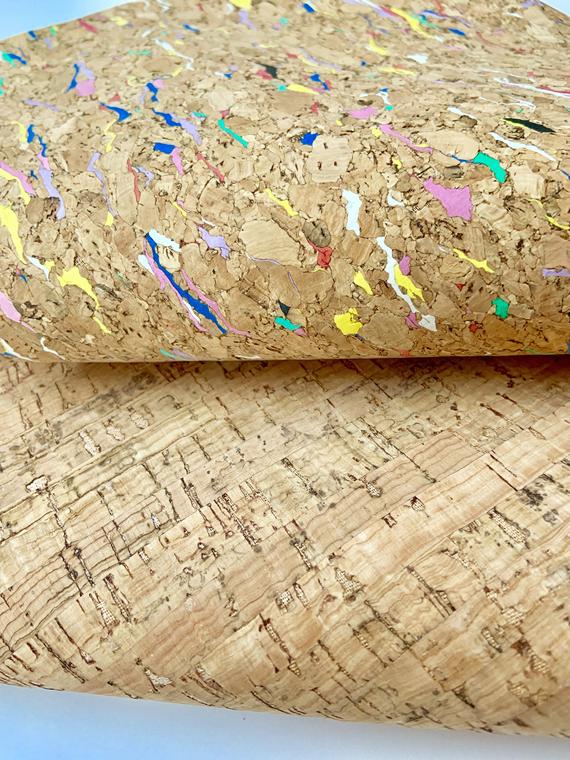
- Use various colors of cardboard or cork on the bottom for different looks
- Leave off the cork and instead glue two coasters back to back in different colors
- Bleach or tye-dye rope before rolling into the coaster-shape
- Use white rope and paint a unique scene on each coaster, then seal with Mod Podge

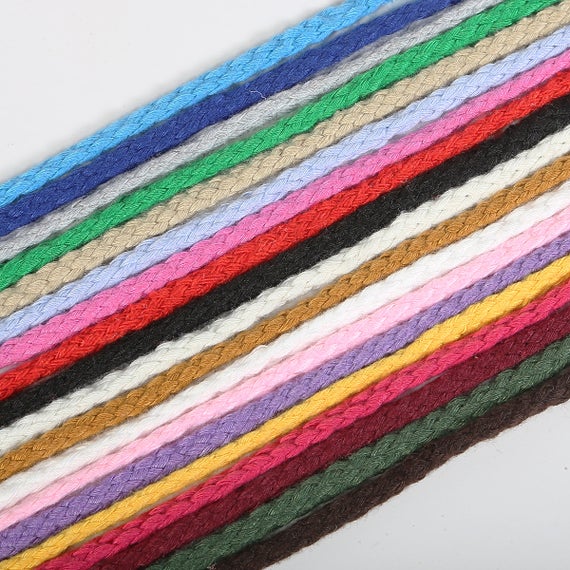
What Type of Rope Can I Use For This?
Any type of rope can be used to make this rope coaster. Nylon and fabric rope works fabulous or you can even make a homemade braided ribbon into a rope. Jute or twine can also be used to make this style of coaster.
I really love the idea of using scrap fabric or strips of old t-shirts or sheets and braiding them, then rolling them into the coaster shape. You can easily create your own homemade rope. This also makes it super easy to customize themes or seasons.
Imagine braiding strips of red, white, and green fabric together and then rolling them into a coaster shape. You can do the same thing with all holidays. Think pastel for Easter, pink, red, and silver for Valentine's Day, rainbow or greens for St. Patrick's Day, or red, white, and blue for the 4th of July! Tons of easy ways to really customize your own rope.

Are you still looking for inspiration? Check out this list of repurposing ideas to turn old kitchen items into exciting new things. Tons of fun things there to inspire creativity!
Does This Need a Sealant to Protect The Roper?
You do not need to seal this rope coaster. However, if you want to make sure the rope does not get damaged in the long run, you can use a sealer on it. Something simple like a spray sealer or even a mod podge will work fine.
A sealant will protect the rope from any mold when it gets damp from the condensation on your glass. It will also keep dust out of the crevices, and help it last longer overall. That said, it is not at all necessary. With such a simple and inexpensive craft, it is very easy to make multiples so if something happens to one, you'll have extra to replace it.
I also love the idea of using epoxy to make it a harder coaster. If you've never worked with epoxy, then it is an amazing way to create a different type of coaster. The same process applies; you just end by putting the coaster into an epoxy coating to seal and harden.

Supplies Needed

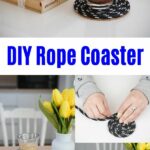
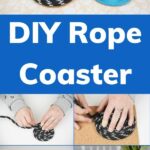
How to Make a Rope Coaster
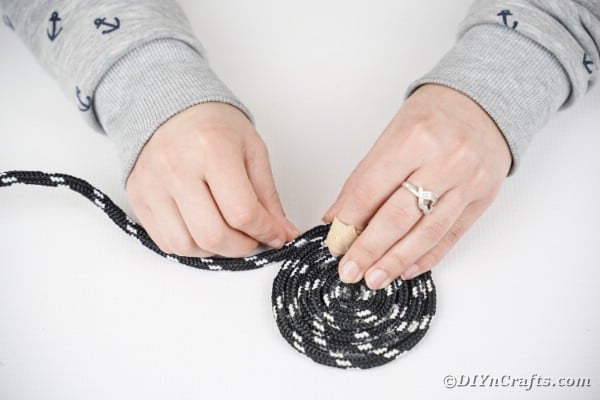
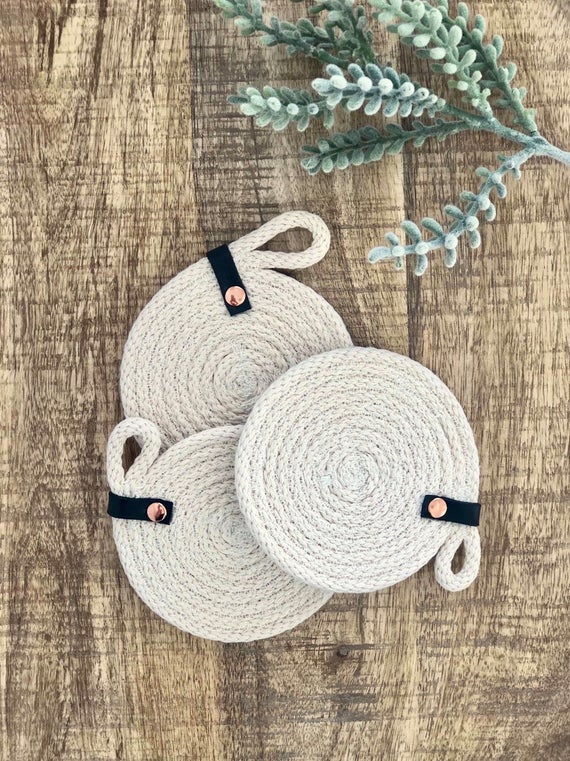
Taking one end of your rope, begin rolling it inward onto itself to form the center of a circle. Glue this in place.

Continue this process by rolling and gluing every inch or two until you have a coaster that is at least 4" wide or as large as you prefer.

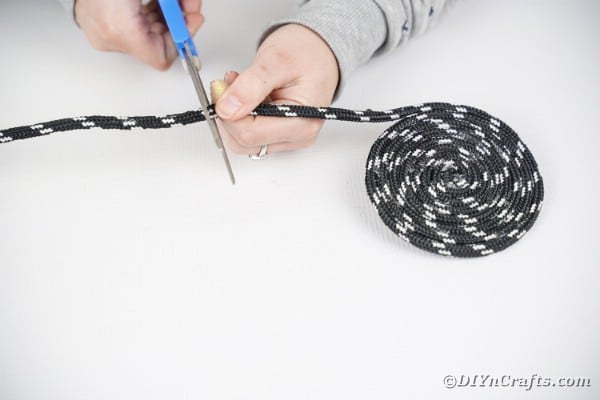
Cut the end of the rope.

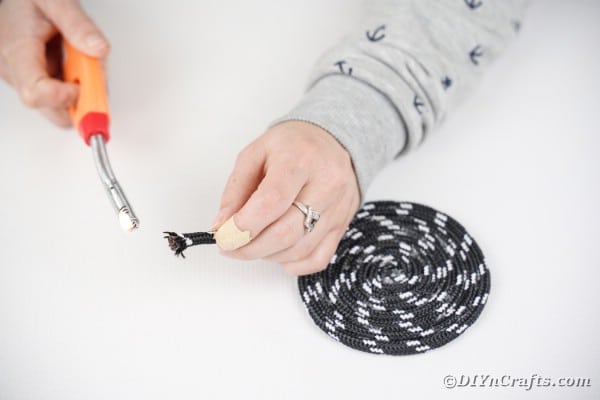
Use a lighter to heat the end of the rope to melt it so it doesn't fray then secure to the edge of the coaster.

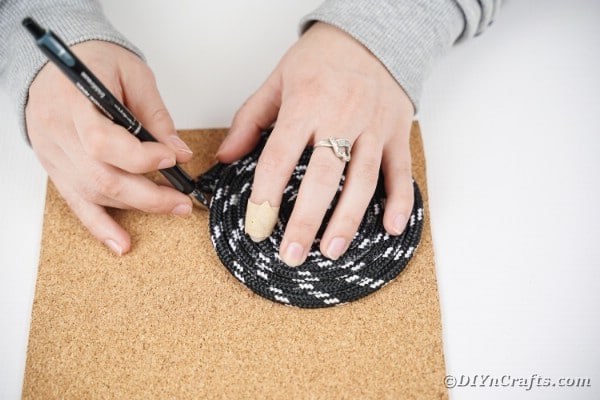
Trace the coaster onto a sheet of cork.

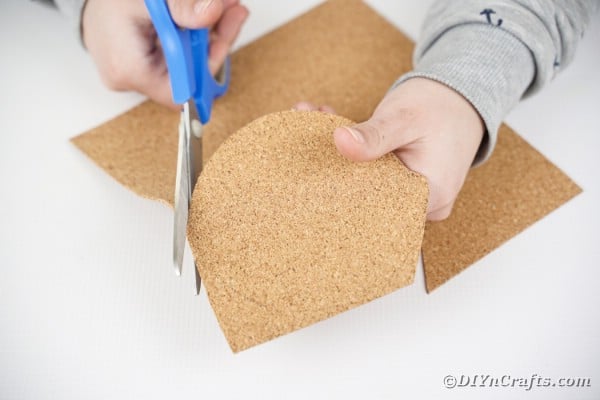
Cut out the cork piece.

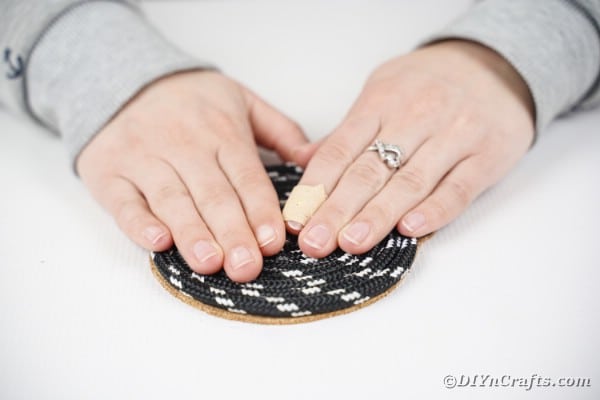
Glue the coaster onto the cork piece.

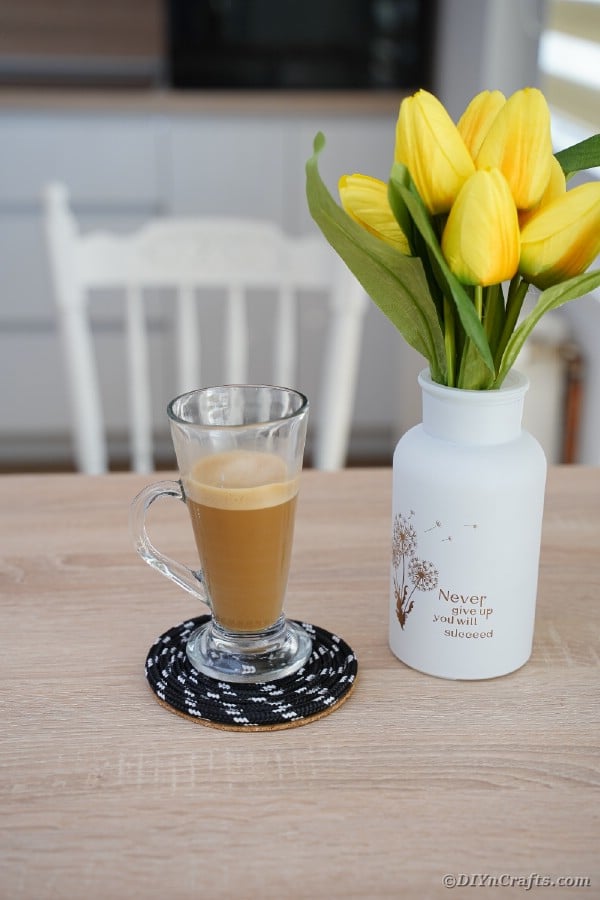
Seal if desired then use for protecting surfaces.

This coaster is tons of fun to make and super easy, but it's not the only option for coasters. You can make something as simple as this or as unique as these DIY photo coasters. Of course, there are these classic clothespin coasters, and even my fun tips for how to make coasters out of old jeans pockets.
If the kids want to help, they can even make these fun coasters out of popsicle sticks! You have tons of cool and unique options for protecting your counters and tables!
Crafter's Tip
If you decide to seal this in epoxy, I highly recommend using these round epoxy coaster molds for getting the perfect pour over your rope.
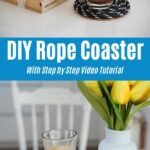
The Easiest Rope Coaster Tutorial You've Ever Seen
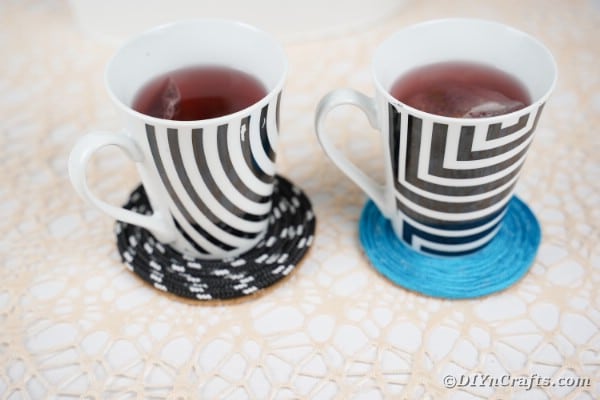
Grab a colorful rope and hot glue to make this simple and functional easy rope coaster! A perfect addition to any room for protecting surfaces.
Materials
Instructions
- Begin by rolling the end of a piece of rope in toward itself and securing with glue;

- Continue rolling and gluing;
- Once the circle is around 4" wide, cut the end of the rope;
- Use a lighter to melt the ends of the rope to prevent further fraying;
- Glue the end piece in place;
- Trace the rope circle onto a piece of cork sheet;
- Cut out the cork coaster shape;
- Glue the rope onto the cork sheet;
- Seal if desired or place on end tables to protect surfaces.


Notes
Any size and color rope can be used to create unique looking rope coasters.
Recommended Products
As an Amazon Associate and member of other affiliate programs, I earn from qualifying purchases.
Finished Project Gallery


Leave a Reply