


Growing rosemary is easy, especially if you’ve grown herbs before and you have a basic idea of the work involved.
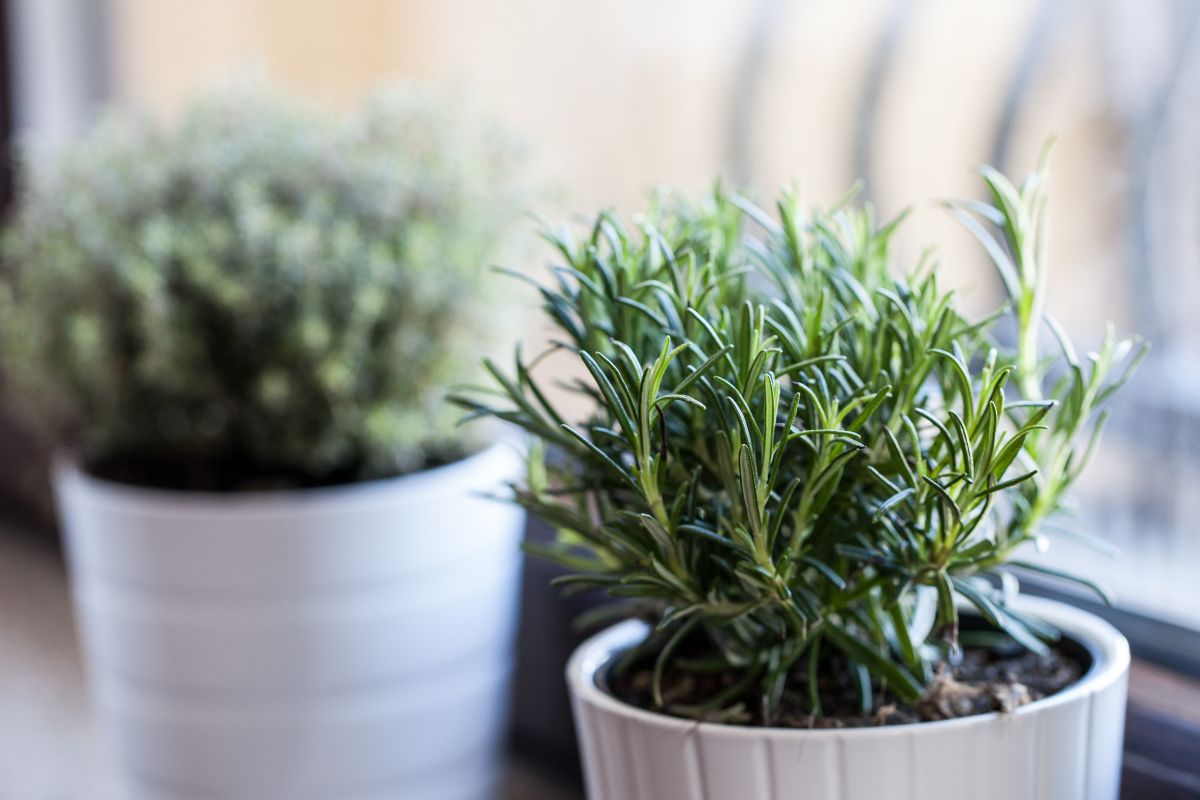
A perennial herb, rosemary grows in USDA hardiness zones 8 and warmer, but it can be grown as an annual in a container in colder climates as well. Growing up to four feet tall and four feet wide, this plant is perfect if you want to add lots of zest and flavor to your cooking.
It’s also a plant that’s easy to grow from a cutting. While you can always grow rosemary from seeds, growing from a cutting will allow you to start new batches of plants from the ones you already have growing - it’s also much faster, in many cases!
Not only that, but the rosemary you grow from a cutting will be genetically identical to the mother plant. It will have the same growth pattern, disease resistance, and flavor - so if you have a variety of rosemary that you really love growing, producing a new plant from a cutting is the way to go!
1. Select Your Shoots

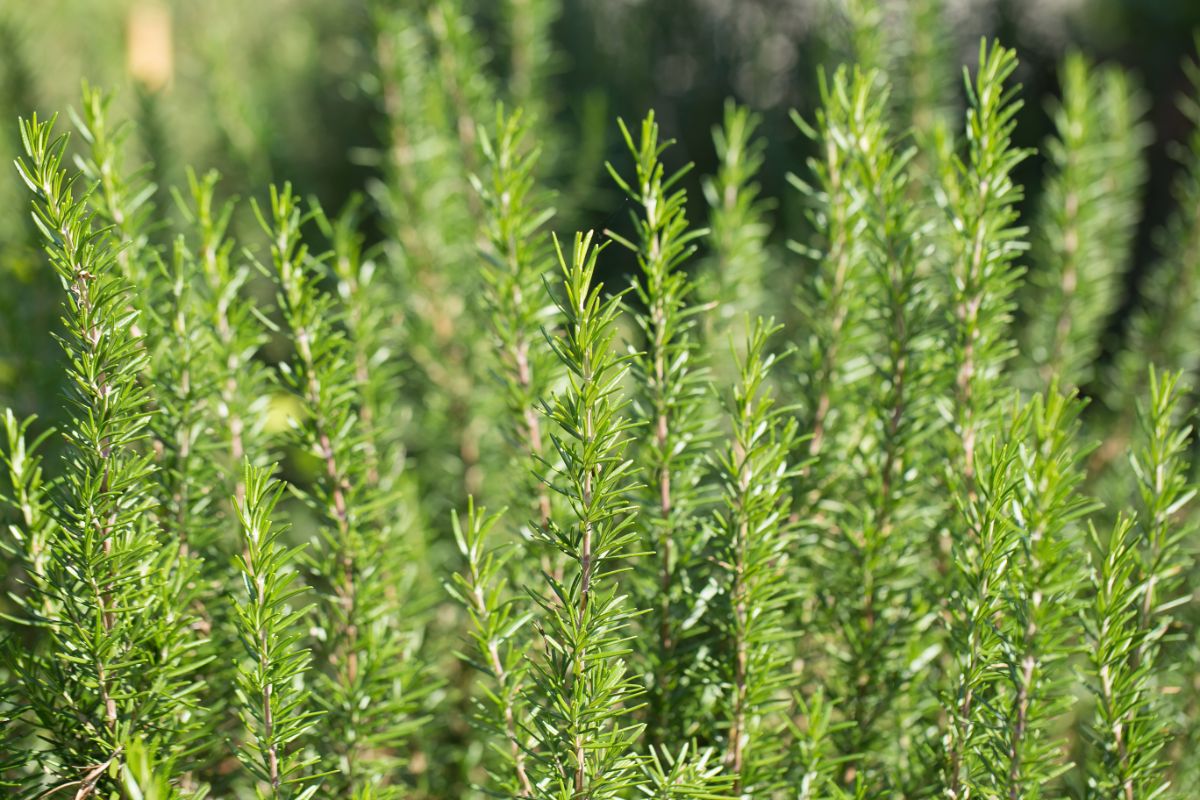
Begin by selecting the shoots you’d like to take your cuttings from. These will be taken from the mother plant and should have healthy, fresh growth with flexible green stems. Try not to take cuttings from stems that are older or woody-looking. They won’t root as well.
2. Take the Cuttings
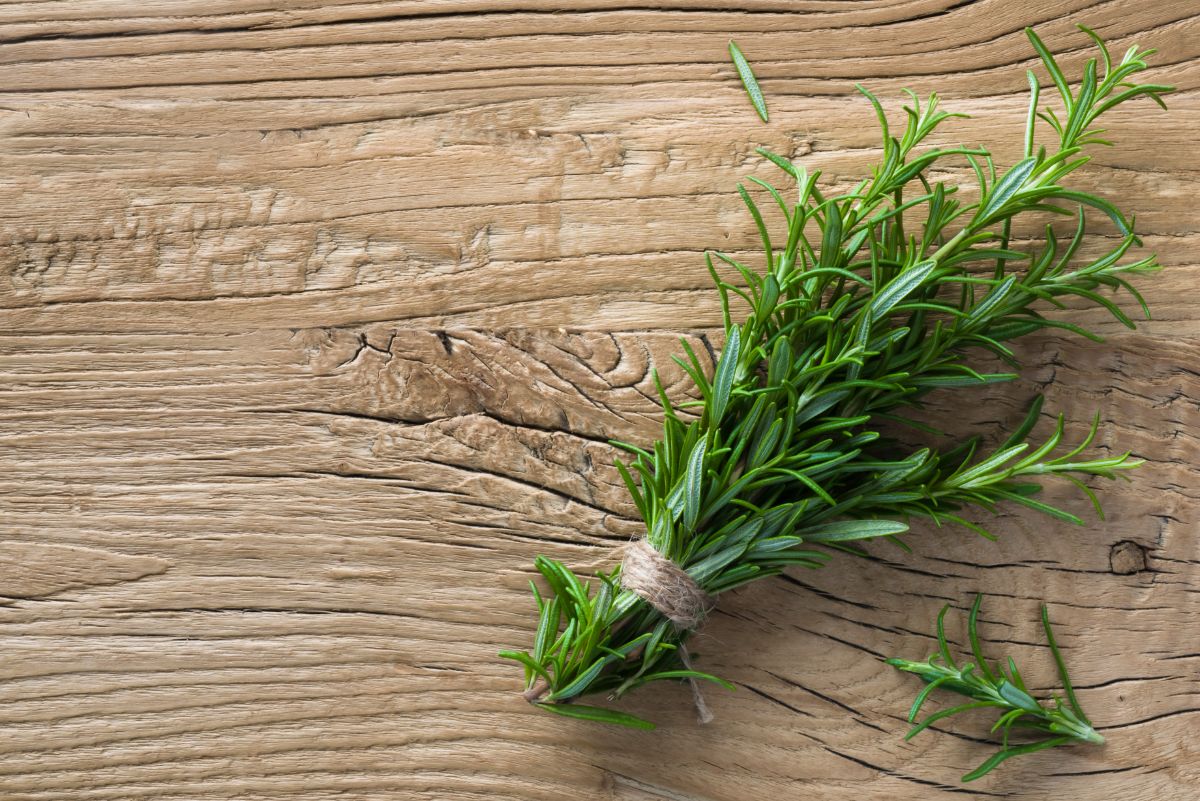
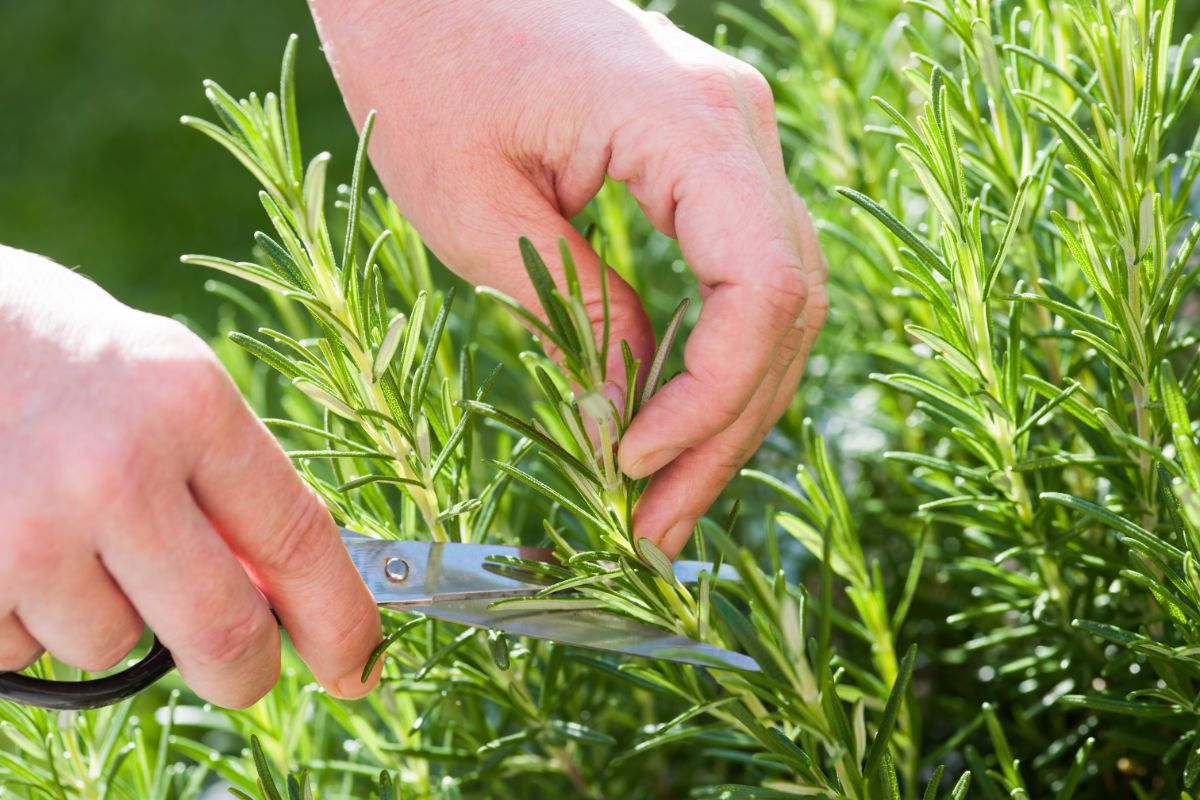 Next, it’s time to take the cuttings from your rosemary plants. Use a pair of sharp, sanitized scissors to cut the stem. You’ll cut around six inches back from a growing tip. You may want to cut a few extras in case some don’t develop roots - think of it as added insurance!
3. Remove the Lower Leaves
 Once you’ve cut your rosemary cuttings, you need to strip the plants of their lower leaves. Pinch your fingers around the stem of the plant and strip the lower two inches from the stem.
4. Root the Stems in Water
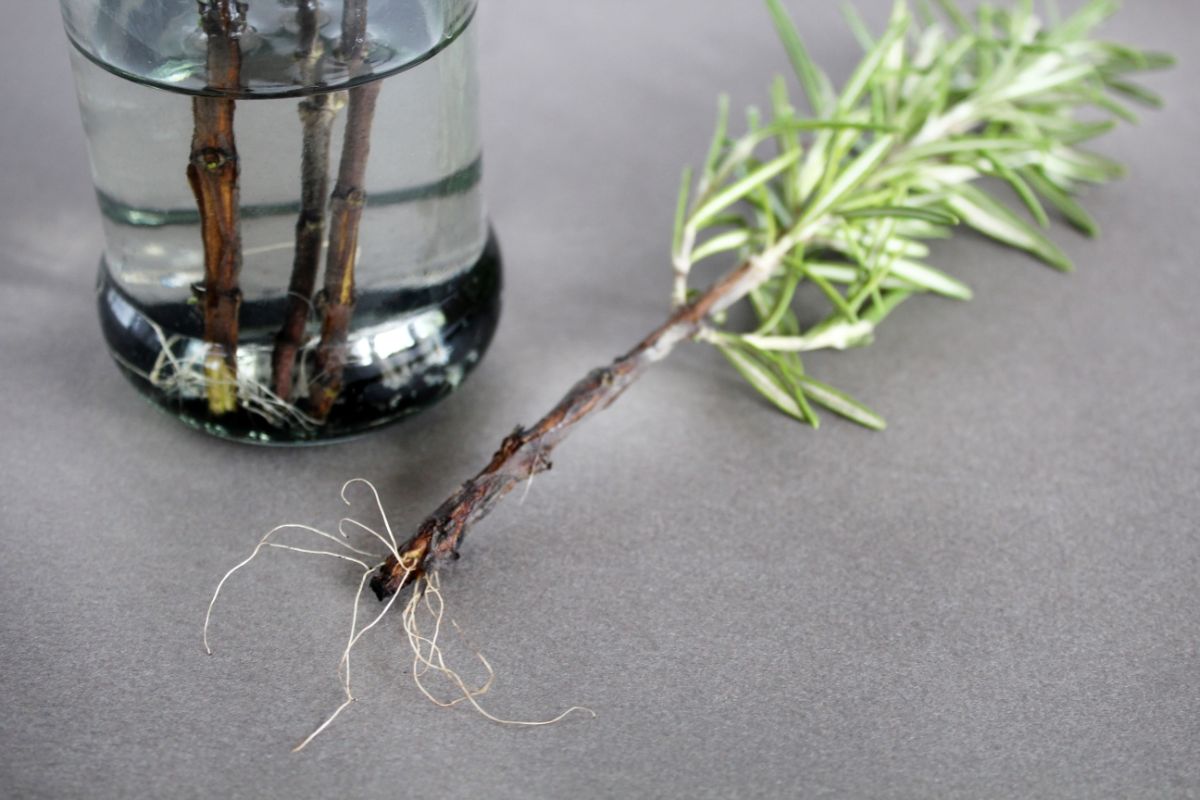 Your next step is to get the stems in some water. Place the stems in a few inches of water, positioning the jar in a warm location that's out of direct sunlight. Every few days, change the water, replacing it with fresh room temperature water. This will give the plants dissolved oxygen and will prevent the cuttings from rotting.
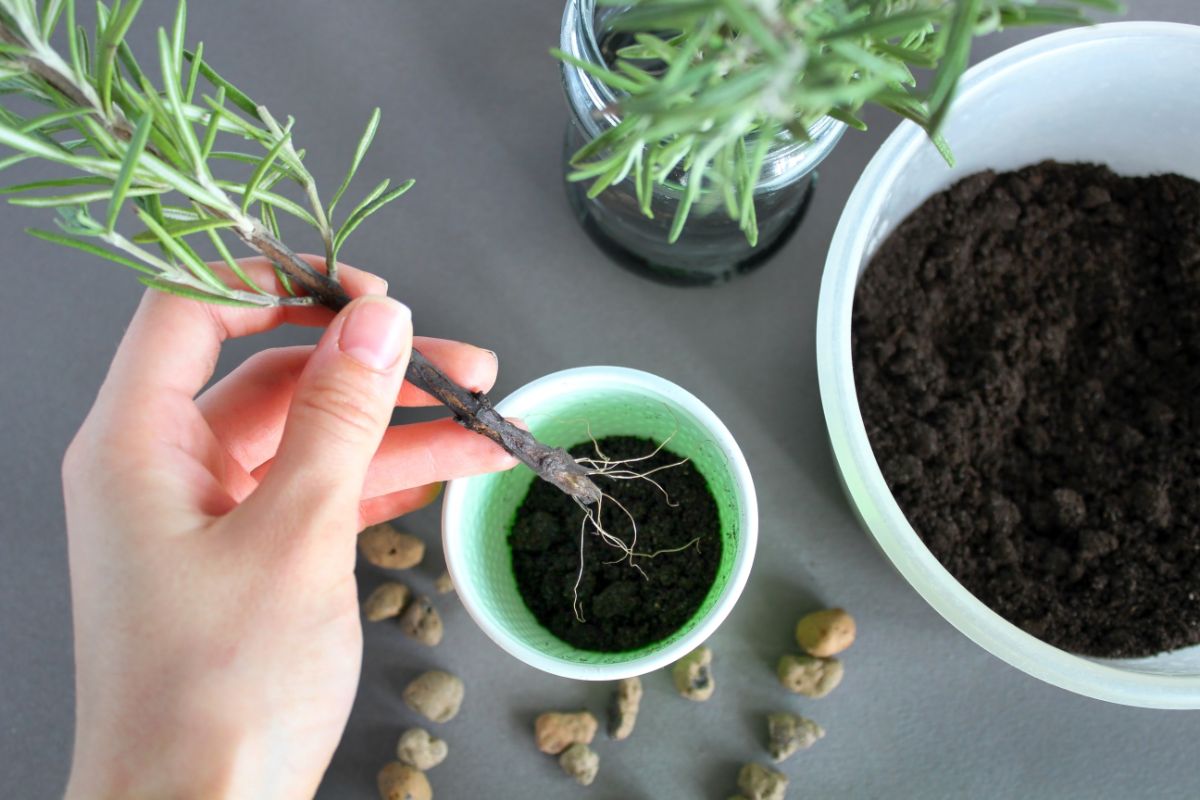
After a few weeks, the rosemary cuttings will grow new roots. It can take a few weeks or longer if you keep the cuttings in cooler temperatures. However, after eight weeks, you’ll know whether the cuttings made it. If they’re dead, they will be brown and shedding needles. It usually does not take the full eight weeks for cuttings to appear, but if it’s been five or six weeks and there’s no new sign of growth (but the cutting is still alive) don’t panic - give it more time!
5. Repot the Cuttings
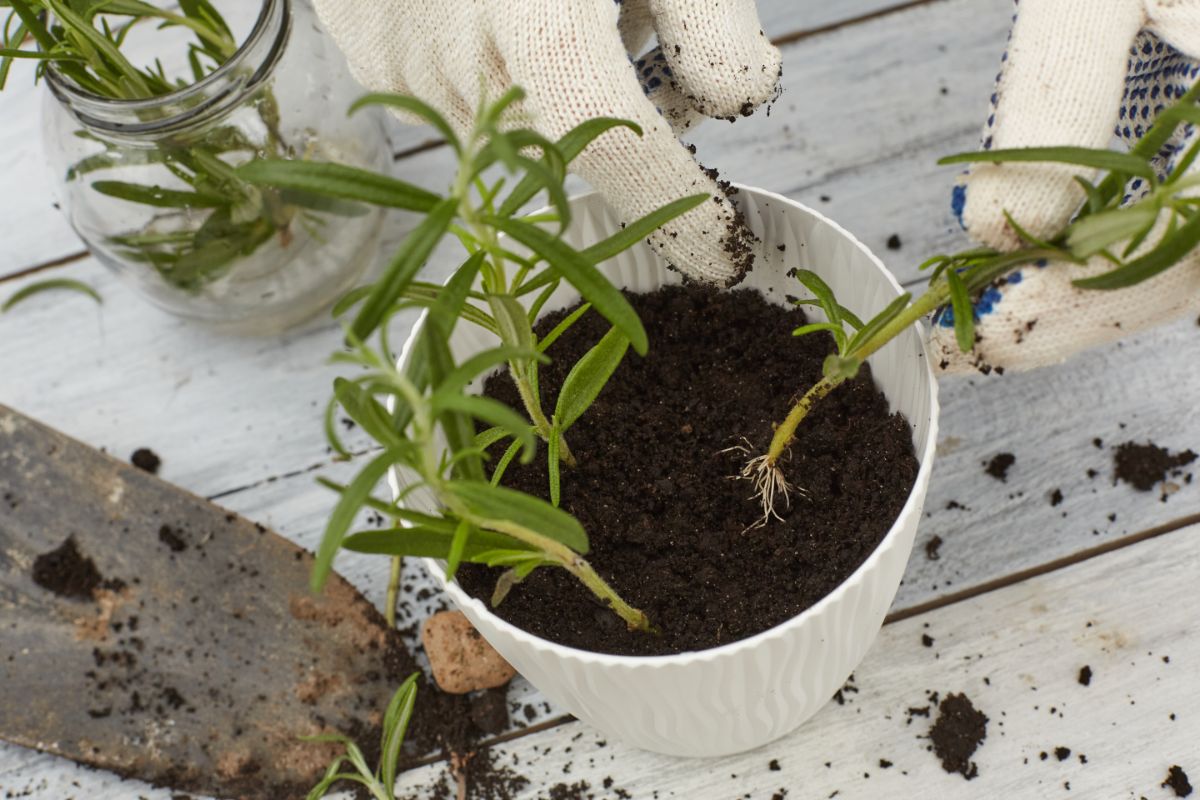 Next, you will need to repot the cuttings. Only do this with cuttings that have formed roots and discard the rest. You will repot them in a sandy soil mixture that is well-draining. Use equal parts of all-purpose potting soil and sand or use potting soil designed for succulents or cacti, since rosemary prefers to be kept a bit dry.
Fill a pot (four or five inches in diameter is perfect) with some damp potting soil. Use a stick to make a three-inch hole in the soil. Put the cutting into the hole, being extremely careful around the fragile roots. Cover with soil and water thoroughly.
6. Care for Your Plants
 Now, you’ll need to move your rosemary plant into filtered or indirect sunlight. Wait until roots are re-established, then move to direct light. It will need about seven hours of sunlight each day. Keep the soil moist, but not wet, until new growth appears.
Once established, rosemary is robust and requires very little care. It needs full sunlight and watering only when the soil feels dry to the touch.
As your plant grows larger, you can re-pot it. You don't need to re-pot until the roots fill the container. Rosemary plants growing in containers can easily reach up to three feet tall! Just continue transplanting as the root systems get larger.
You may also want to prune your rosemary from time to time. Of course, you’ll be doing this automatically as you cut rosemary sprigs to use in your cooking. Just keep in mind that the more often you trim, the bushier your plant will become. You can prune it after flowering, too, to help it grow in a more compact form.
When you’re caring for your rosemary plants during the winter, remember that rosemary will need to be kept a bit on the cooler side. Keep your plant away from heat sources and maintain temperatures around 60 degrees. Humidity is essential - misting your plant or running a humidifier near the plant can be helpful.
There aren’t many pests or diseases you need to watch out for besides aphids and root rot. Aphids will suck on the plants and can be found both indoors and out. You can control them with a blast of water or by using insecticidal soap. Root rot, on the other hand, is common when rosemary plants are overwatered. Let the soil dry out completely to prevent this fungal disease.
7. Time to Harvest
 Once the plants have put on some growth, you can go ahead and harvest! You’ll do this once your plant is about six inches tall and you can cut often, harvesting stems as they are needed. Just take care not to harvest more than a third of the plant at once, as this can make it hard for the plant to bounce back.
Growing Rosemary from Cuttings: So Many Benefits
 Of course, there are so many other reasons to consider growing rosemary from cuttings, too. A rosemary plant that is rooted from a cutting will mature much faster than one started from seed. Seeds usually have lower germination rates and take many months to sprout and grow. Cuttings, on the other hand, reach a usable size in just a few months.
One more benefit? It’s free! No need to run out and buy new seeds - all you need to do is sprout a new plant from your original rosemary plant and you’ll have fragrant, tasty new sprigs all year long.
Now that you know how to grow rosemary from cuttings, get started today! This is a project you can do year-round, no matter where you live.


Mujawimana Agnes
Thank you for the teaching. I love rosemsry for its aroma in tea and food seasoning. God bless you.
James OBINO
Great insights about Rosemary propagating.