Yield: 1
How To Make A Marbled Cup With Nail Polish
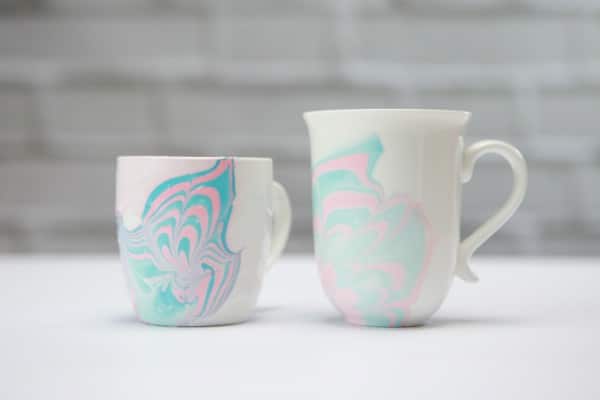
Learn this quick and simple technique for creating your own marbled cups. A step-by-step tutorial for creating personalized mugs that are perfect for gift giving.
Prep Time
5 minutes
Active Time
10 minutes
Total Time
15 minutes
Difficulty
Easy
Estimated Cost
$3
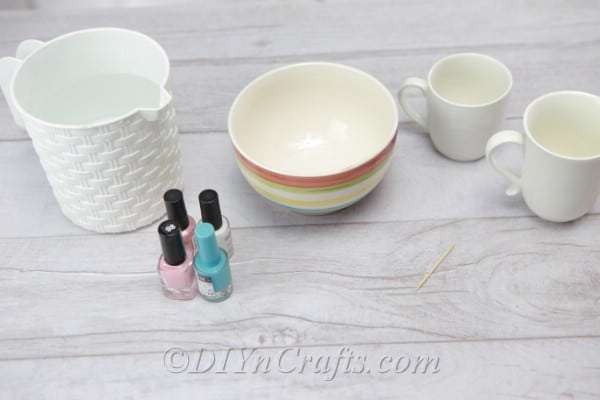
Materials
- A White Coffee Cup
- Nail Polish in any Combination of Colors You Want
- Water
- Large Bowl
- Toothpick
Instructions
- You will begin by choosing your mug. Note that you should use a white mug for this, although you could do this with mugs of different colors to make them more unique. Just use darker nail polish colors for colored mugs and make sure that your cups are plain without any decorations or wording.
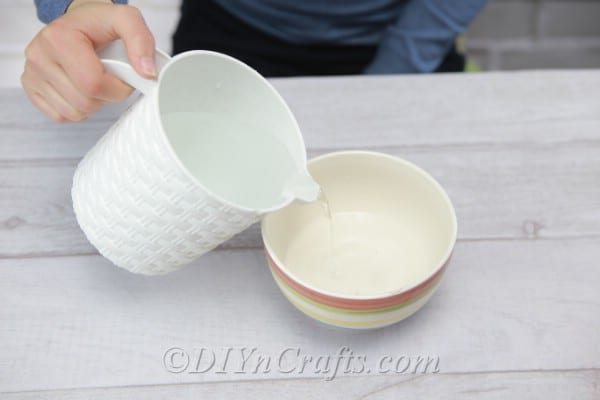
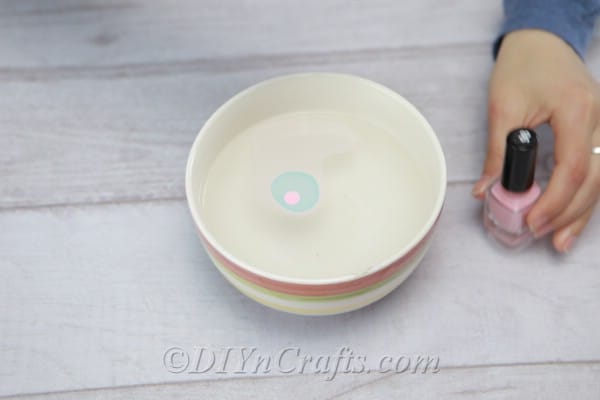
- Add water to your bowl, I filled mine about halfway full to allow room for the cup.
- Start dropping in nail polish. You don’t want to add too much, just a couple of drops of each color that you are working with.
- I recommend adding a drop of one color and then a drop of another and repeating this until you have all of the color that you want for your design.
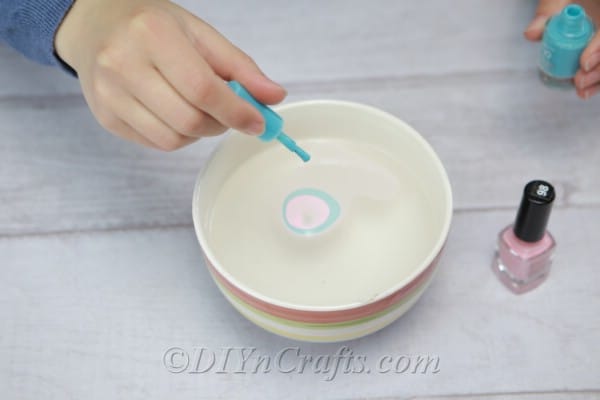
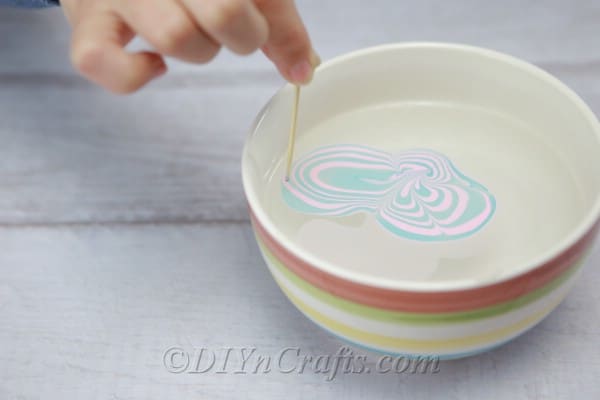
- Using your toothpick, pull the colors inwards toward the center of the bowl and then push them back out. This is the design part so you can honestly do this however you want to get the design that you prefer.
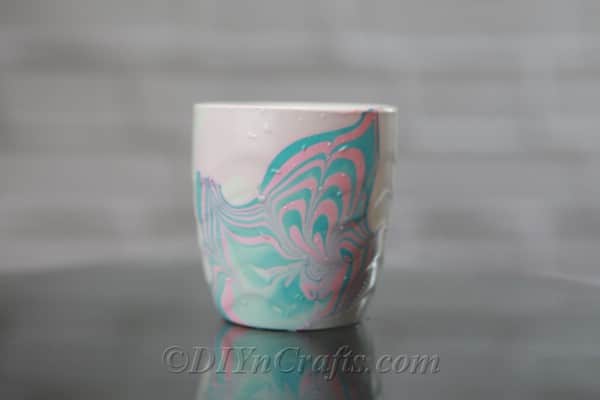
- Place your mug in the water, with the side where you want the design to be going in.
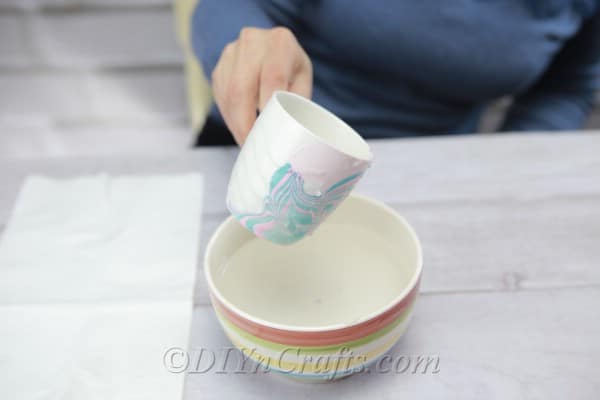
- When you take the mug out, you should see your design right there on the side.
- You can repeat this on the other side if you want to completely cover your coffee cup.
- Allow it plenty of time to dry before you use it. Just to be safe, I left this one alone for 24 hours so that I knew without a doubt that the polish was dry.
- That’s it! Such a simple yet beautiful way to decorate a plain mug. Your design will be different than mine, but your finished marbled coffee cup should look something like this: